

All Carrd Templates
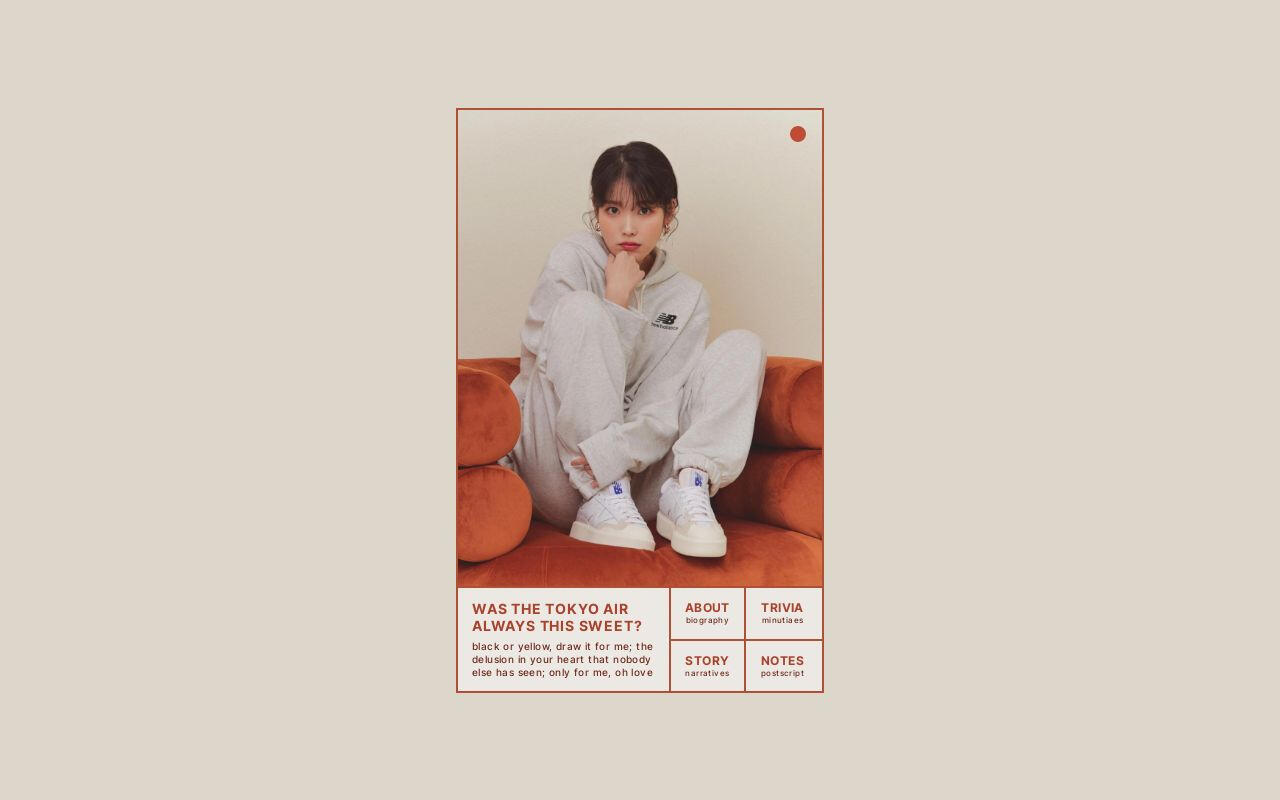
Raindrop by Zite Design $5
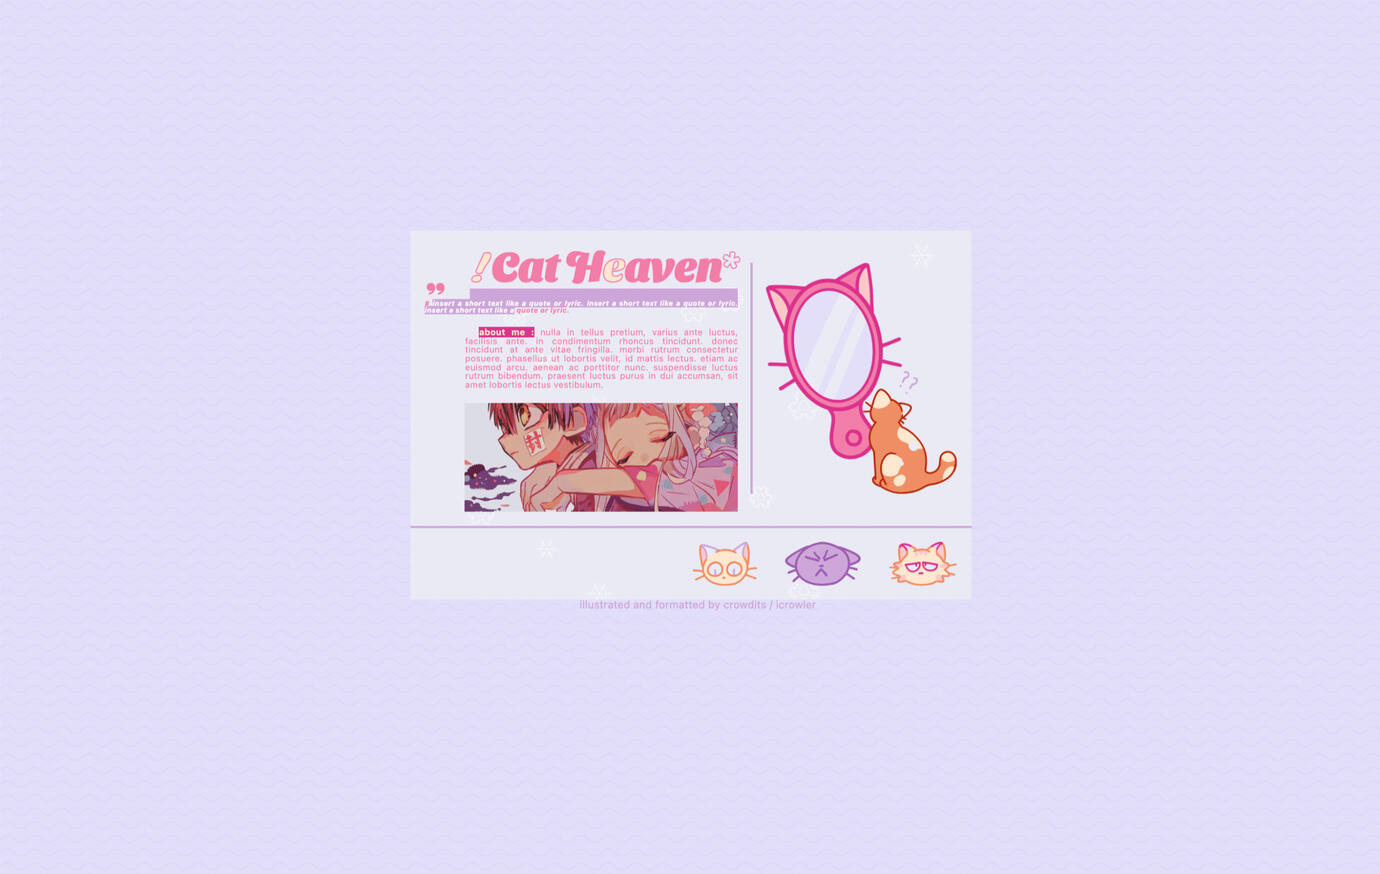
Cat Heaven by Crowdits $0+
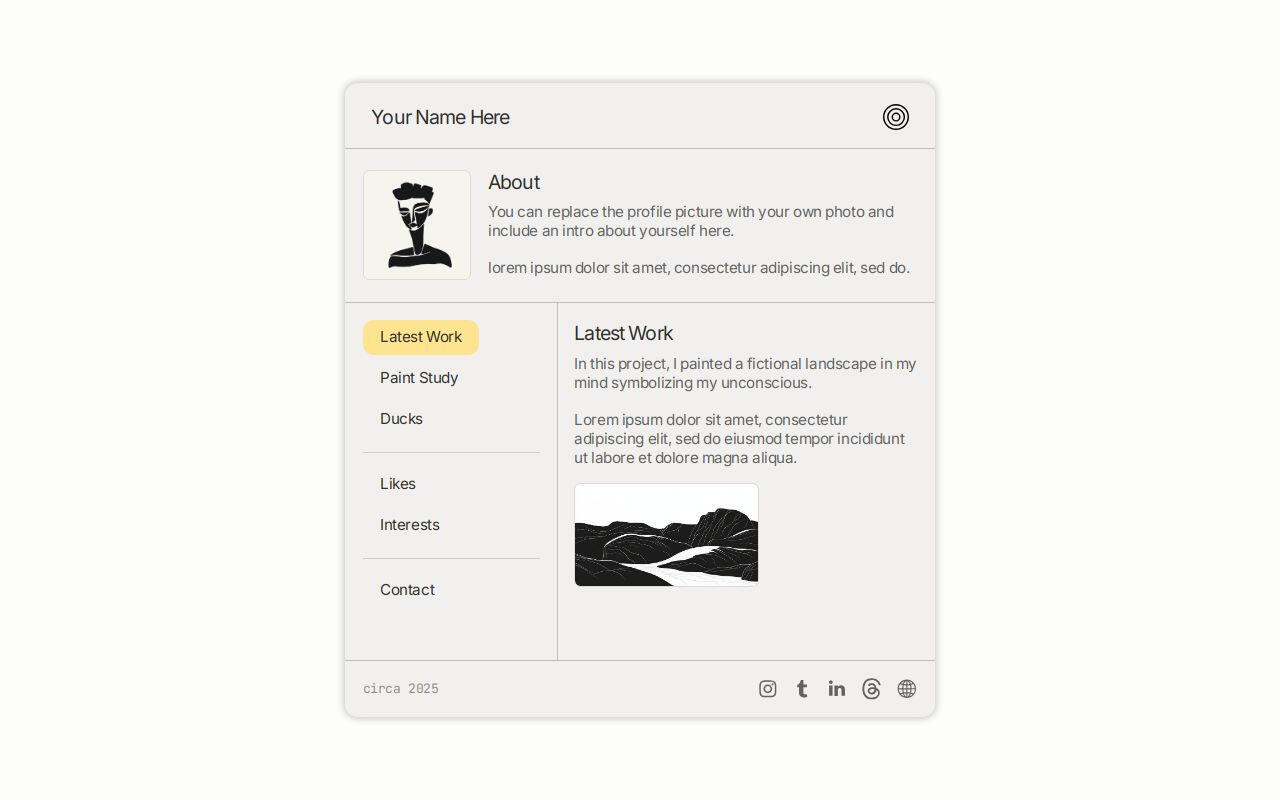
Folio by Ben $0+
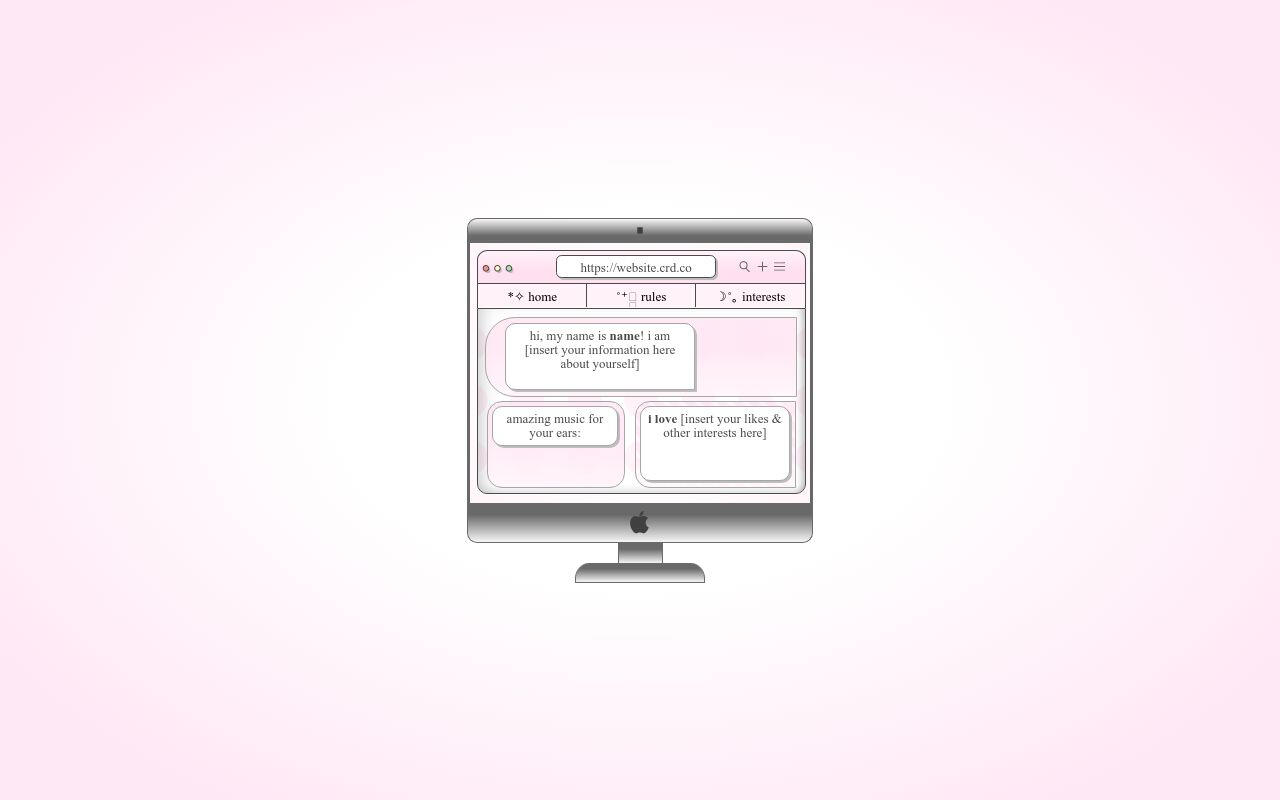
Highlight by Yucrds $12
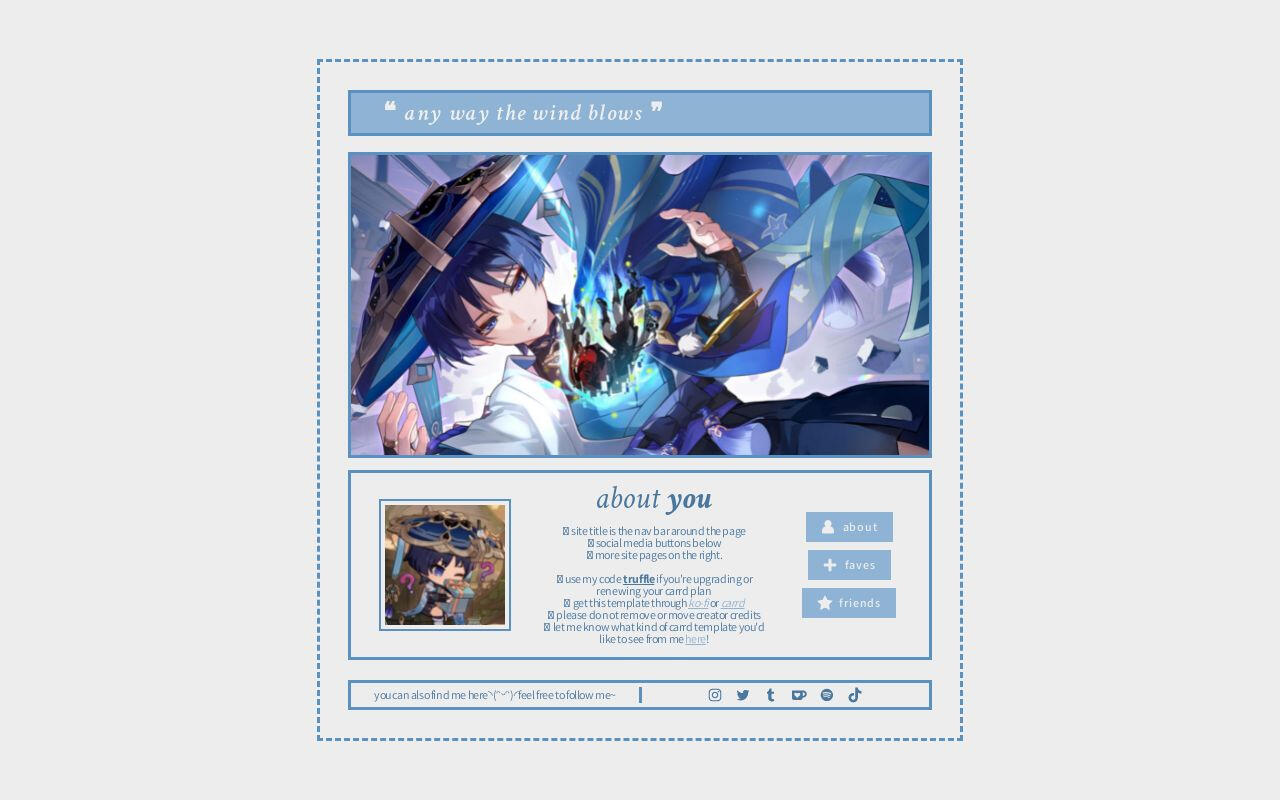
Wind by Harmless Napping $0+
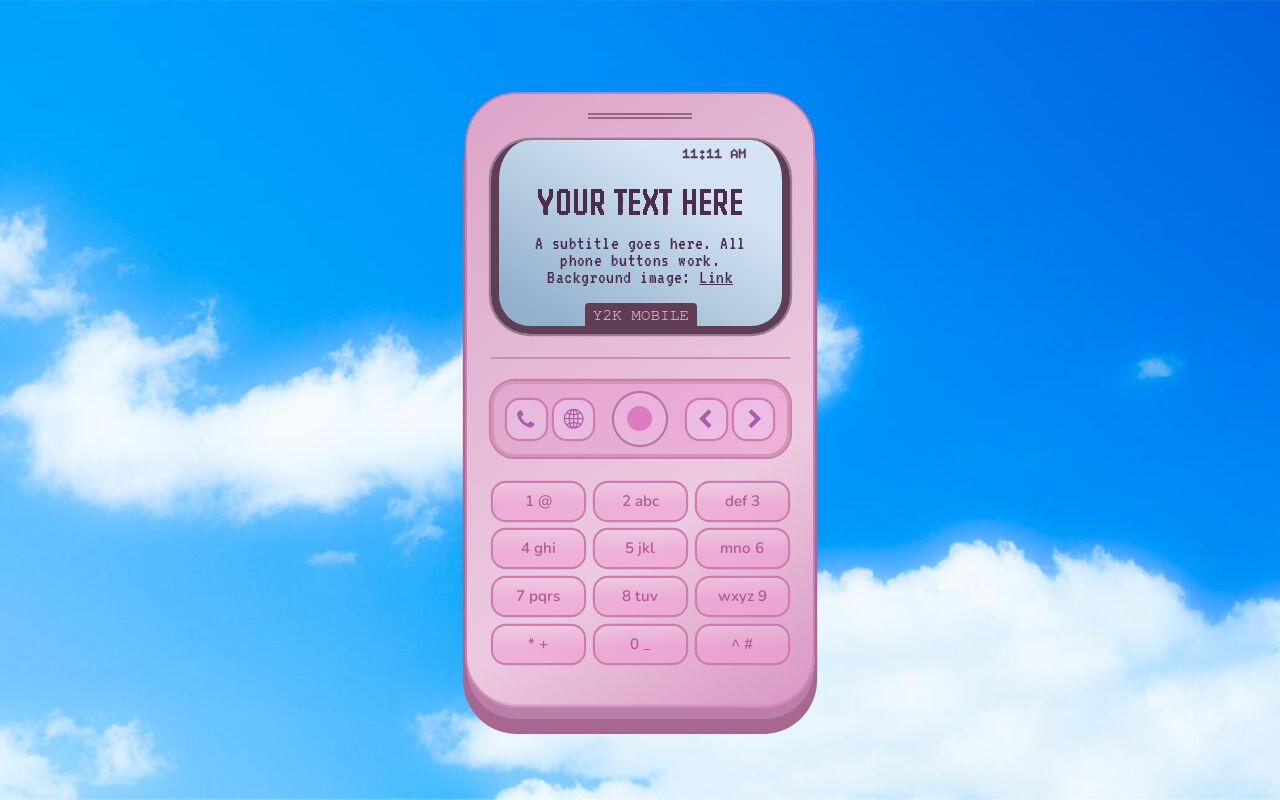
y2k mobile by ben $0+
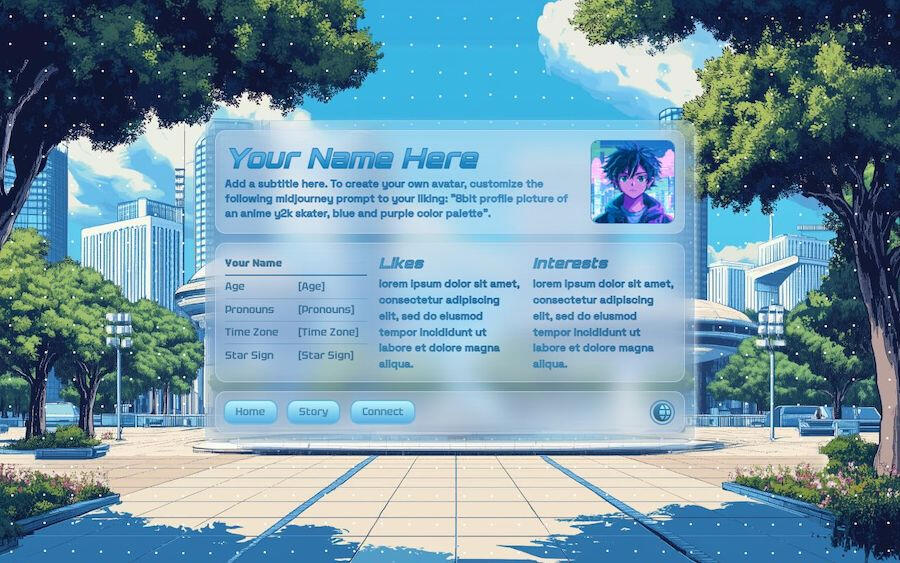
Xenon by Ben $0+
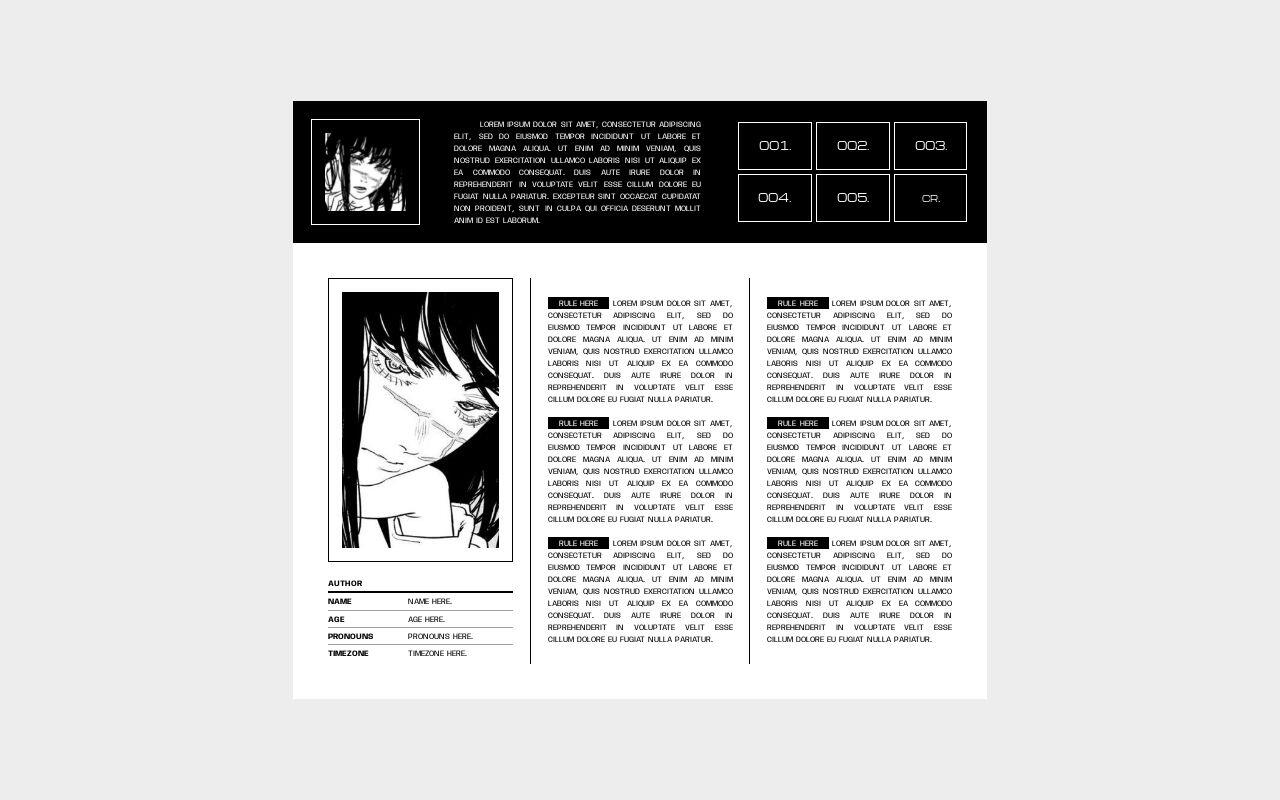
007. fiend. by Suncarrds $0+
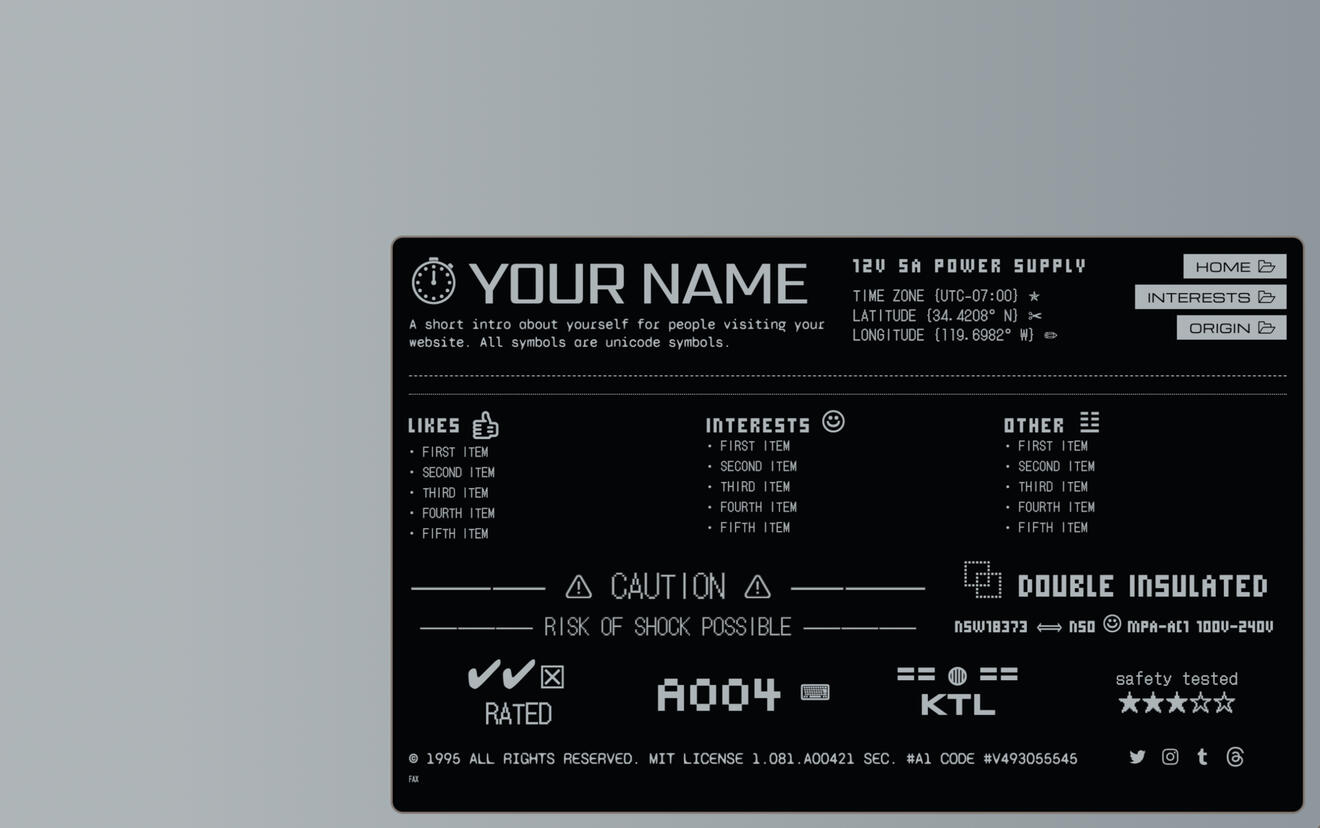
Factory Label by Ben $0
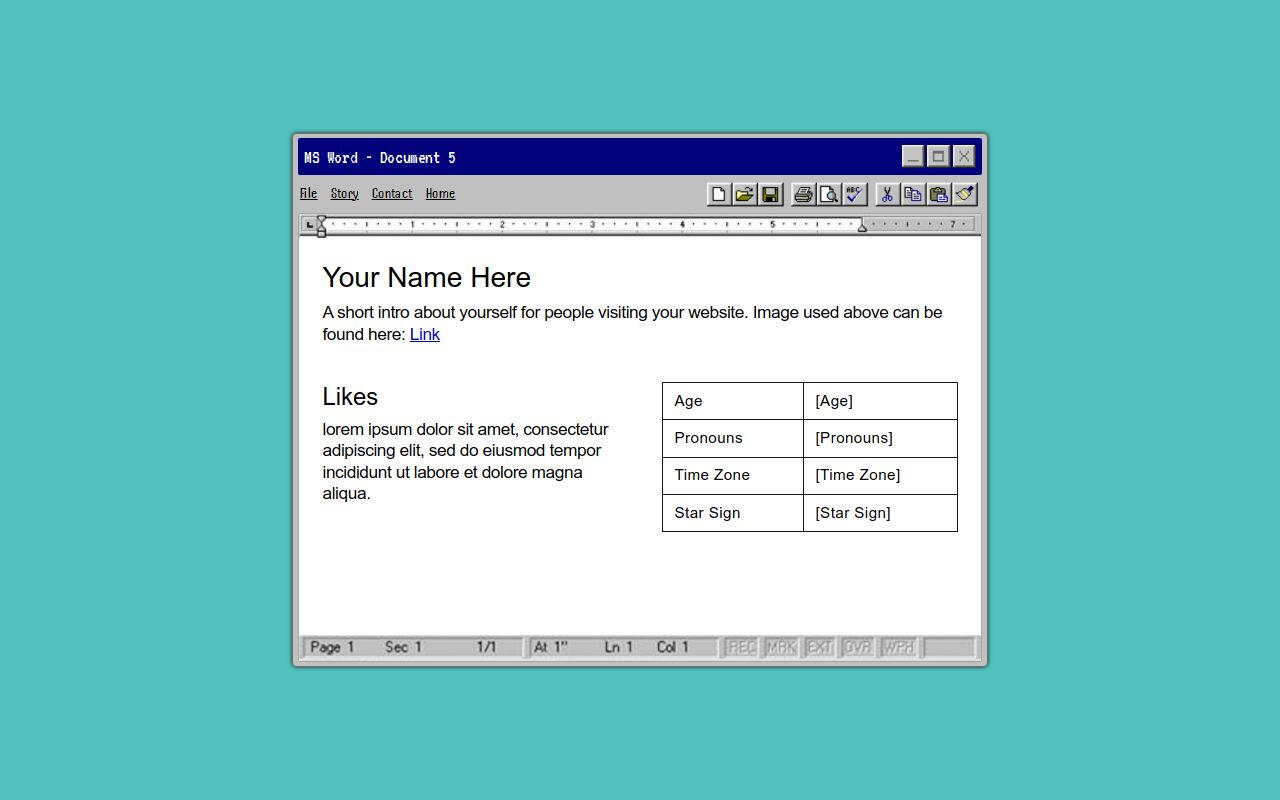
95WordDoc by Ben $0+
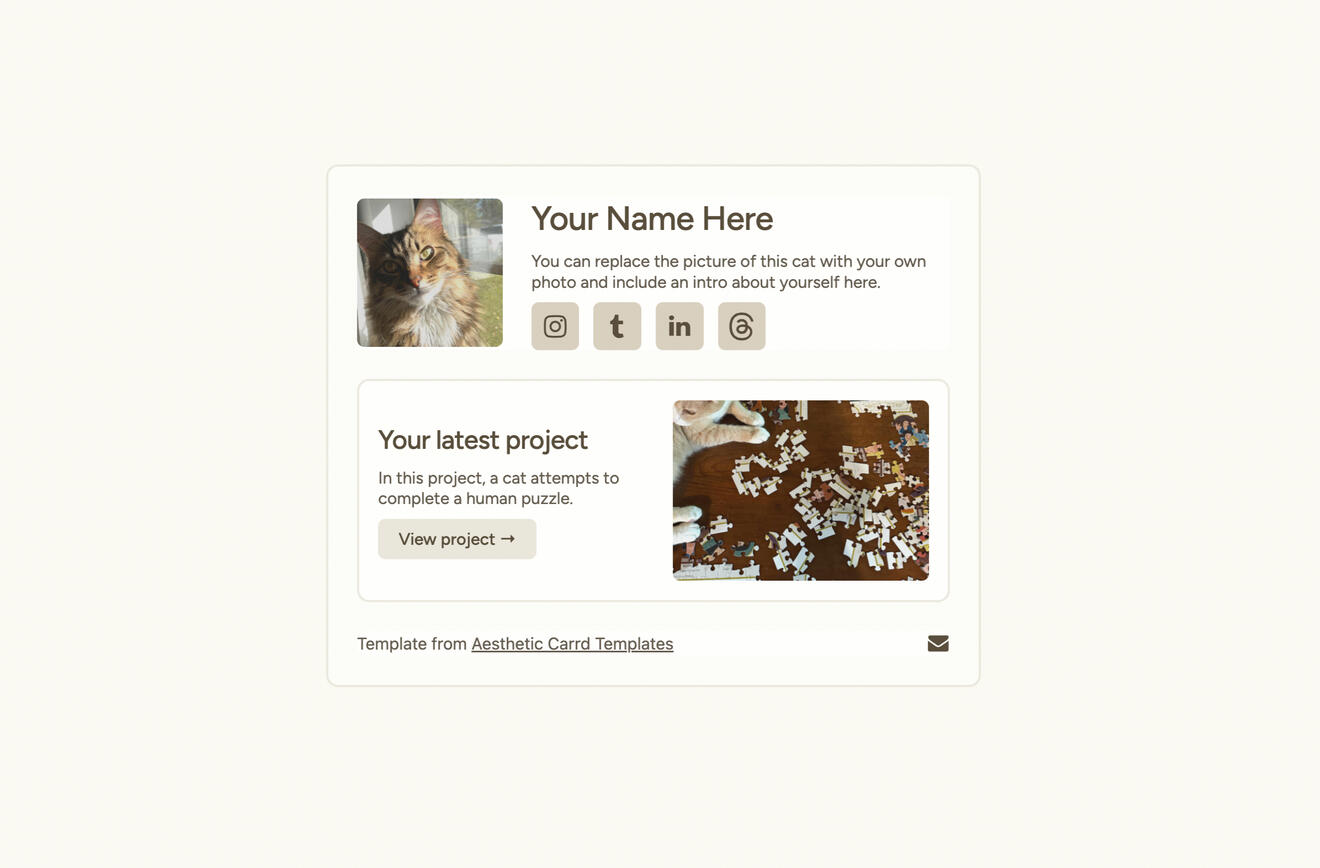
Aesthetic Cat by Ben $0+
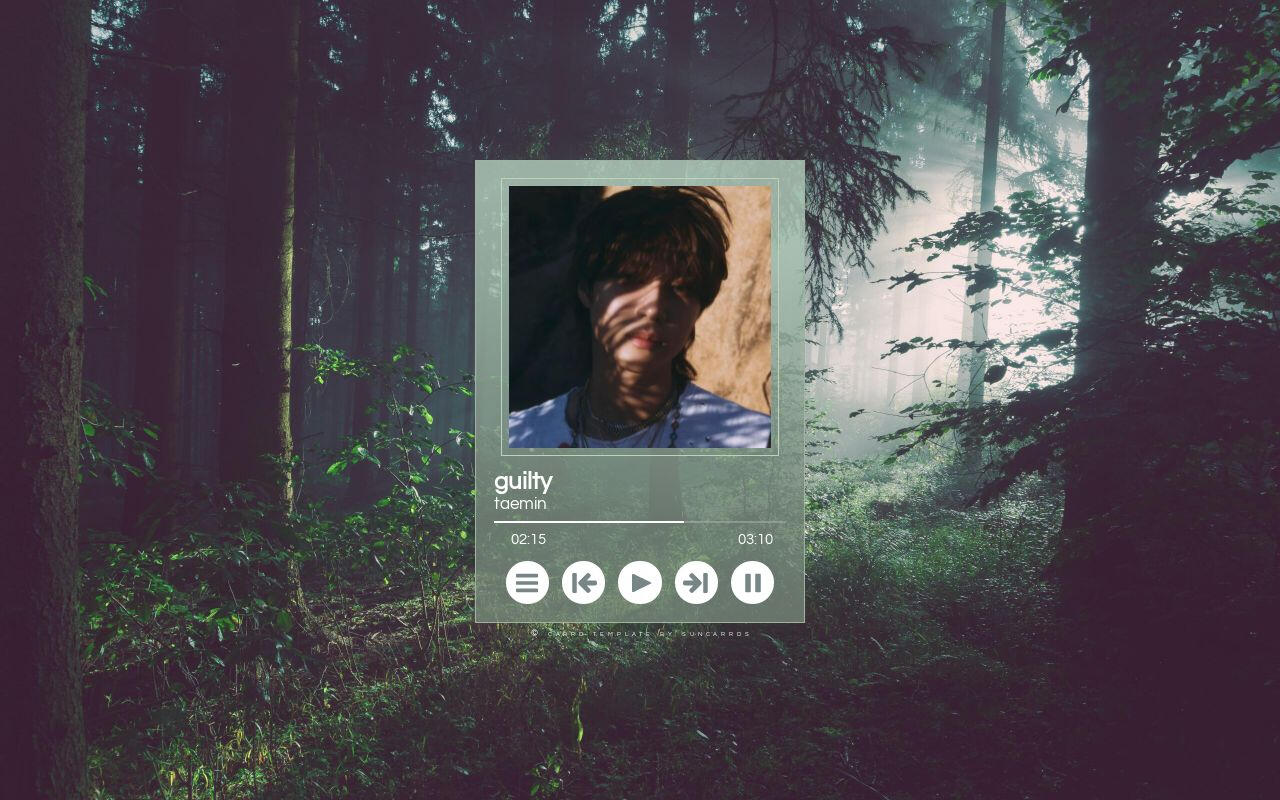
023. guilty. by Suncarrds $0+

fairytale by poohsources $0+
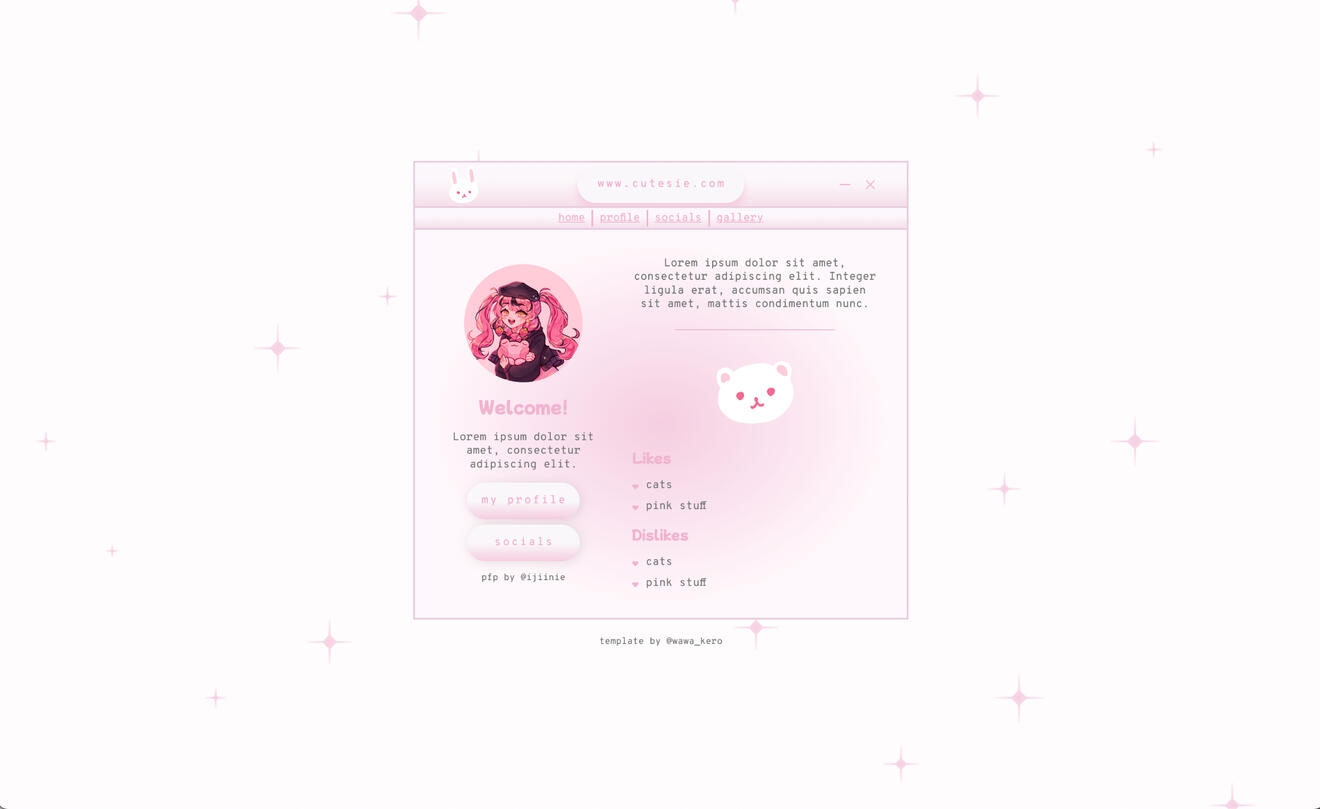
Pink Cutesie by Wawa Kero$0+
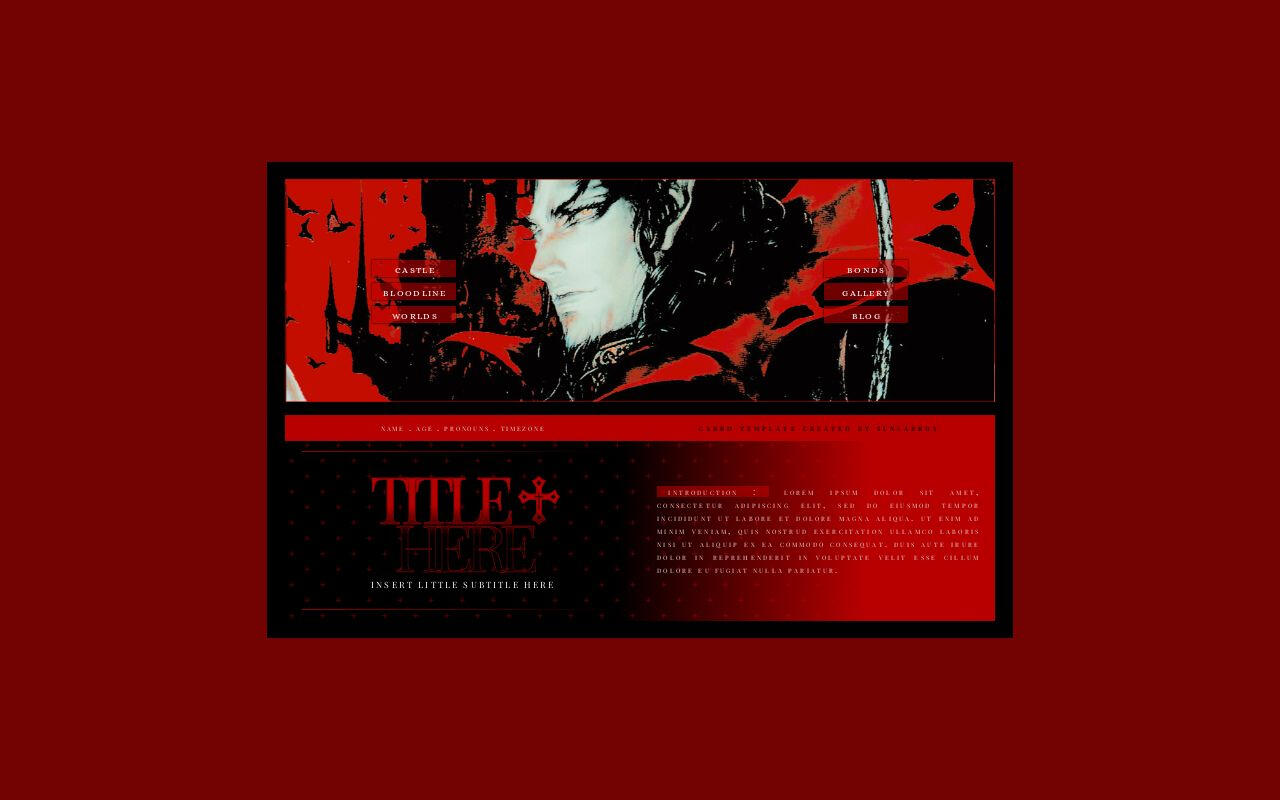
Dracula by Suncarrds $5
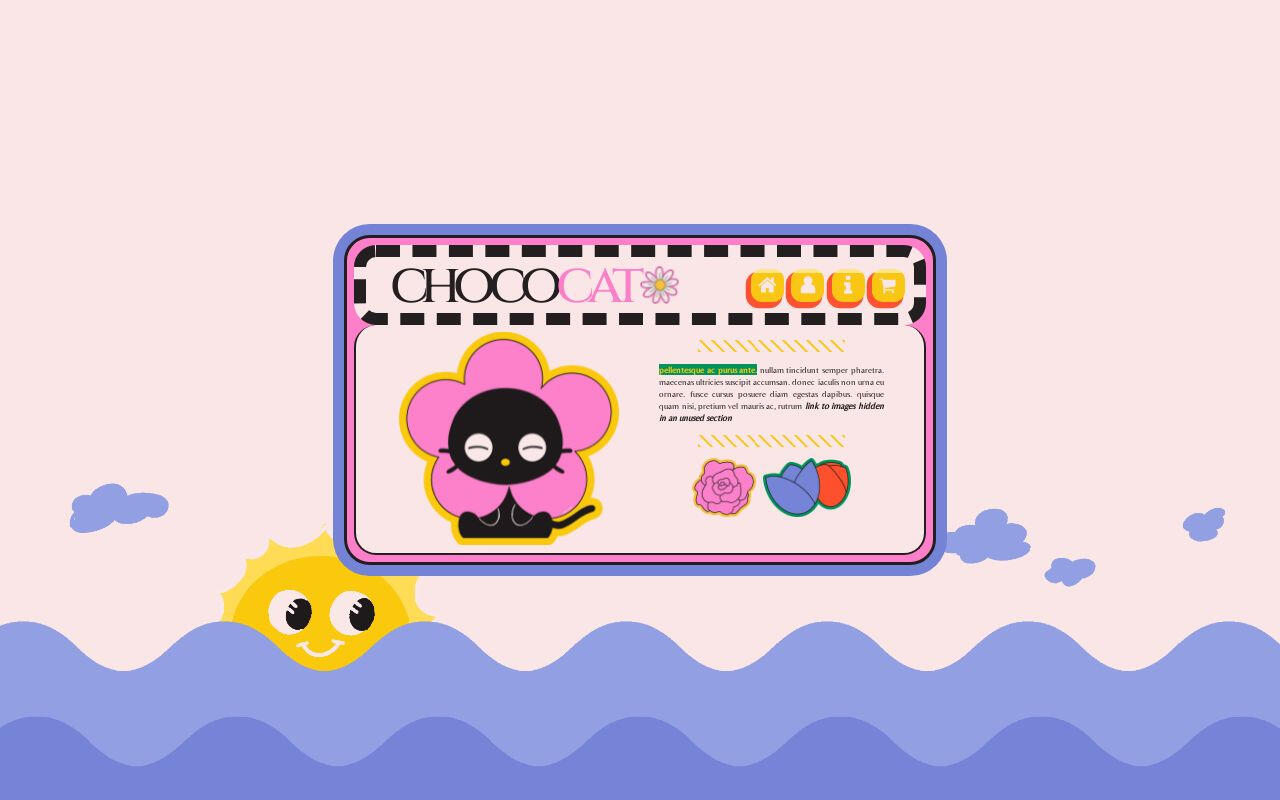
Chococat by Crowdits $0+
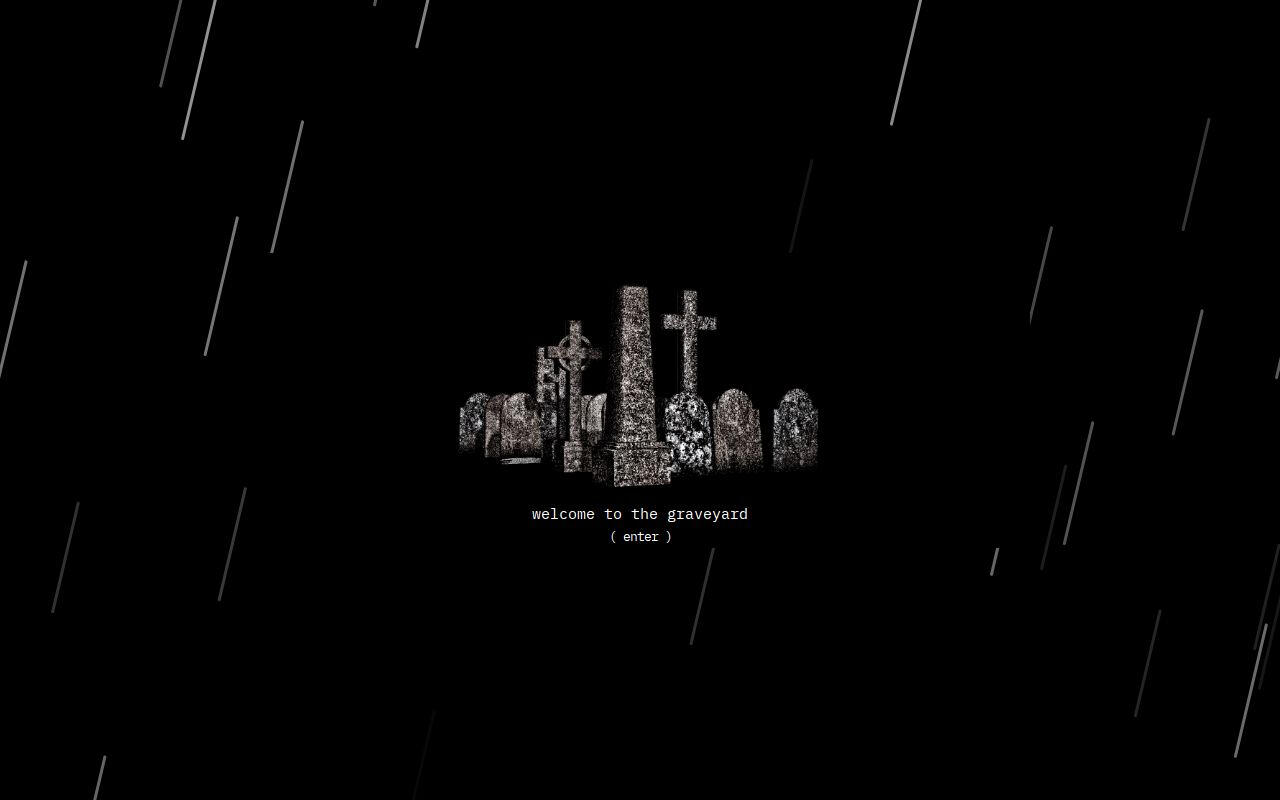
Multi-muse by 𝑺𖤐𝚆ᵀᴿᴬᴾ $0+
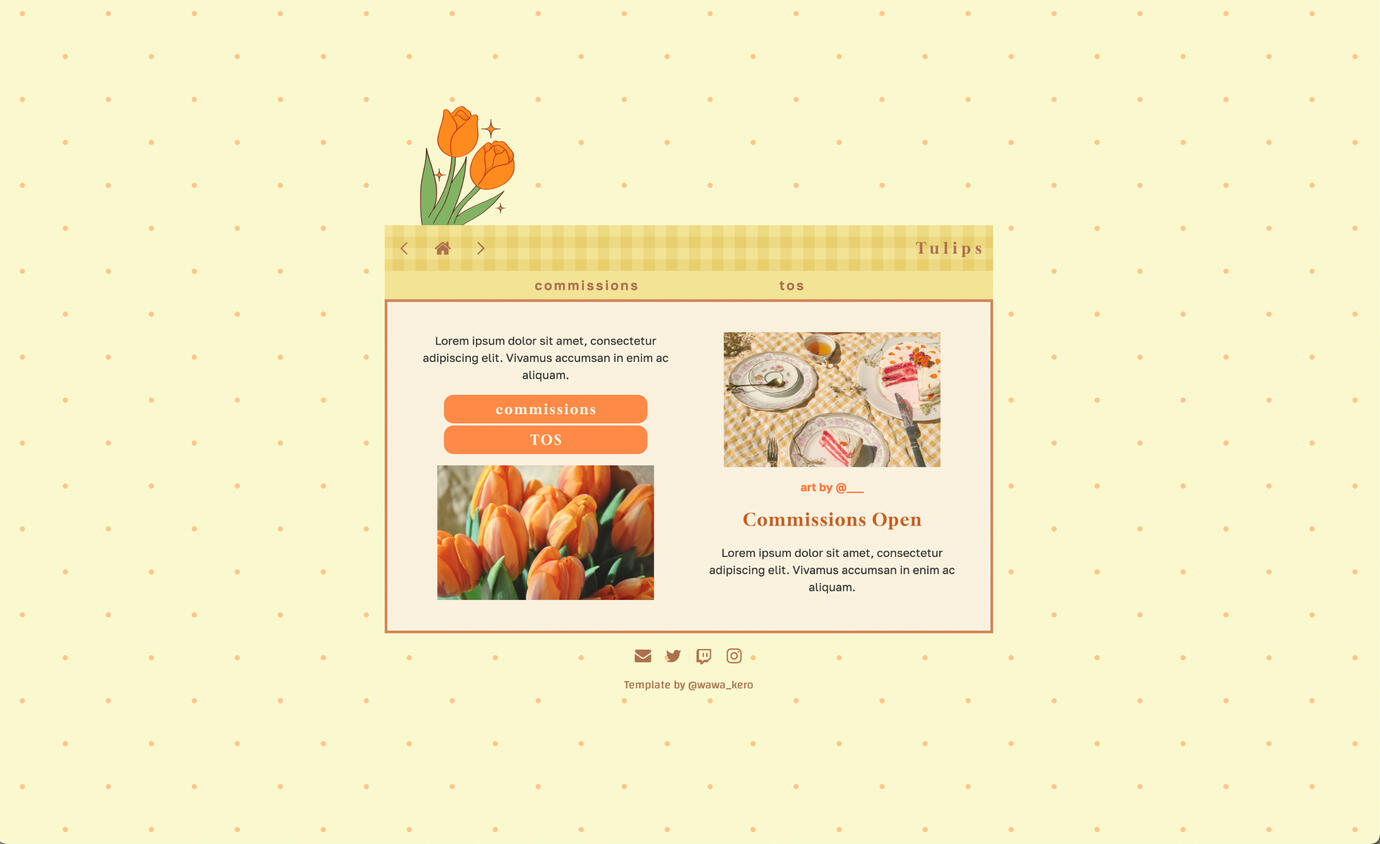
Cottagecore by Wawa Kero $0+
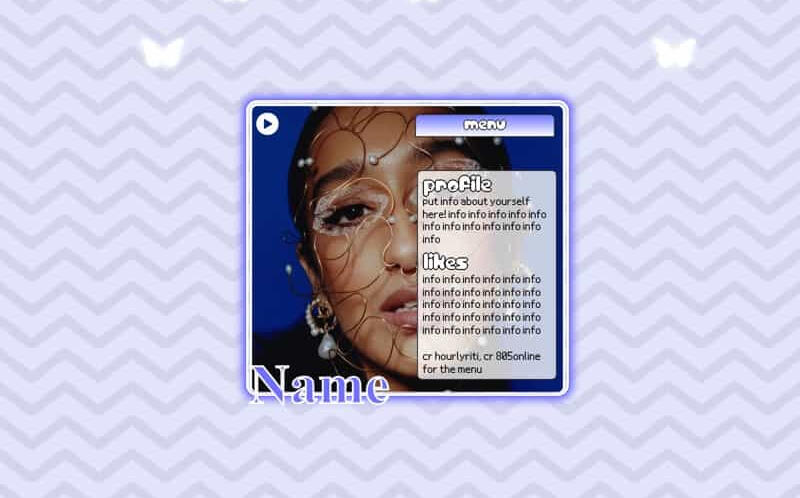
Cosmo by Yucrds $4
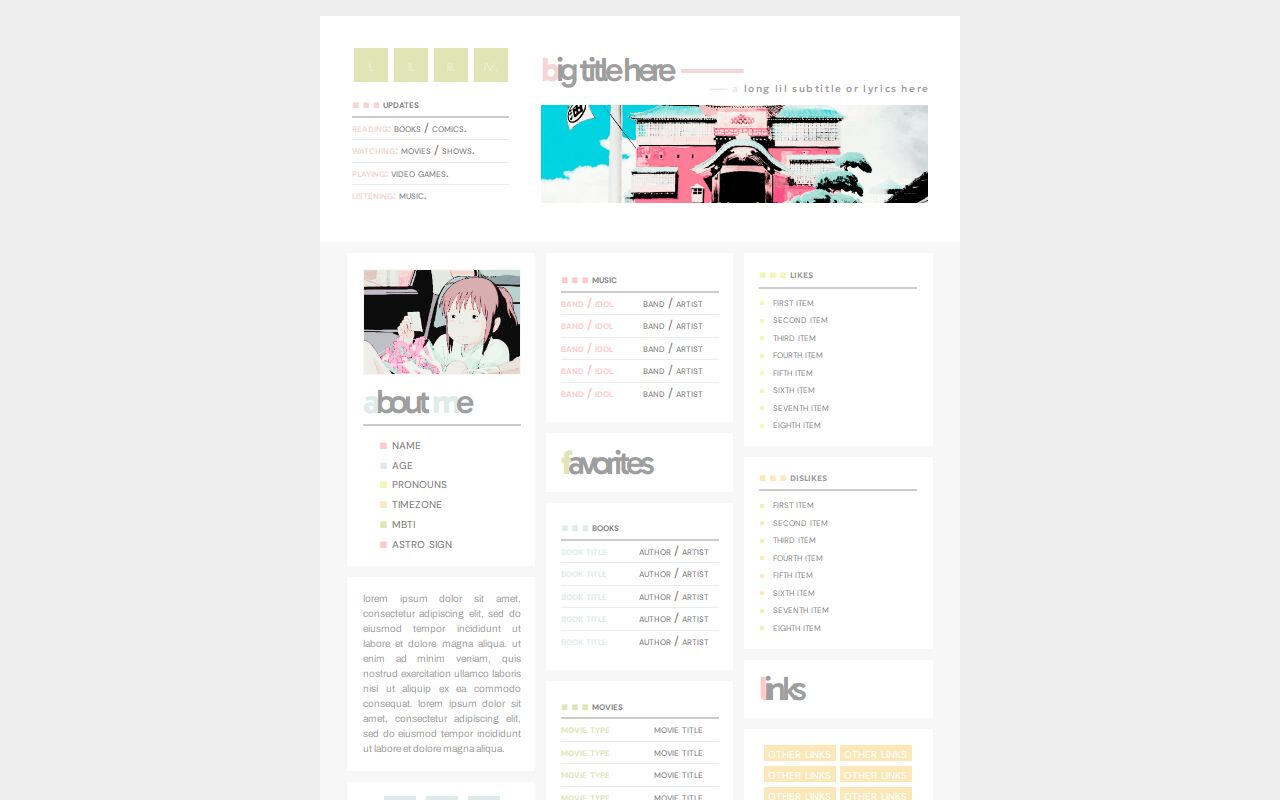
summer day. by Suncarrds $0+
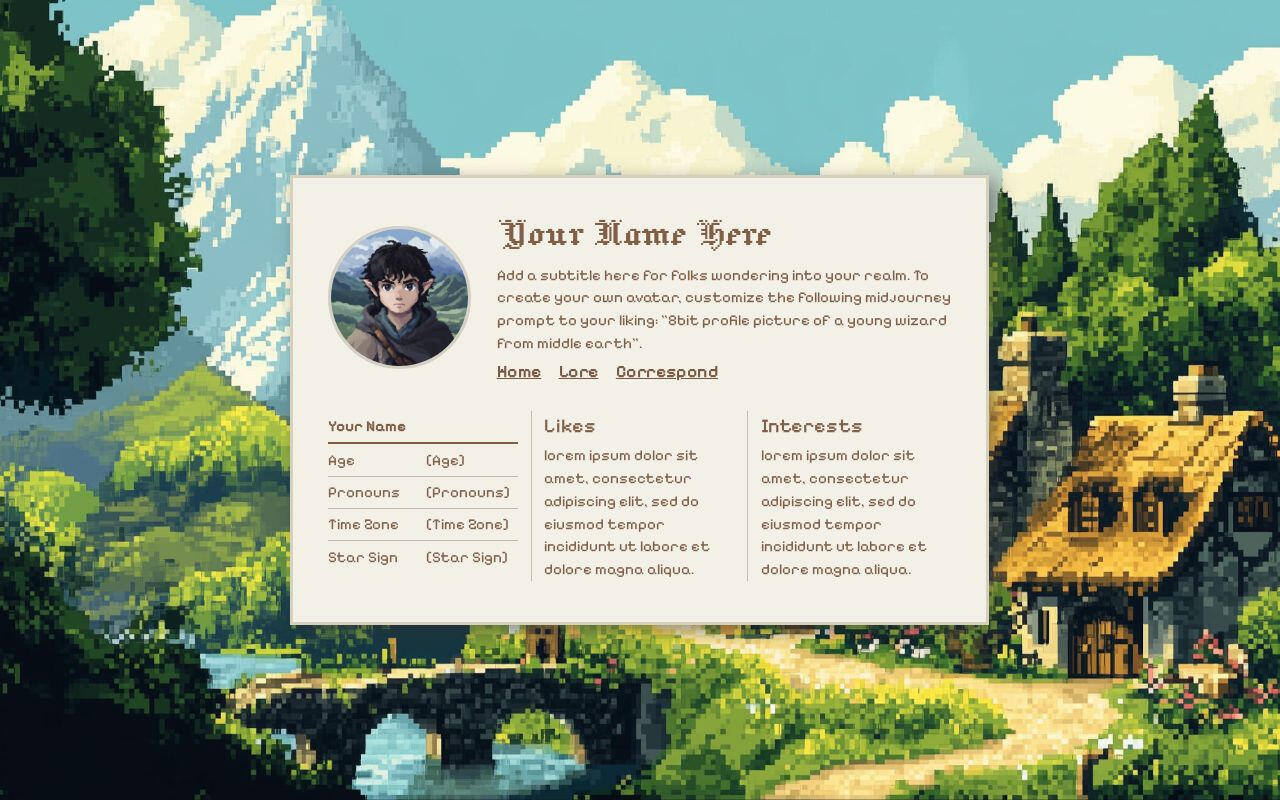
Buckland by Ben $0+
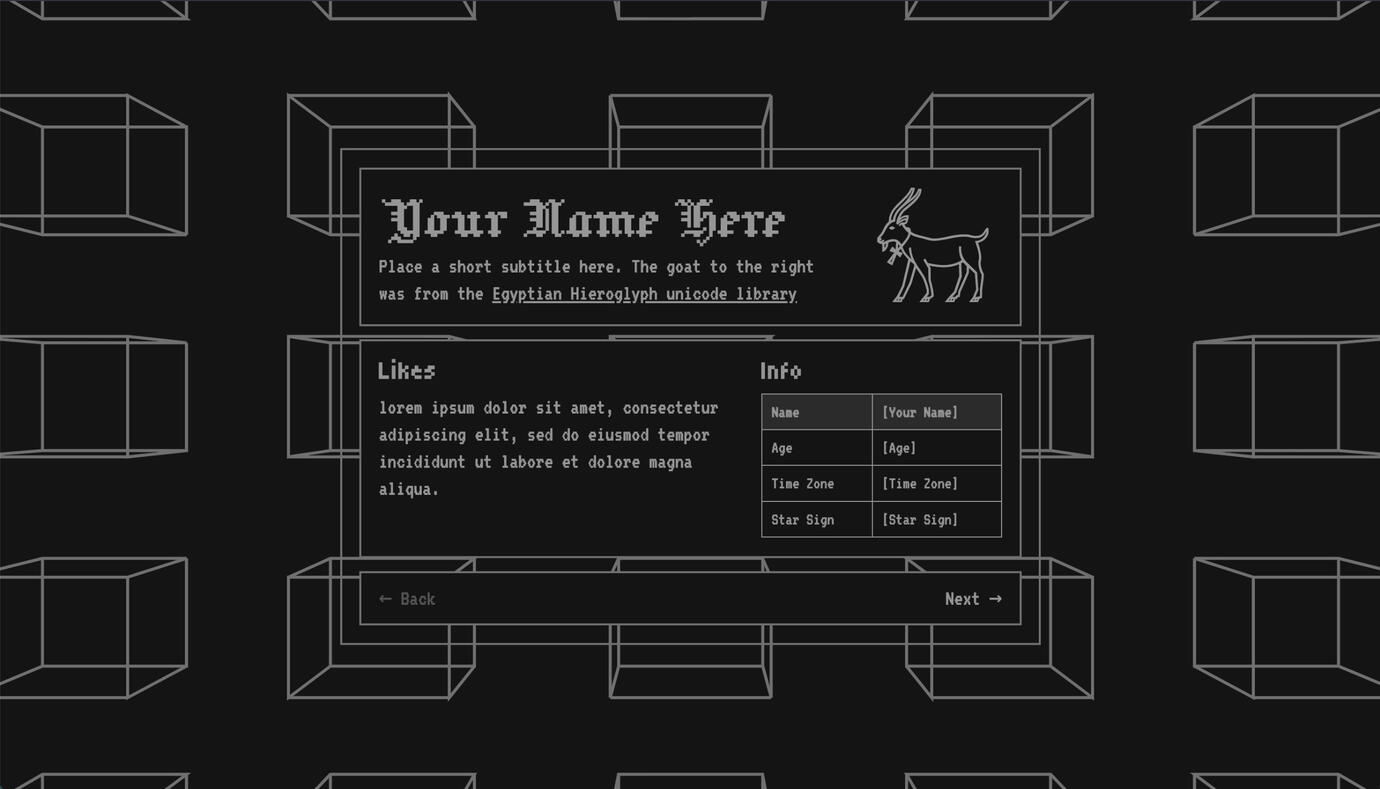
Gothic Future by Ben $0
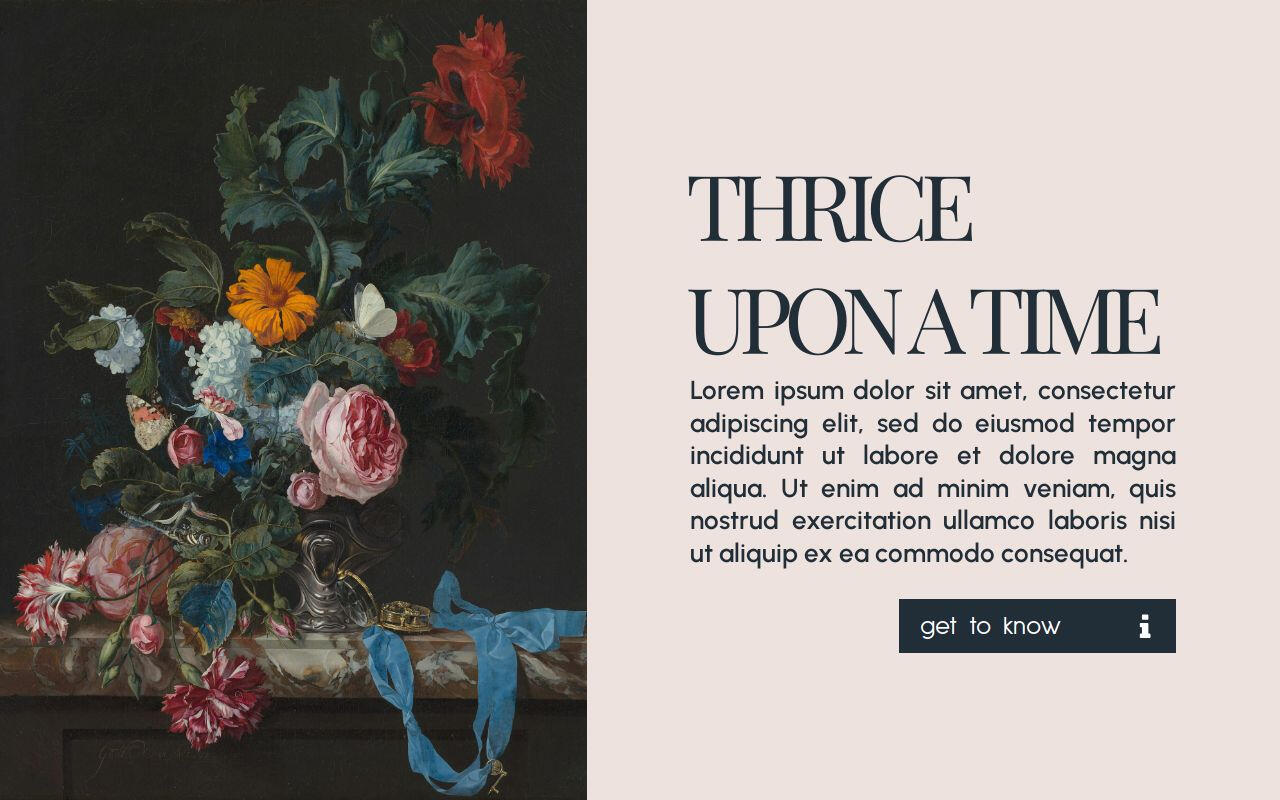
Thrice Upon a Time by Gege $5
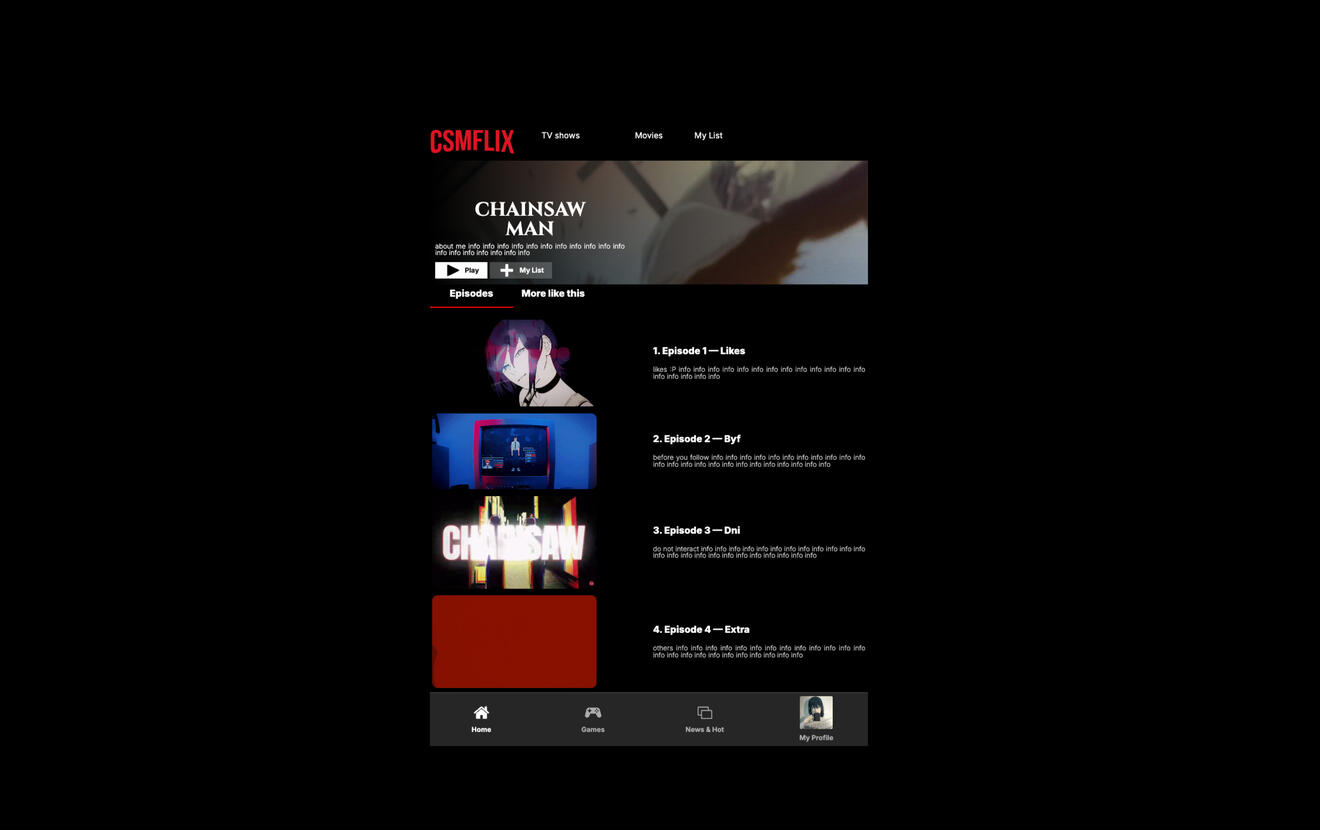
Csmflix by anes $0+
Aesthetic Carrd Templates

fairytale by poohsources $0+
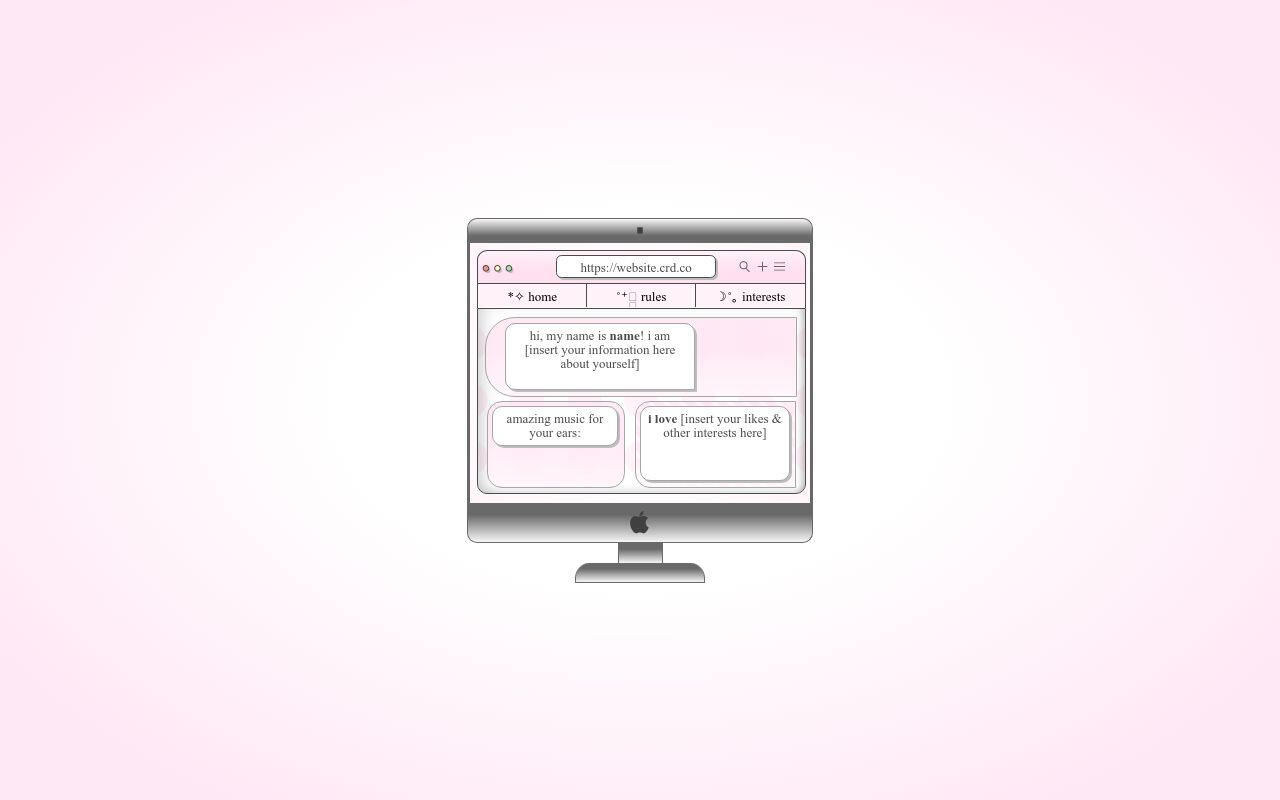
Highlight by Yucrds $12
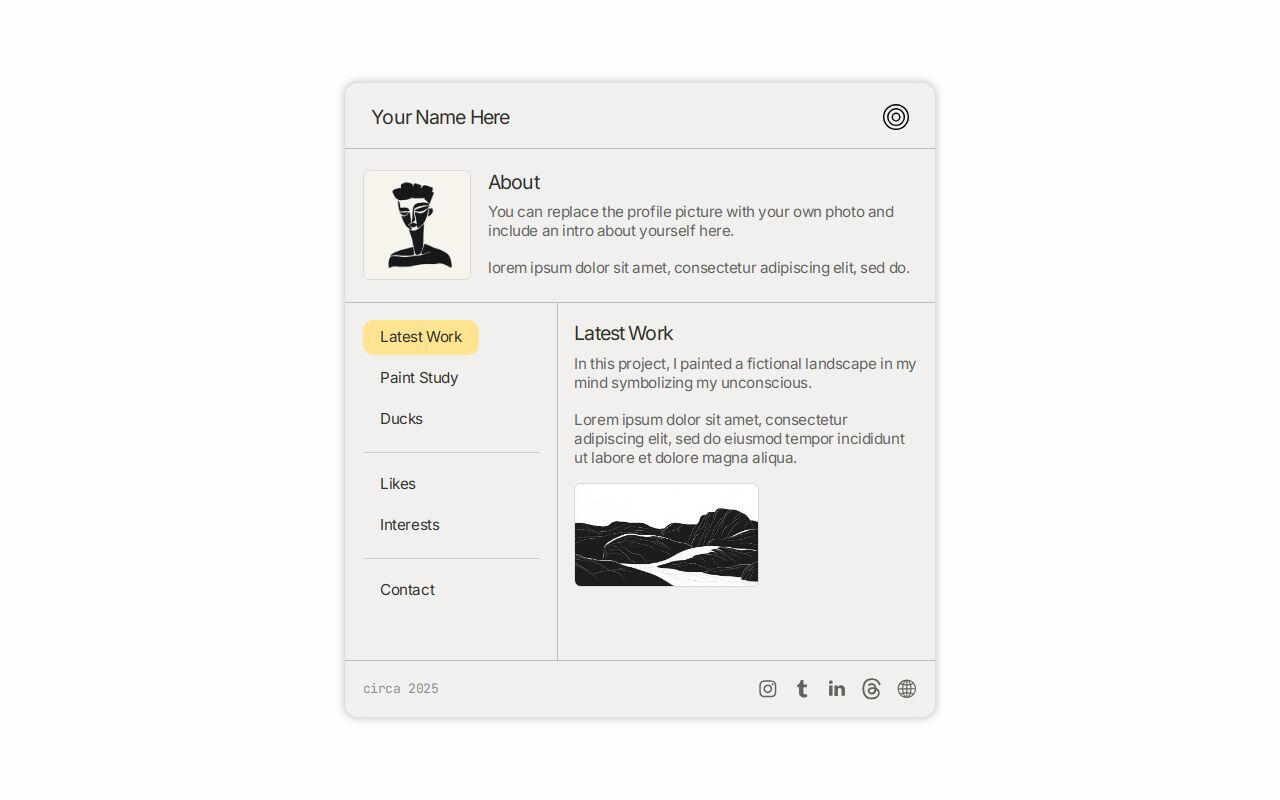
Folio by Ben $0+
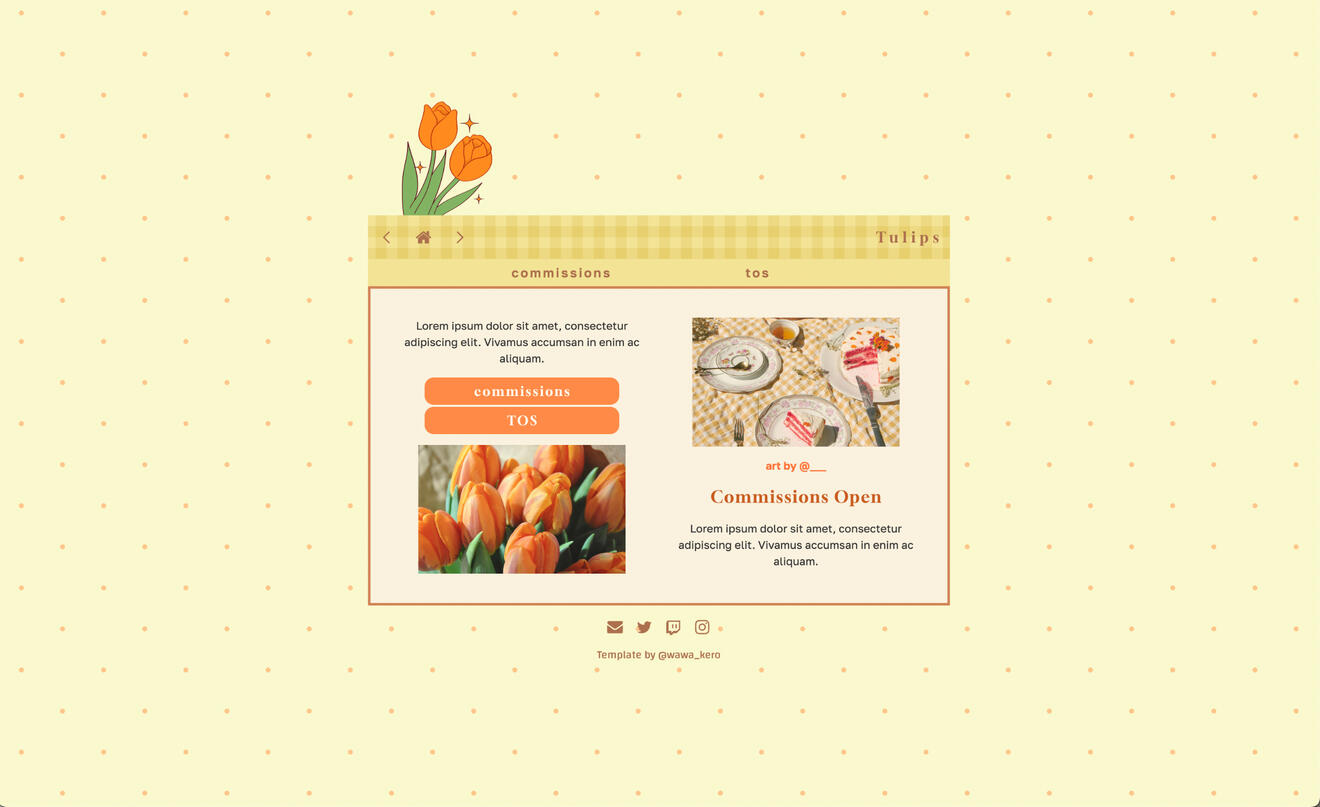
Cottagecore by Wawa Kero $0+
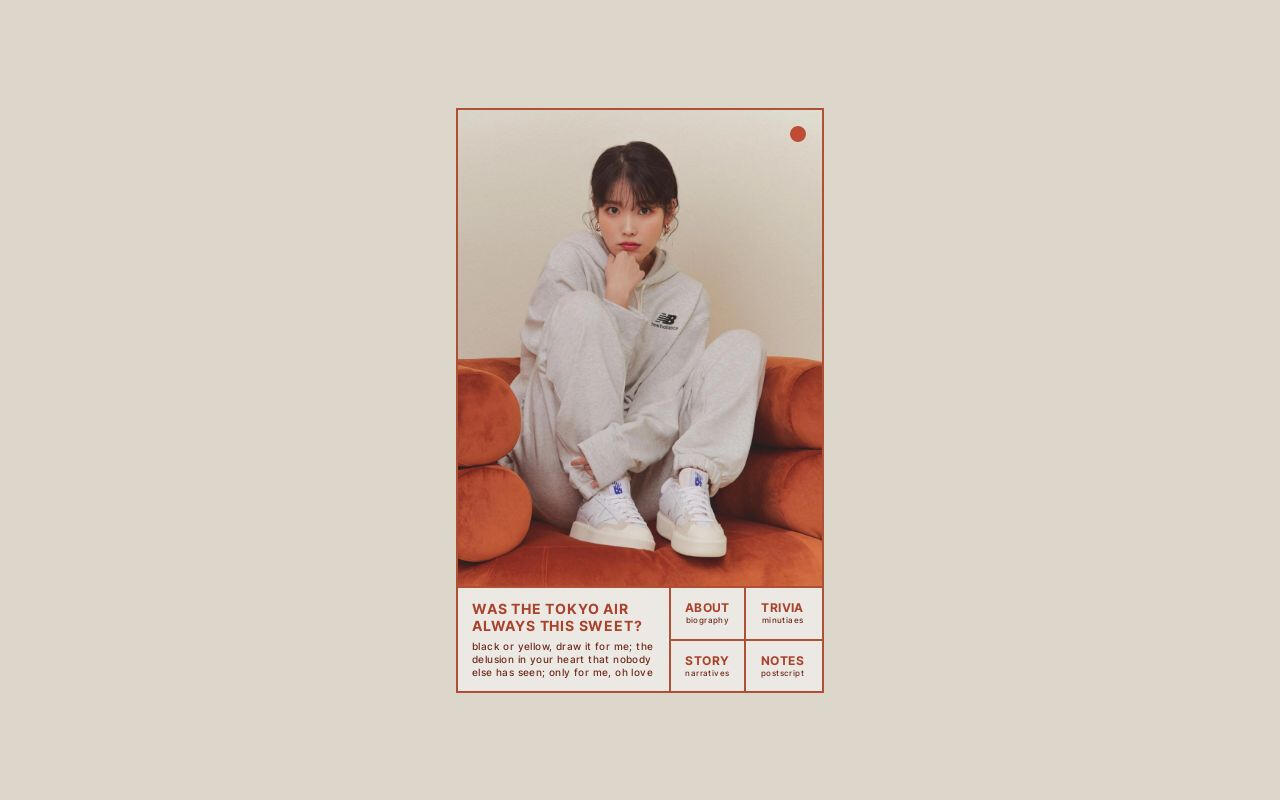
Raindrop by Zite Design $5
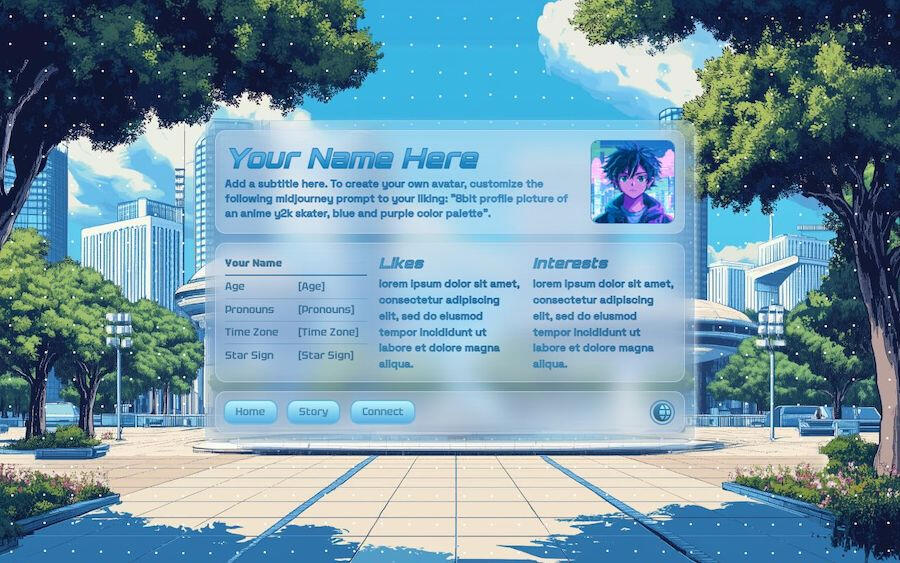
Xenon by Ben $0+
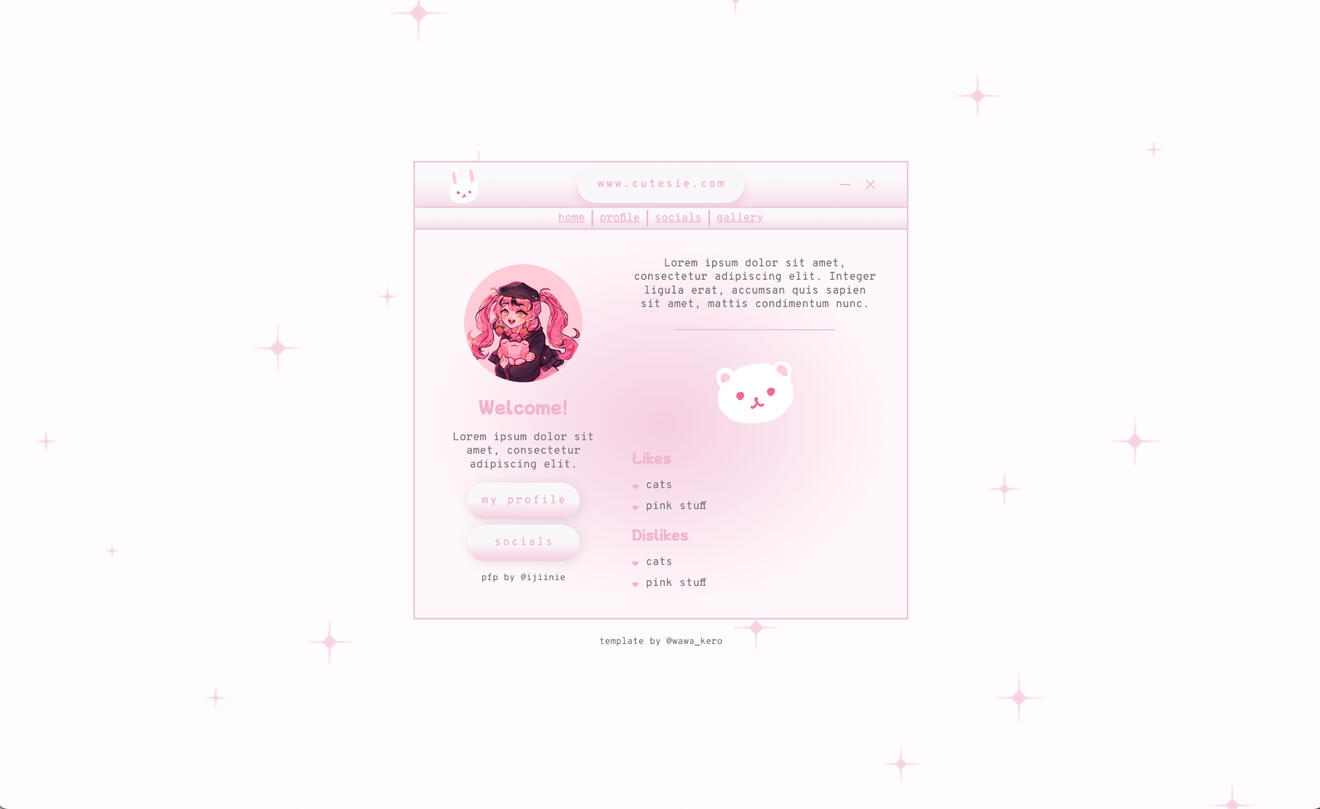
Pink Cutesie by Wawa Kero$0+
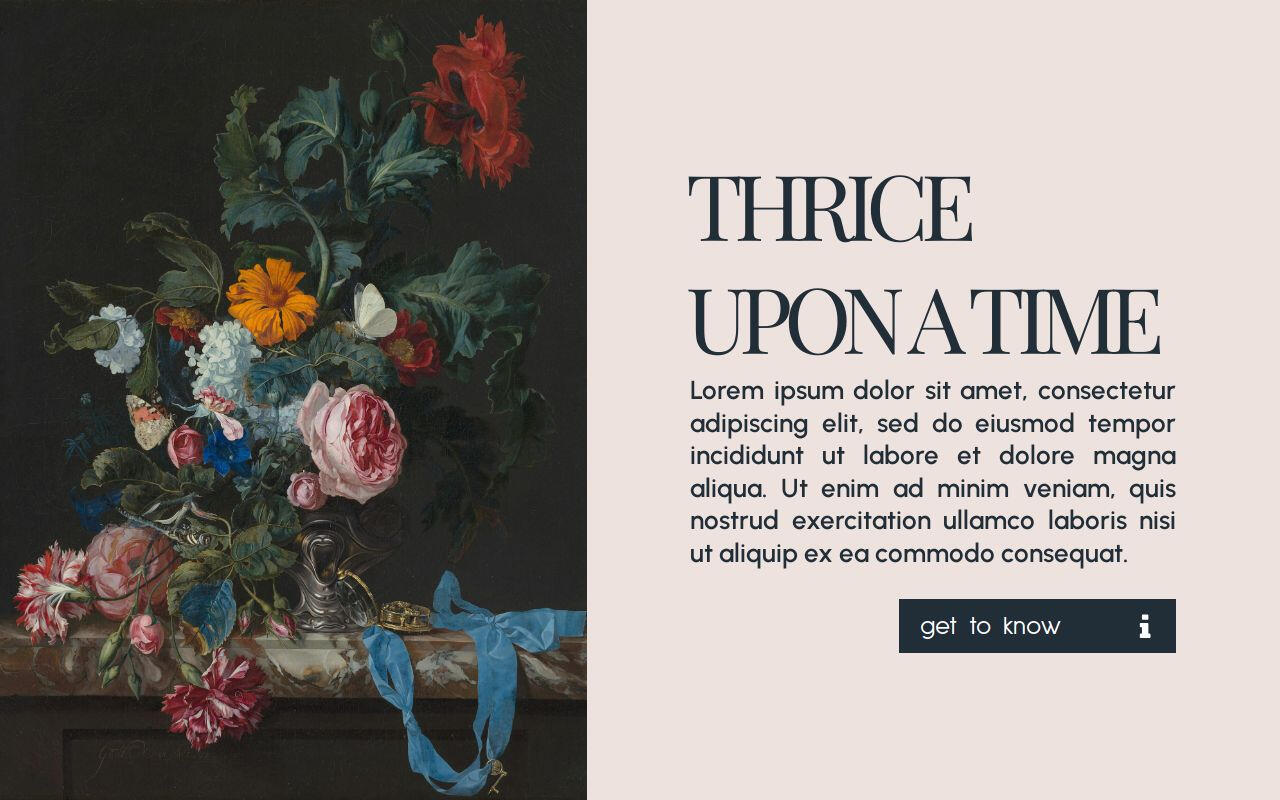
Thrice Upon a Time by Gege $5
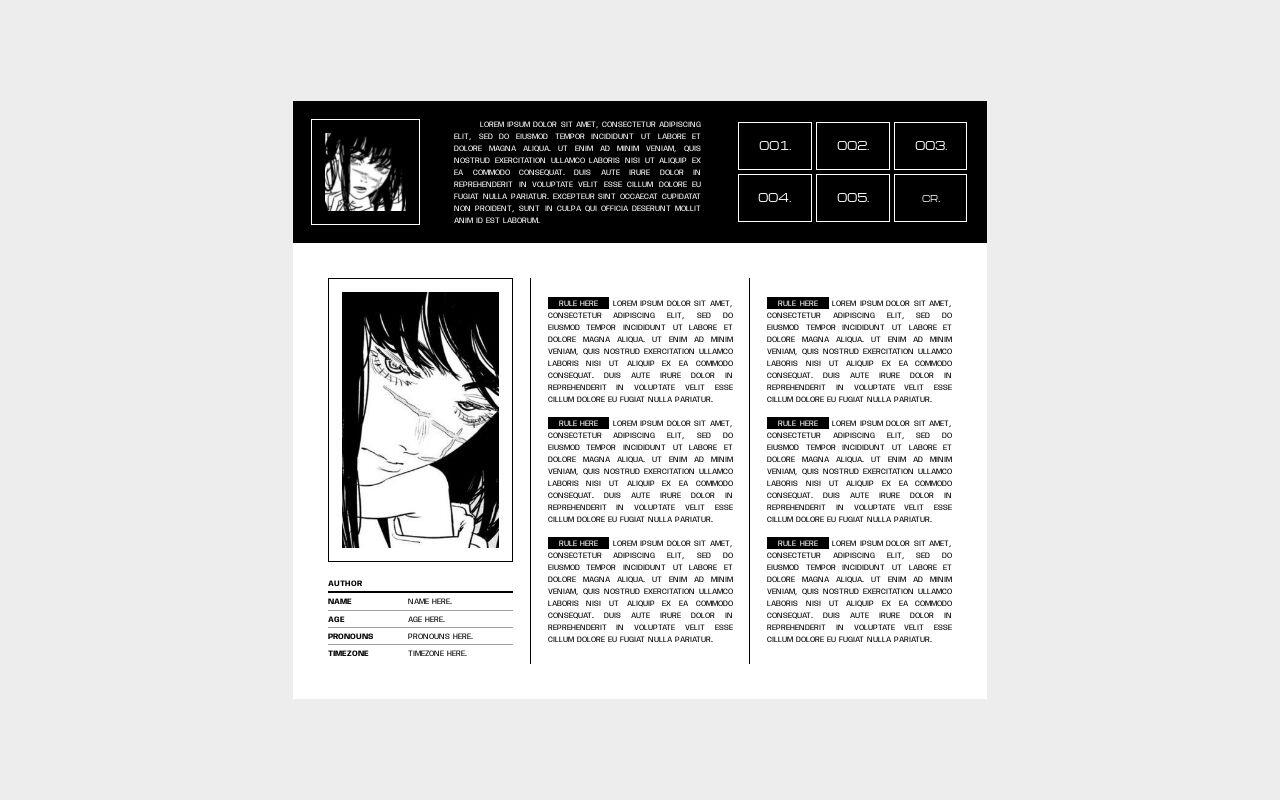
007. fiend. by Suncarrds $0+
Cute Carrd Templates
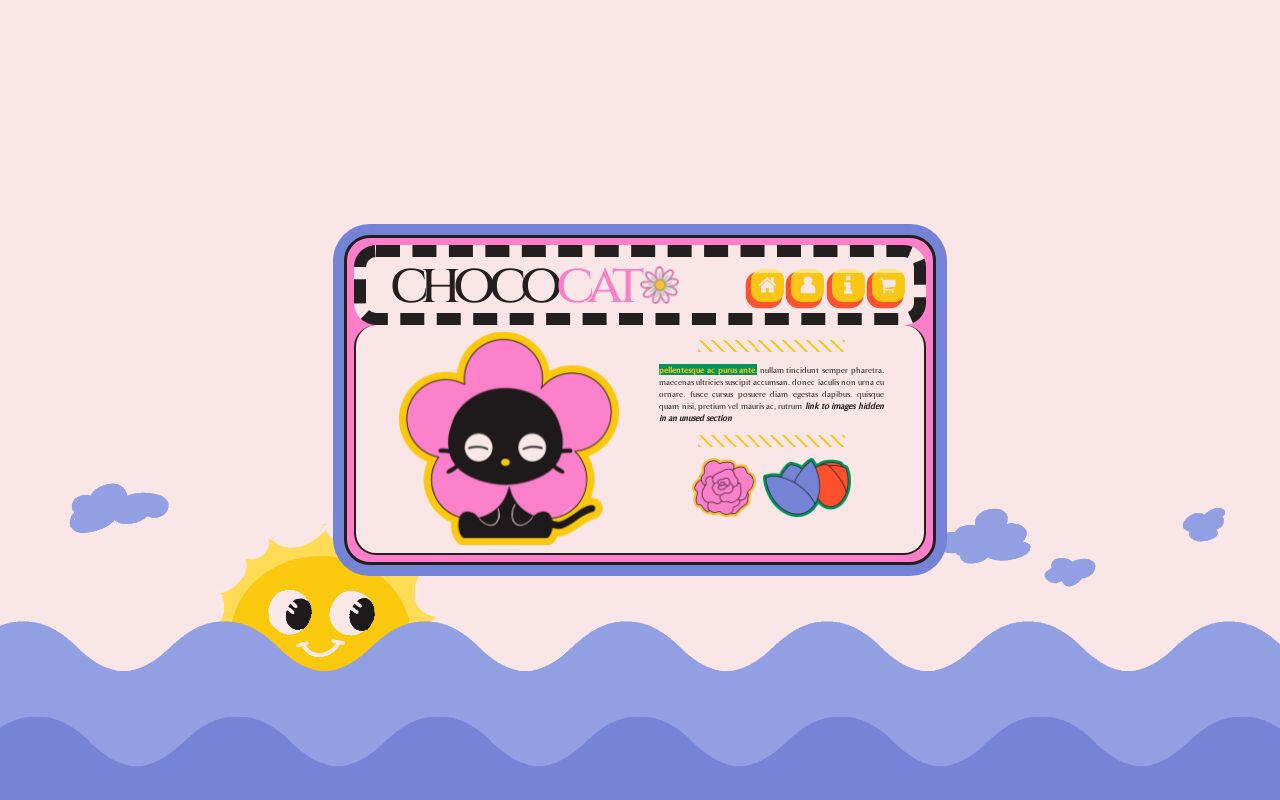
Chococat by Crowdits $0+
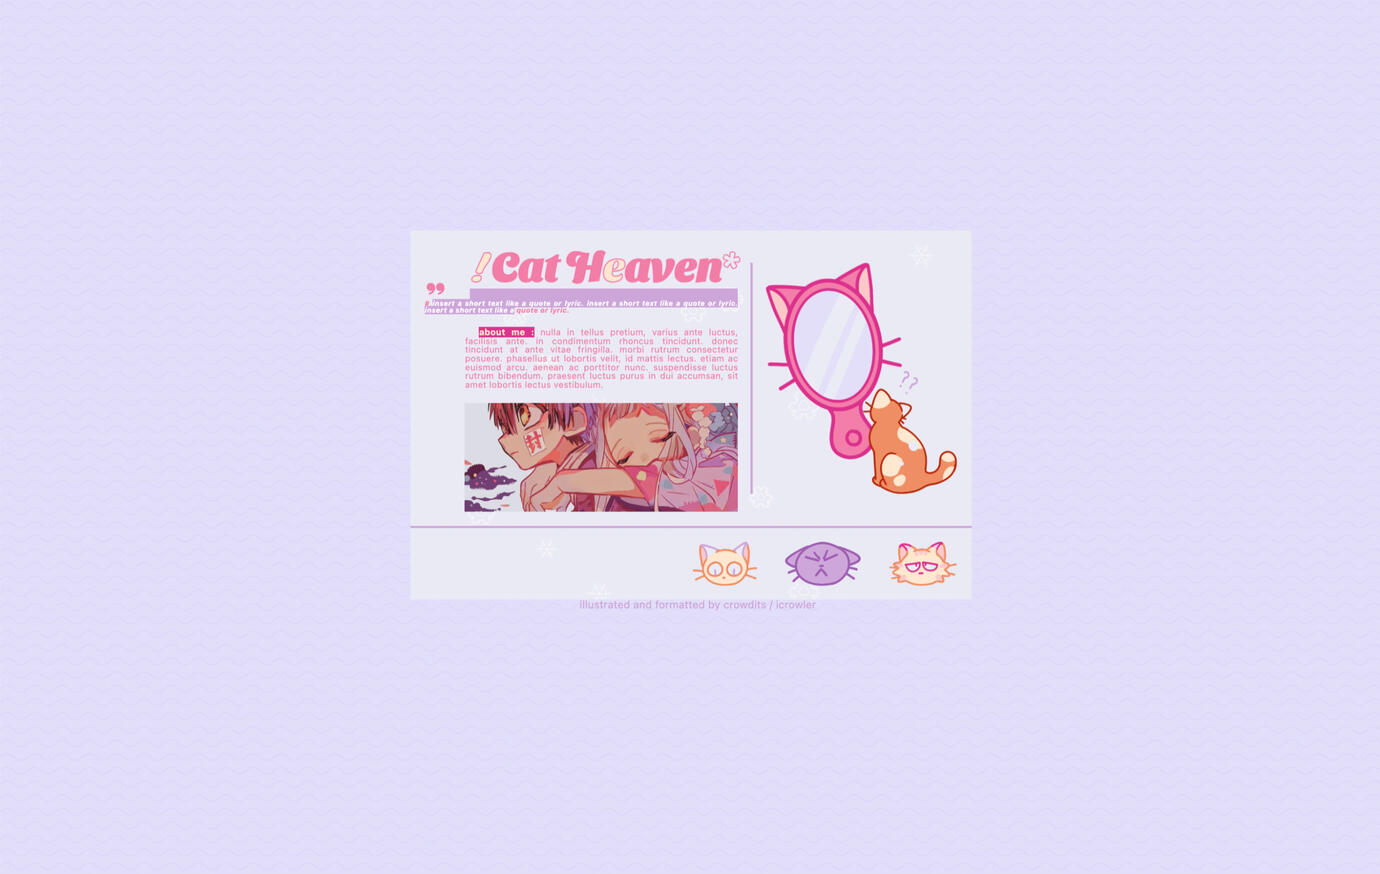
Cat Heaven by Crowdits $0+
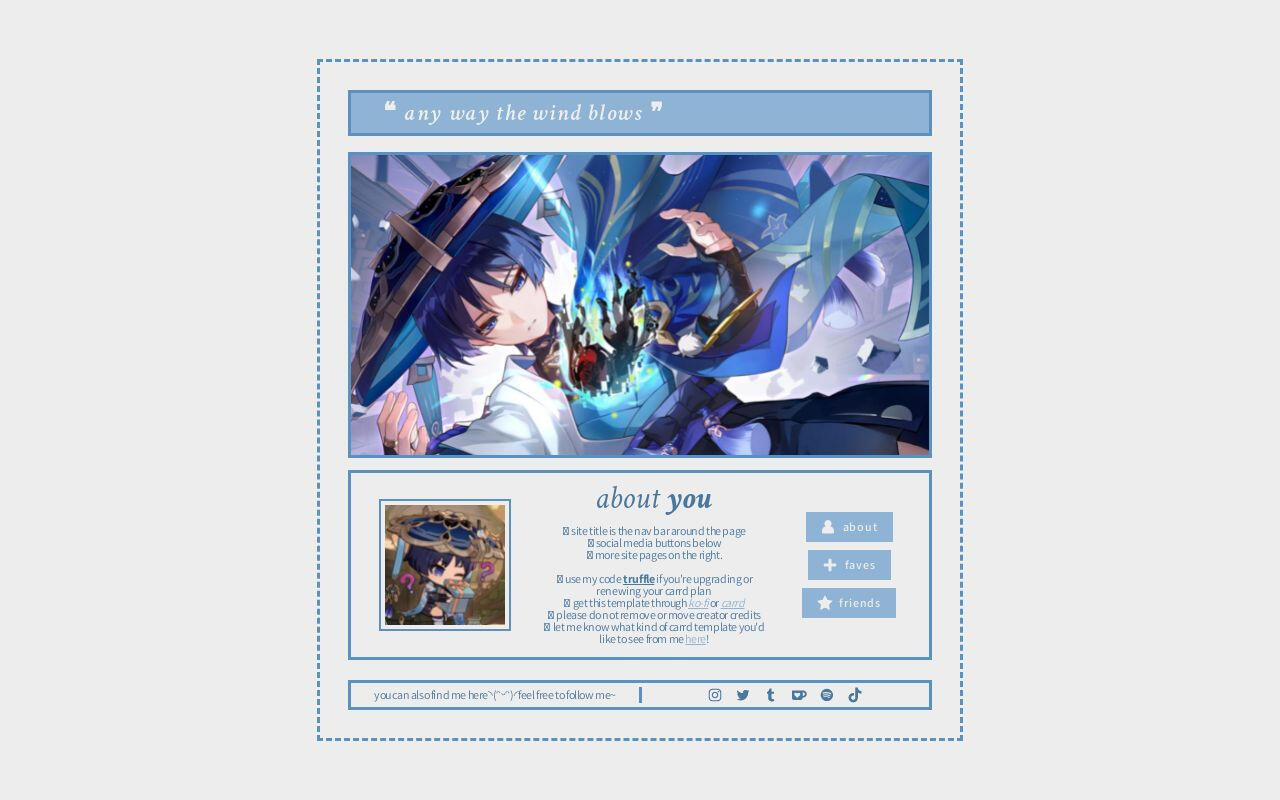
Wind by Harmless Napping $0+

fairytale by poohsources $0+
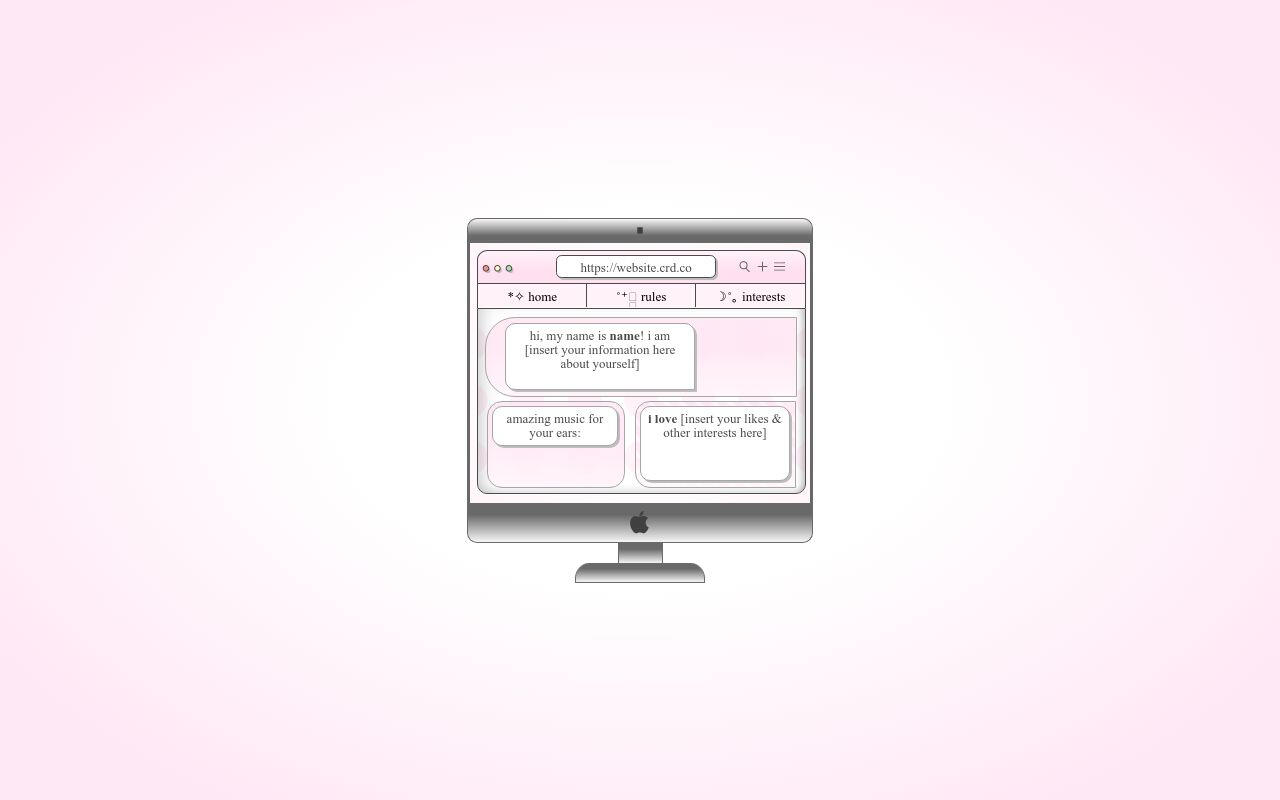
Highlight by Yucrds $12
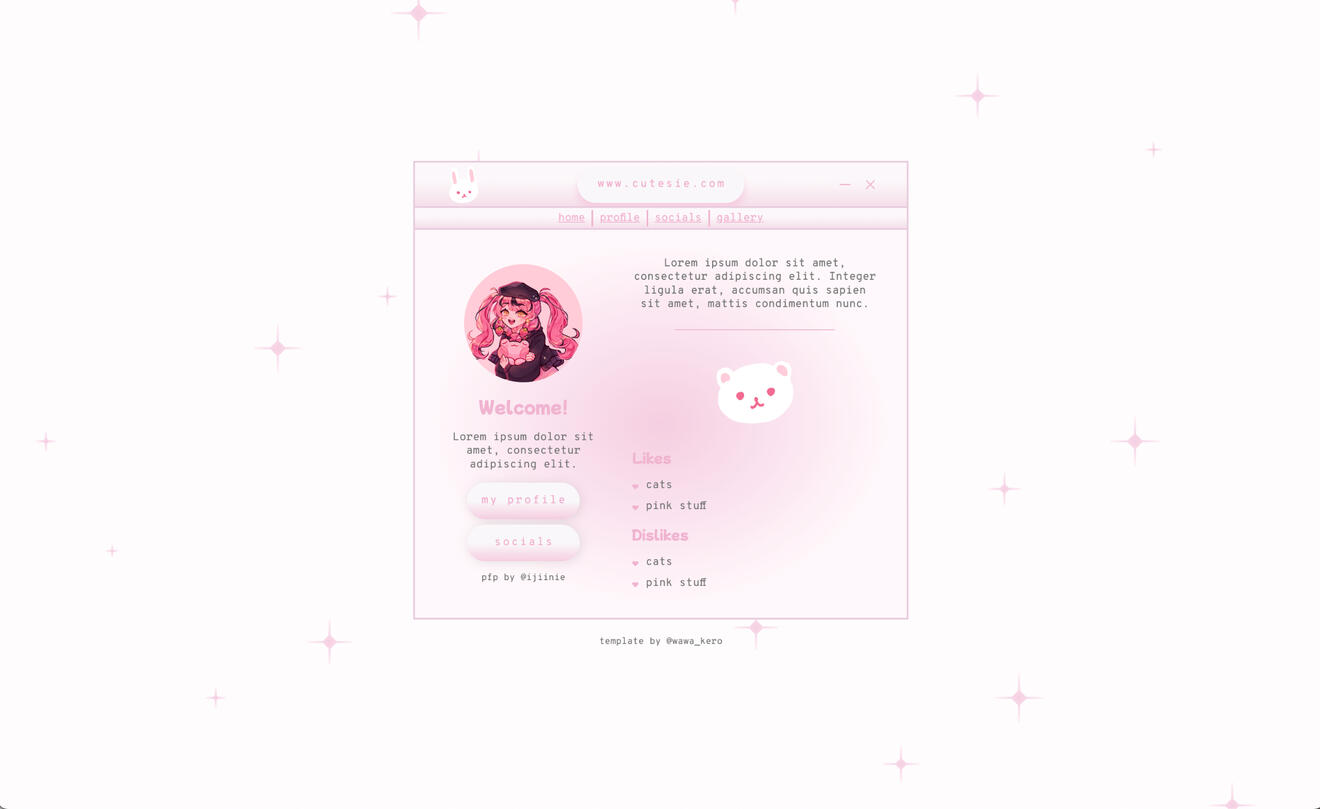
Pink Cutesie by Wawa Kero$0+
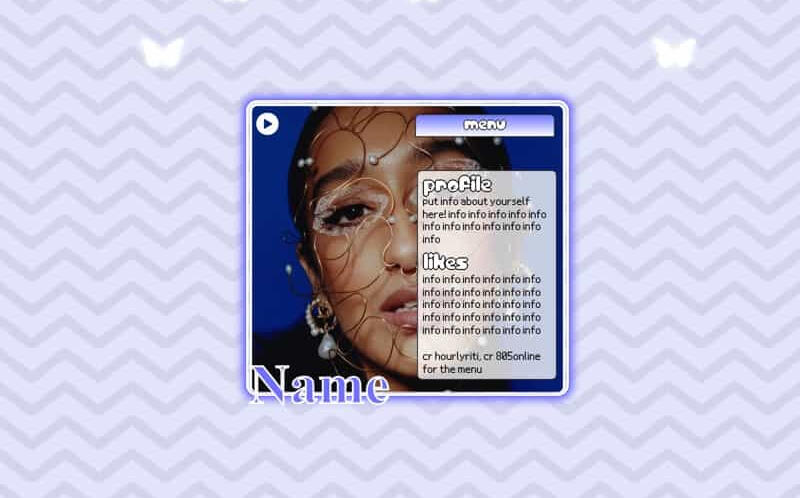
Cosmo by Yucrds $4
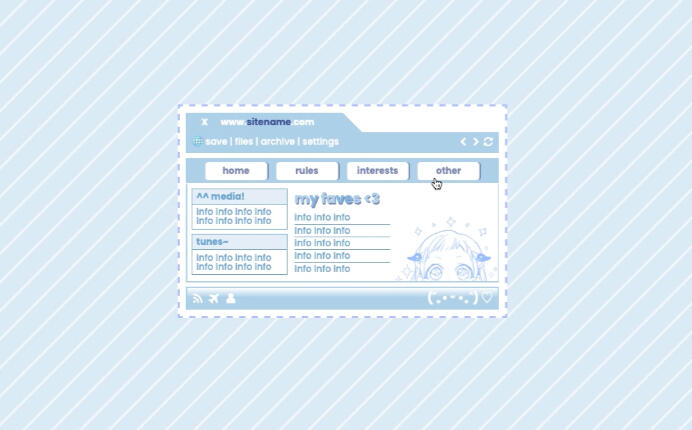
Template by Kaitlyn $0+
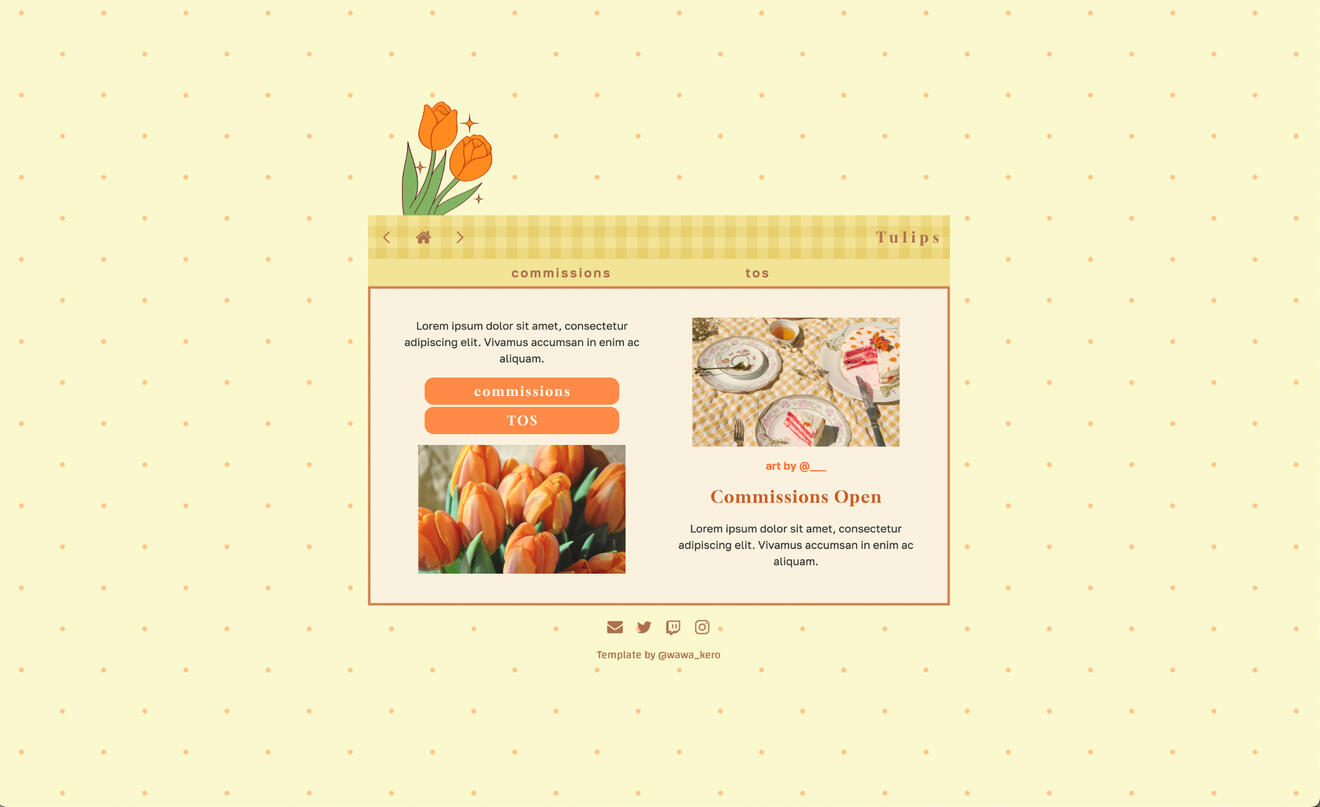
Cottagecore by Wawa Kero $0+
Free Carrd Templates
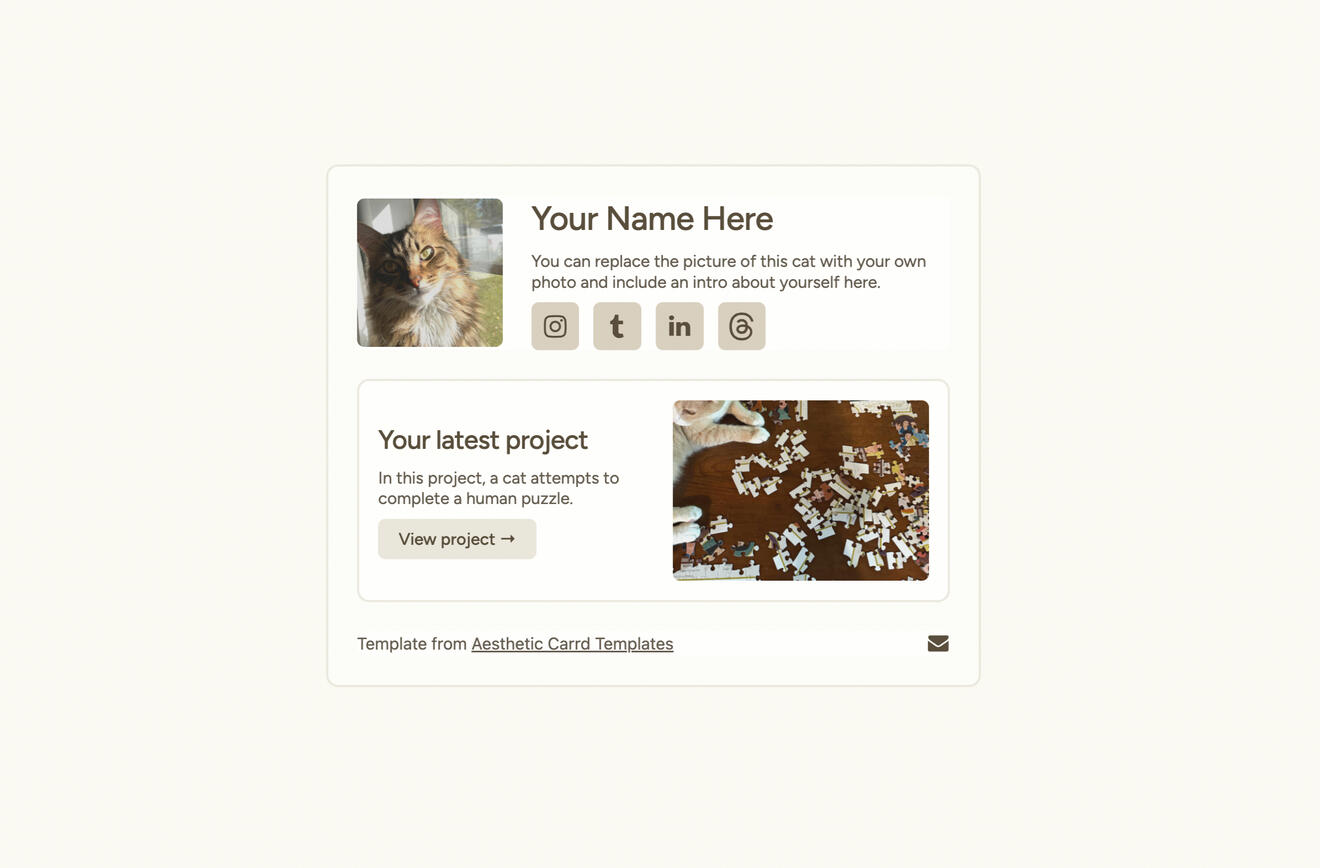
Aesthetic Cat by Ben $0
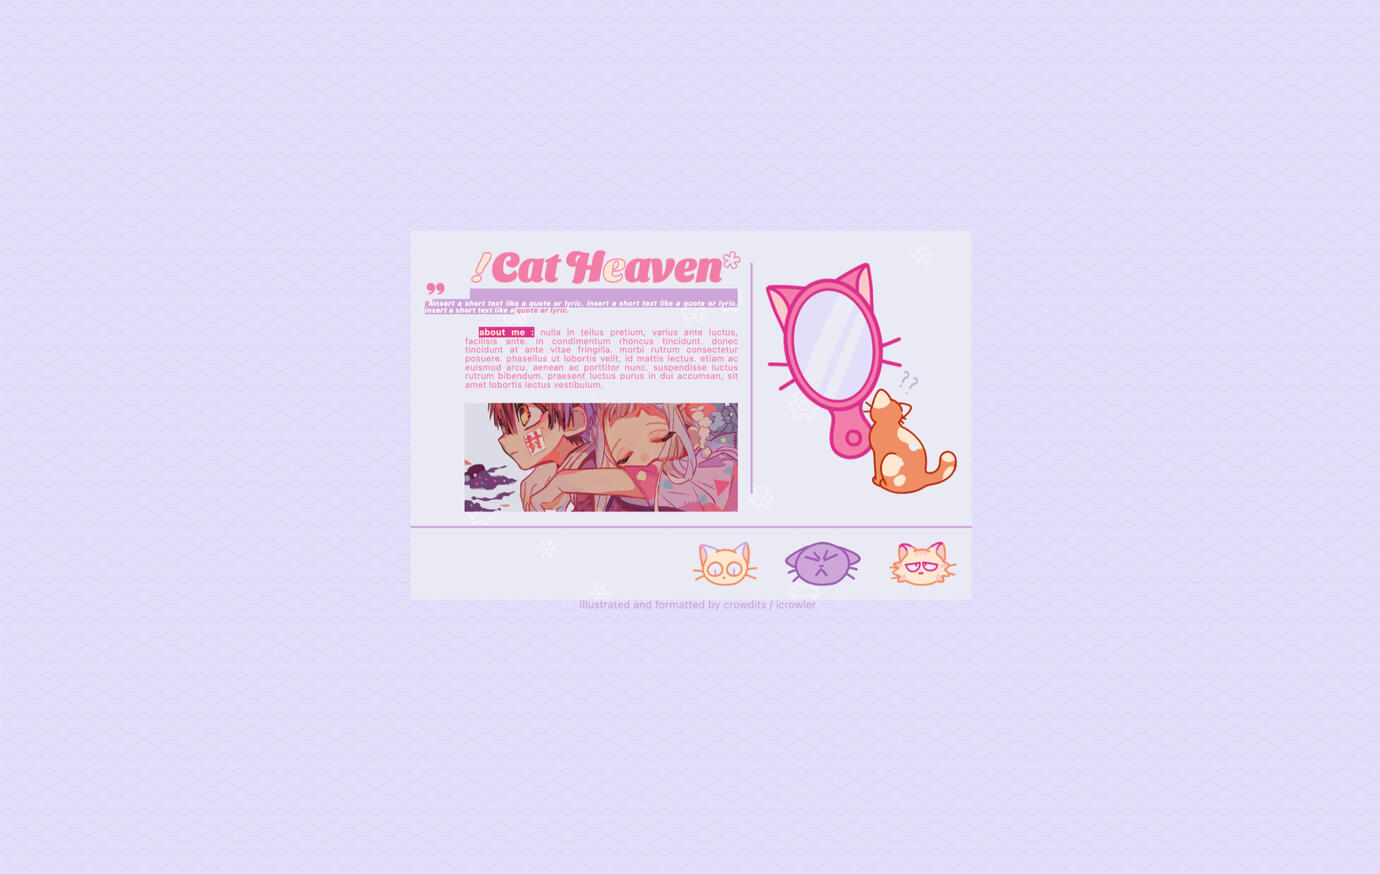
Cat Heaven by Crowdits $0+
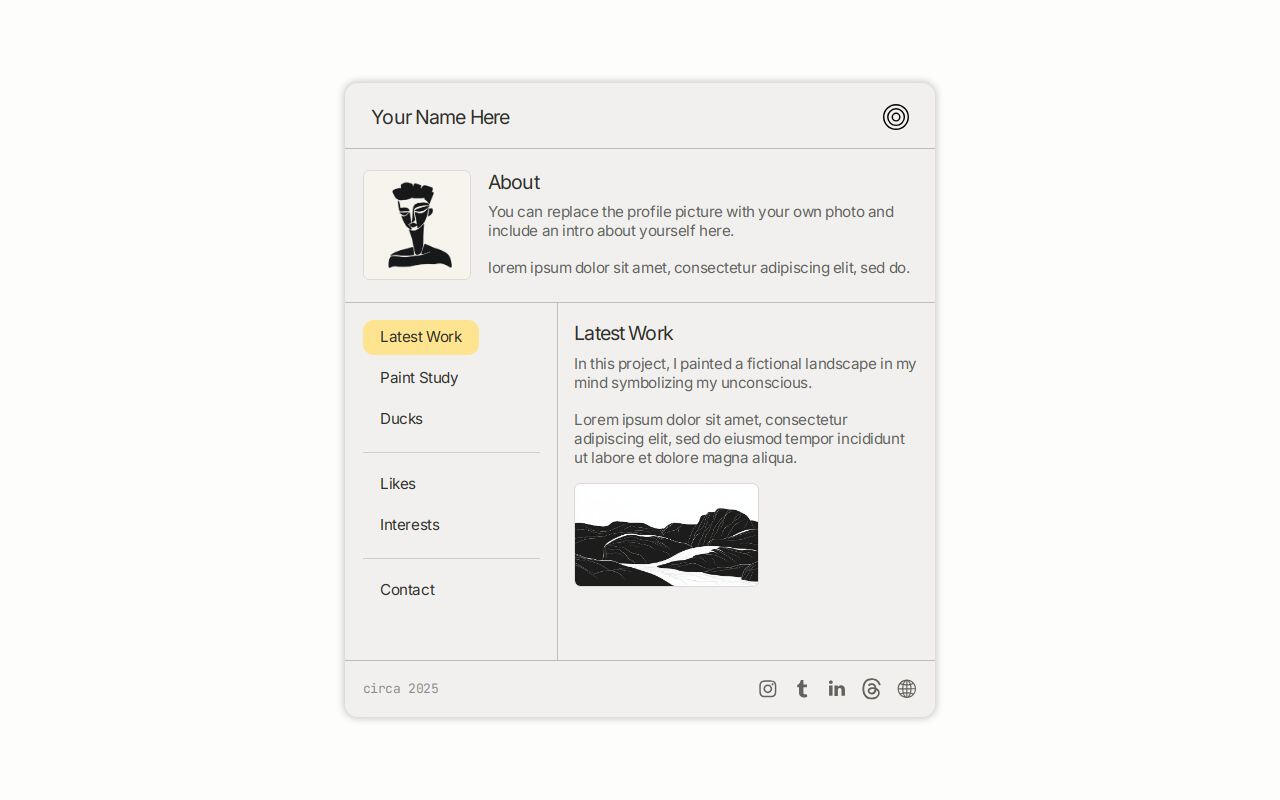
Folio by Ben $0+
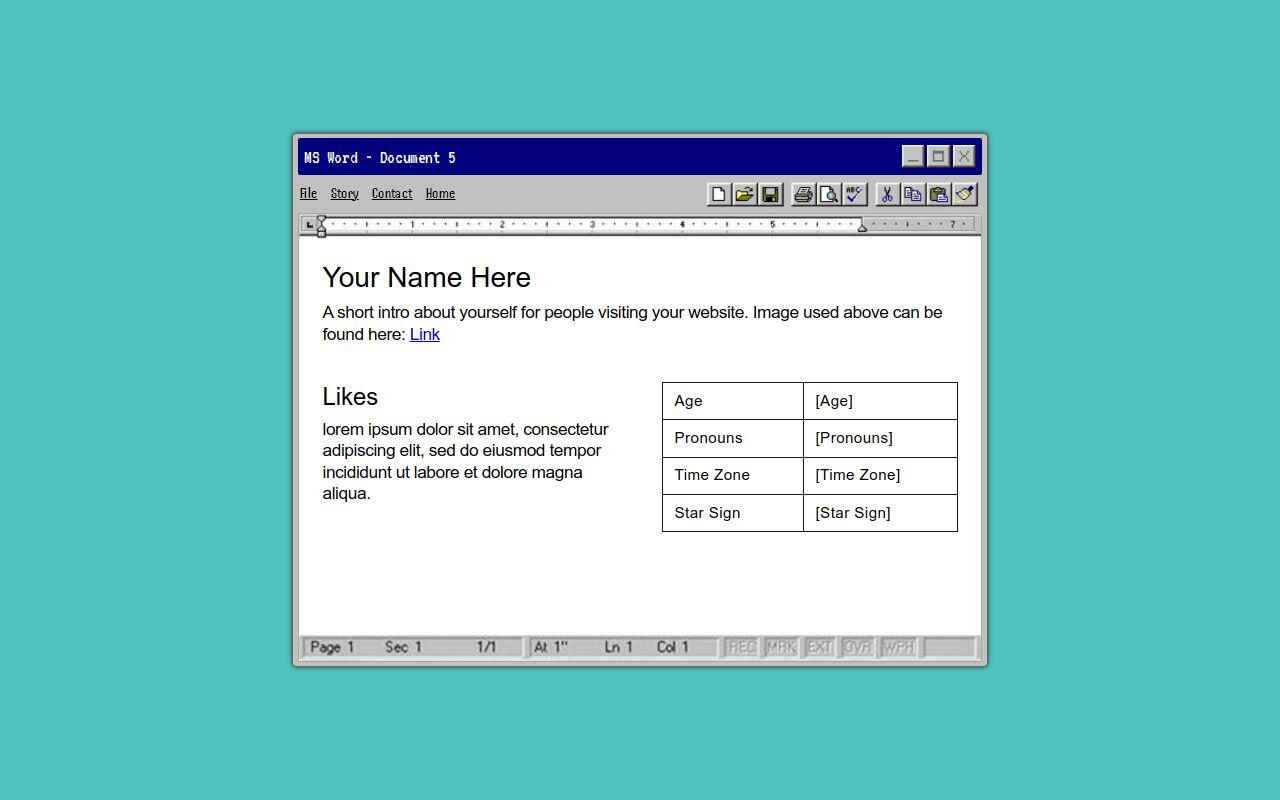
95WordDoc by Ben $0+
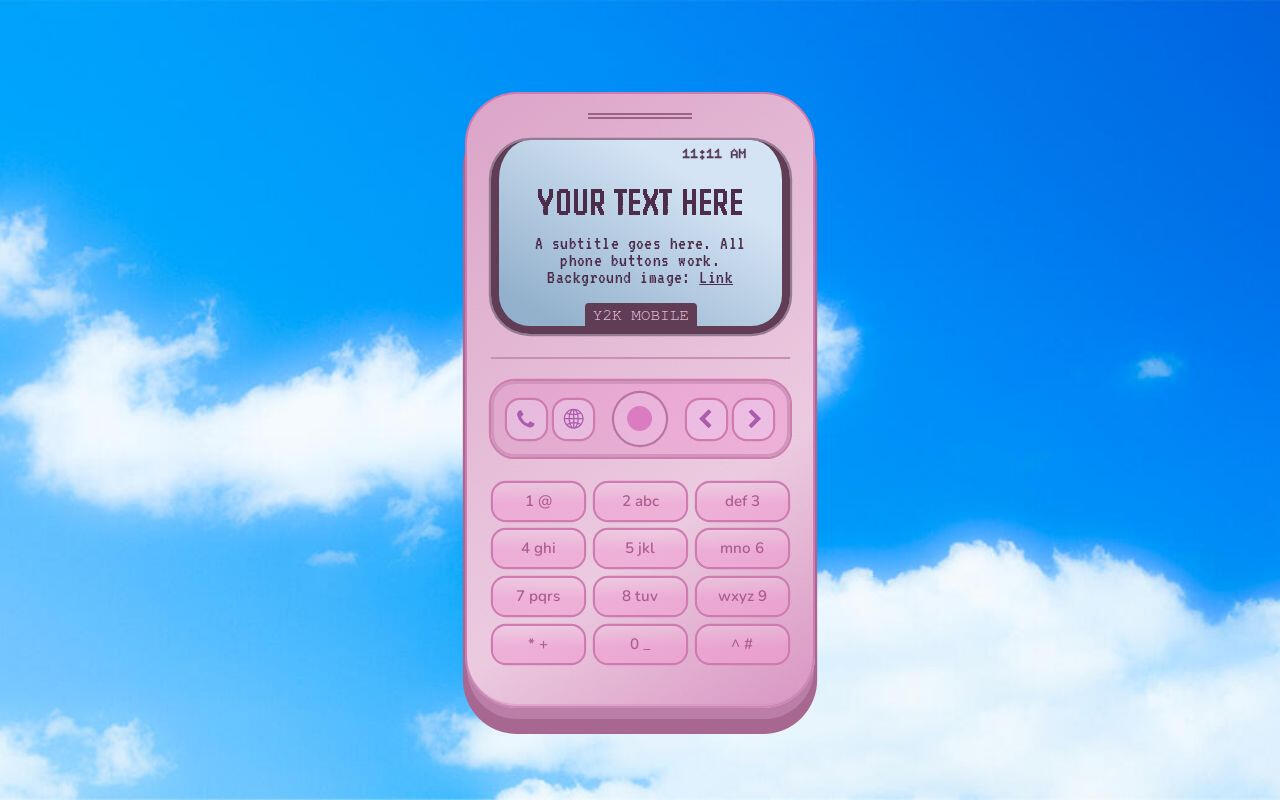
y2k mobile by ben $0+
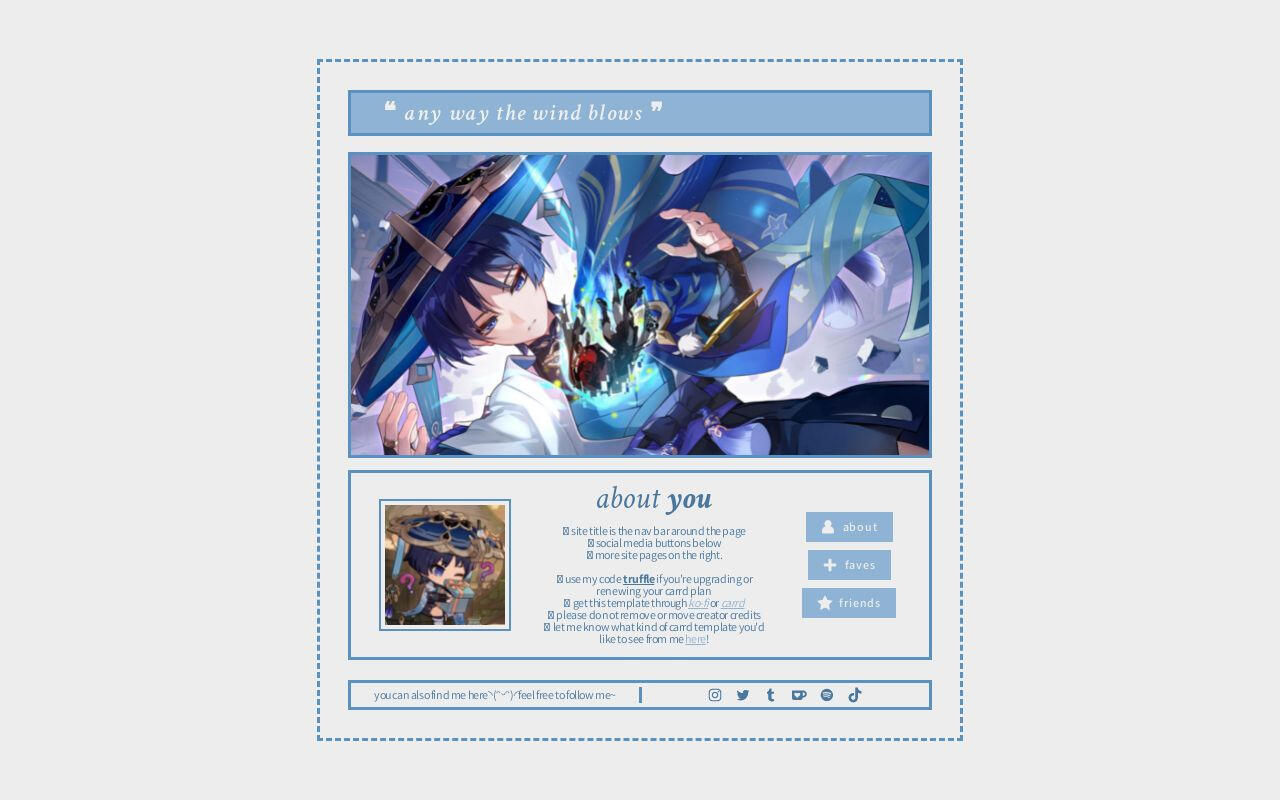
Wind by Harmless Napping $0+
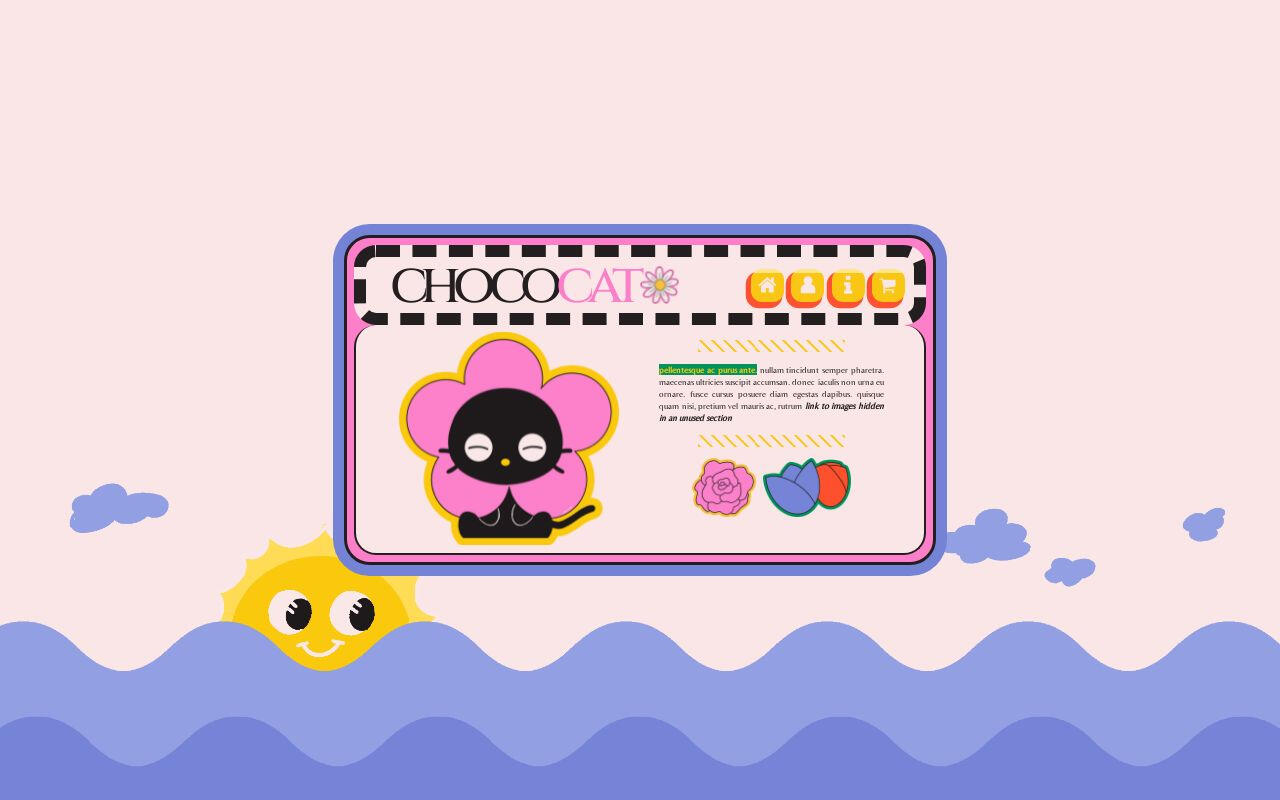
Chococat by Crowdits $0+
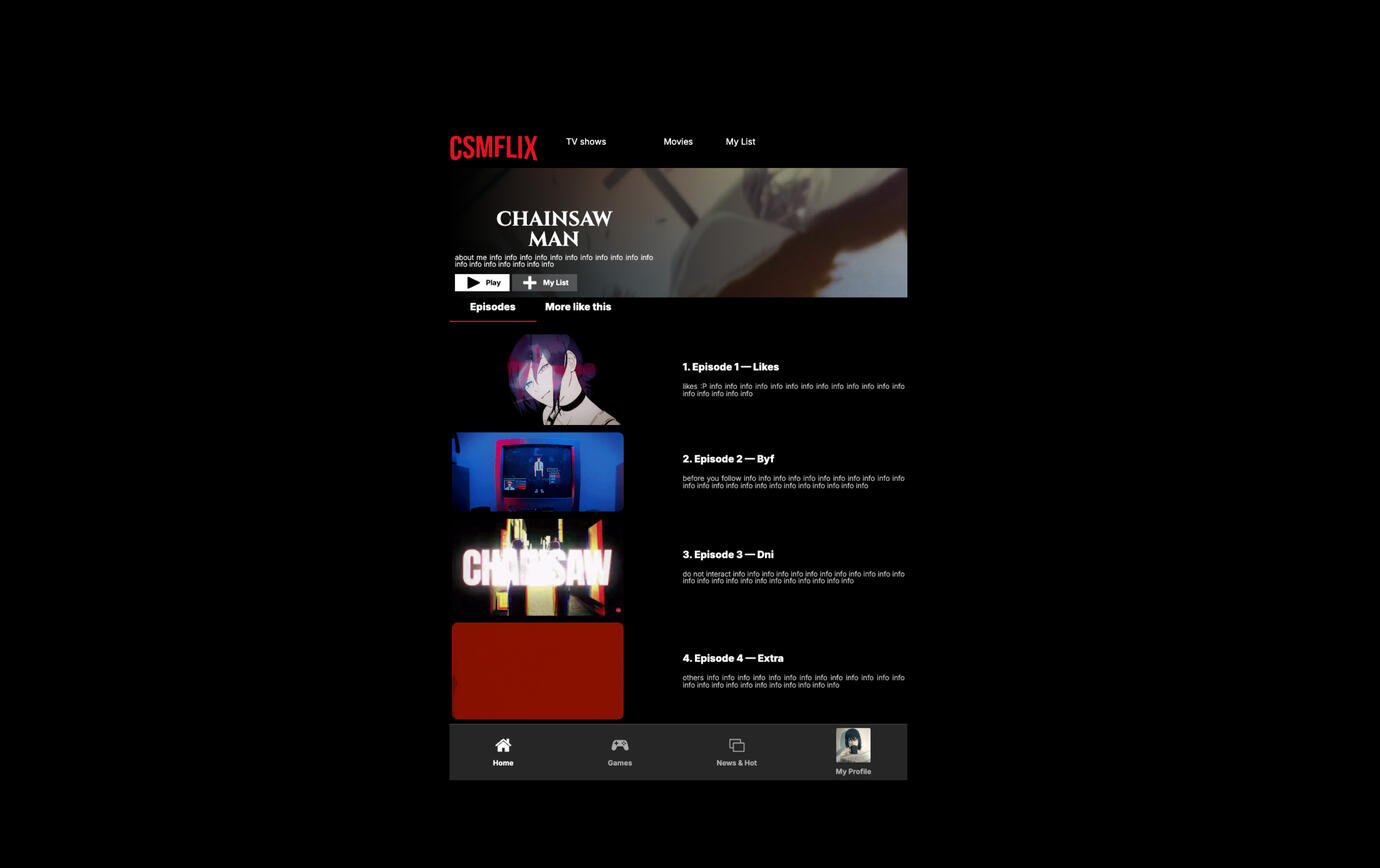
Csmflix by anes $0+
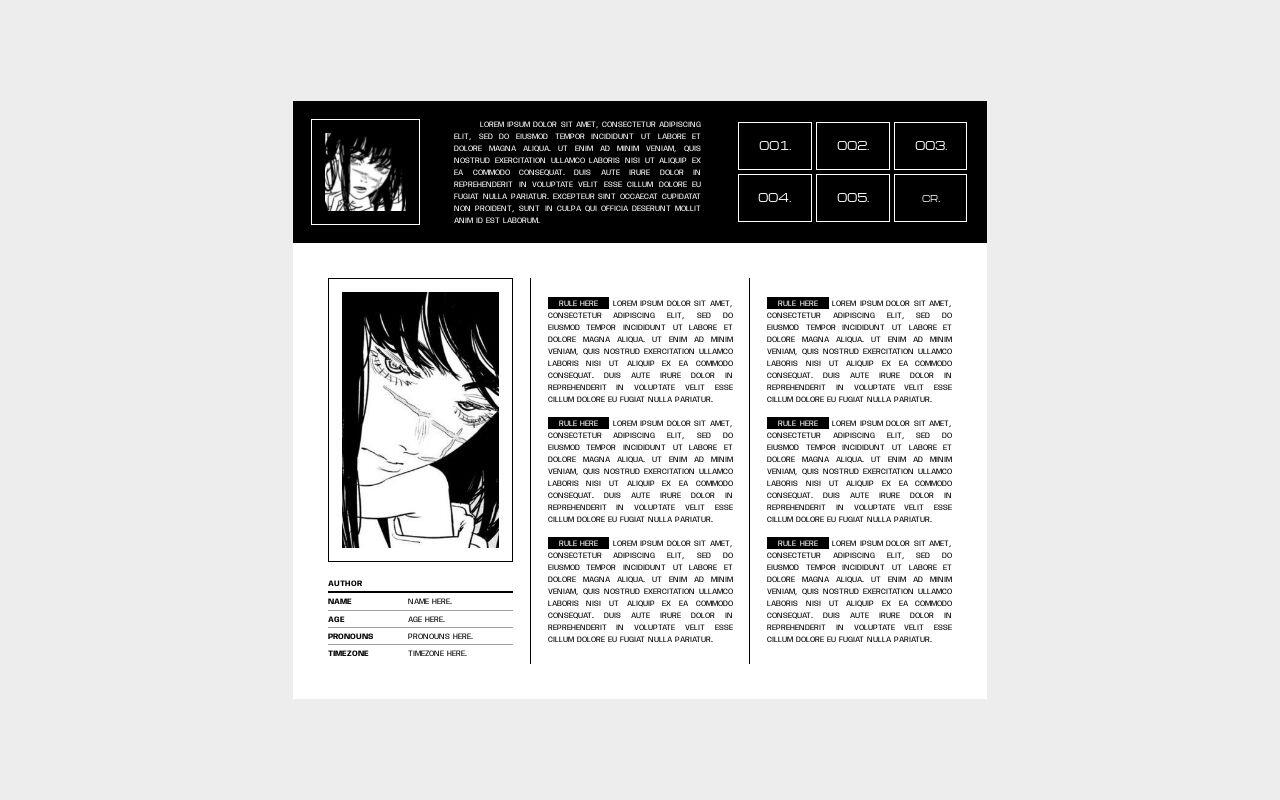
007. fiend. by Suncarrds $0+
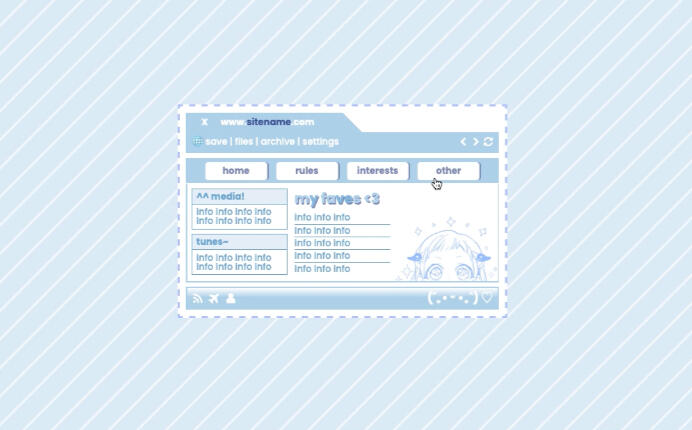
Template by Kaitlyn $0+
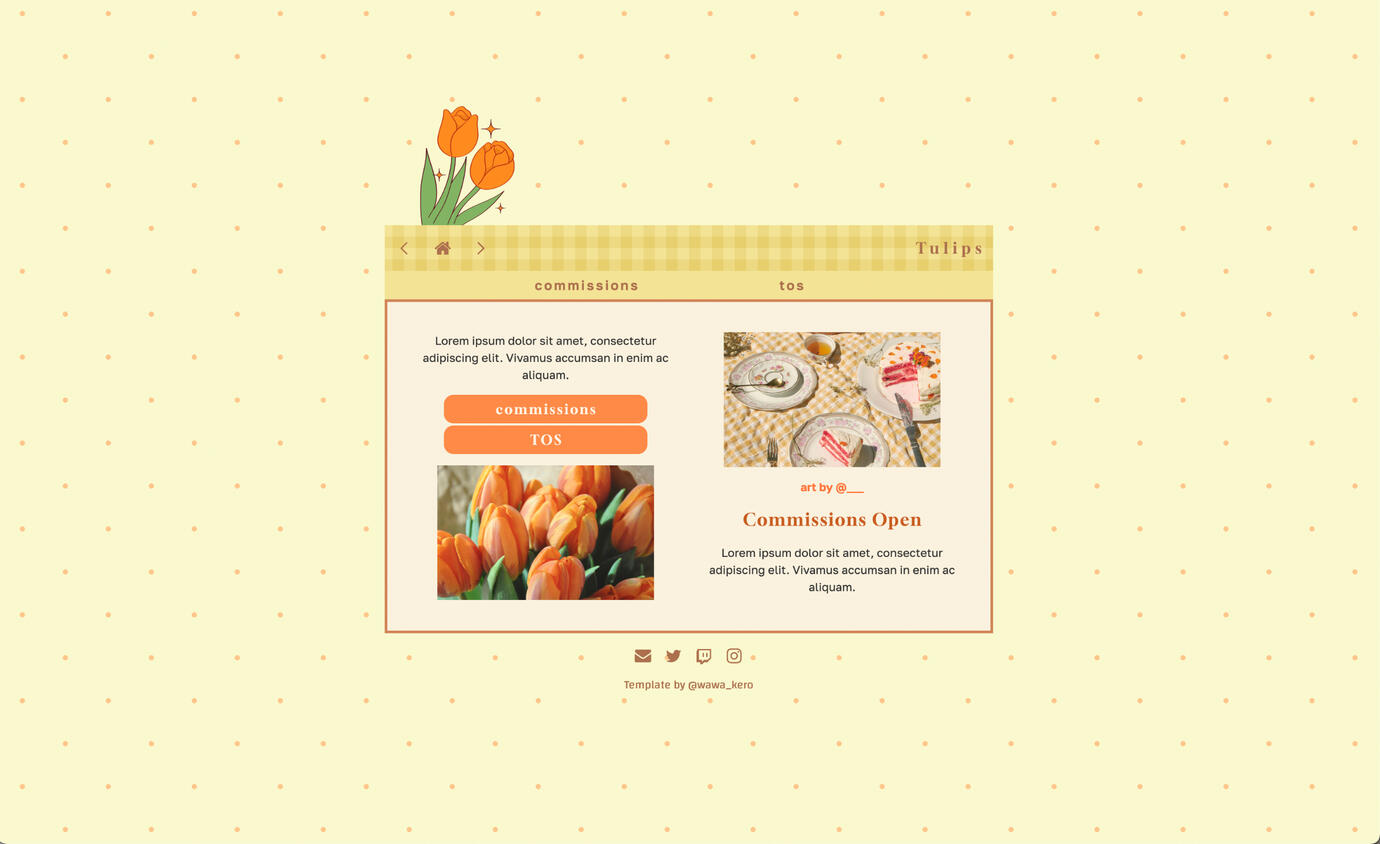
Cottagecore by Wawa Kero $0+
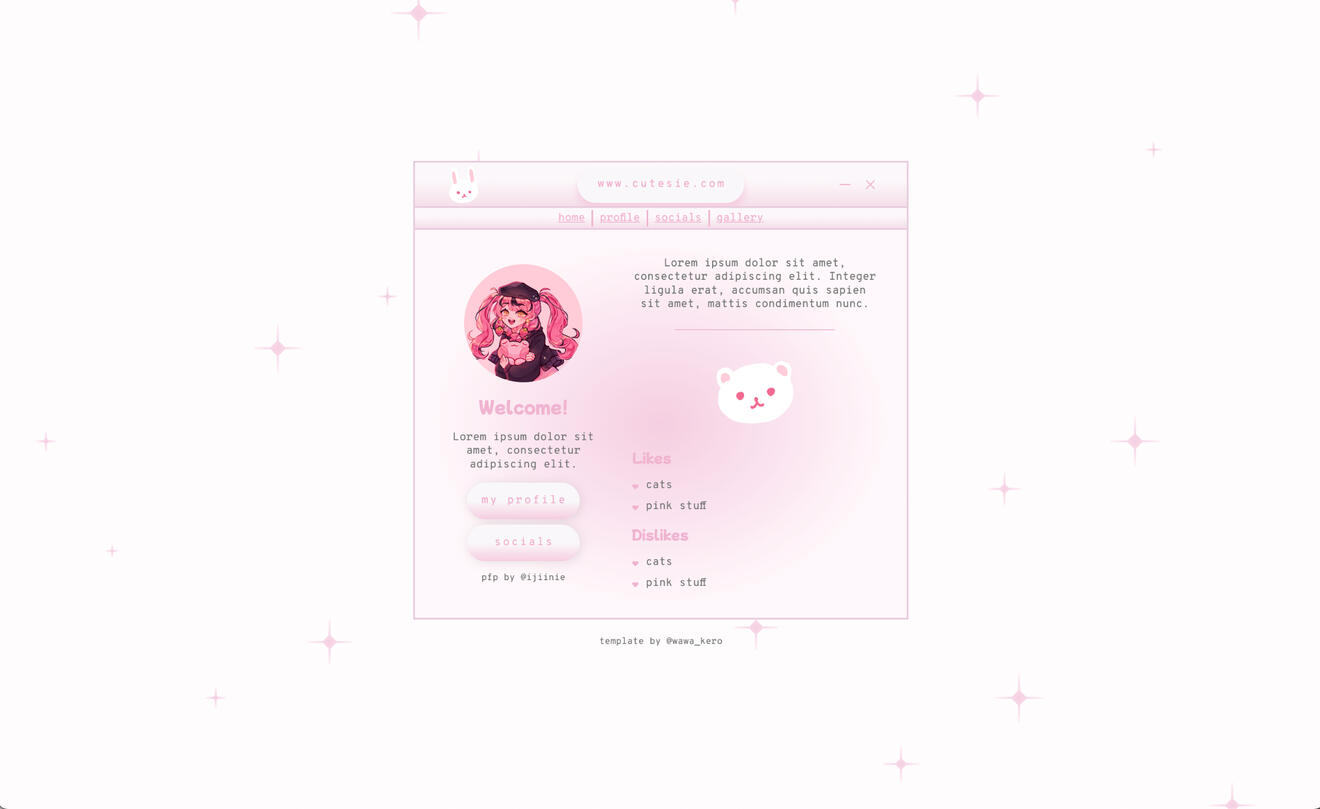
Pink Cutesie by Wawa Kero$0+
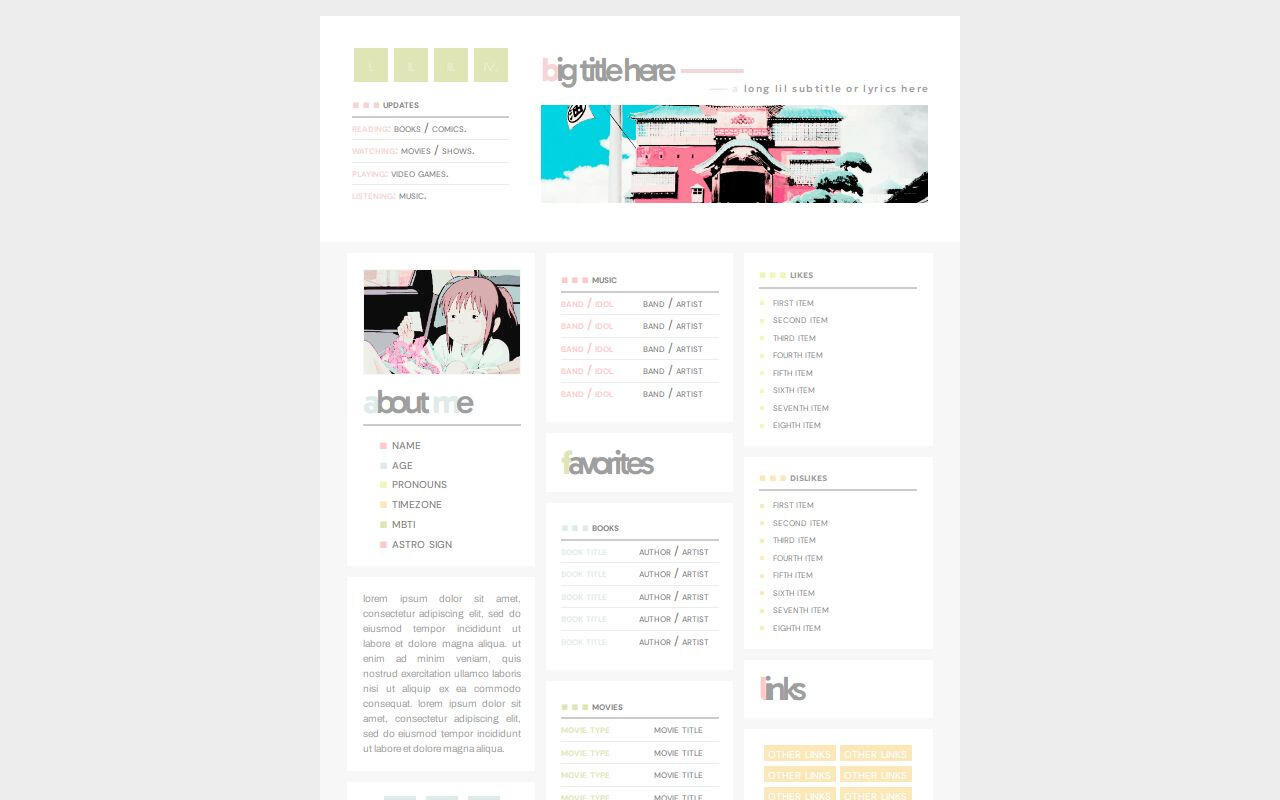
summer day. by Suncarrds $0+

fairytale by poohsources $0+
How to Use Figma Ad A free Figma course that teaches you Figma within Figma with real world examples.
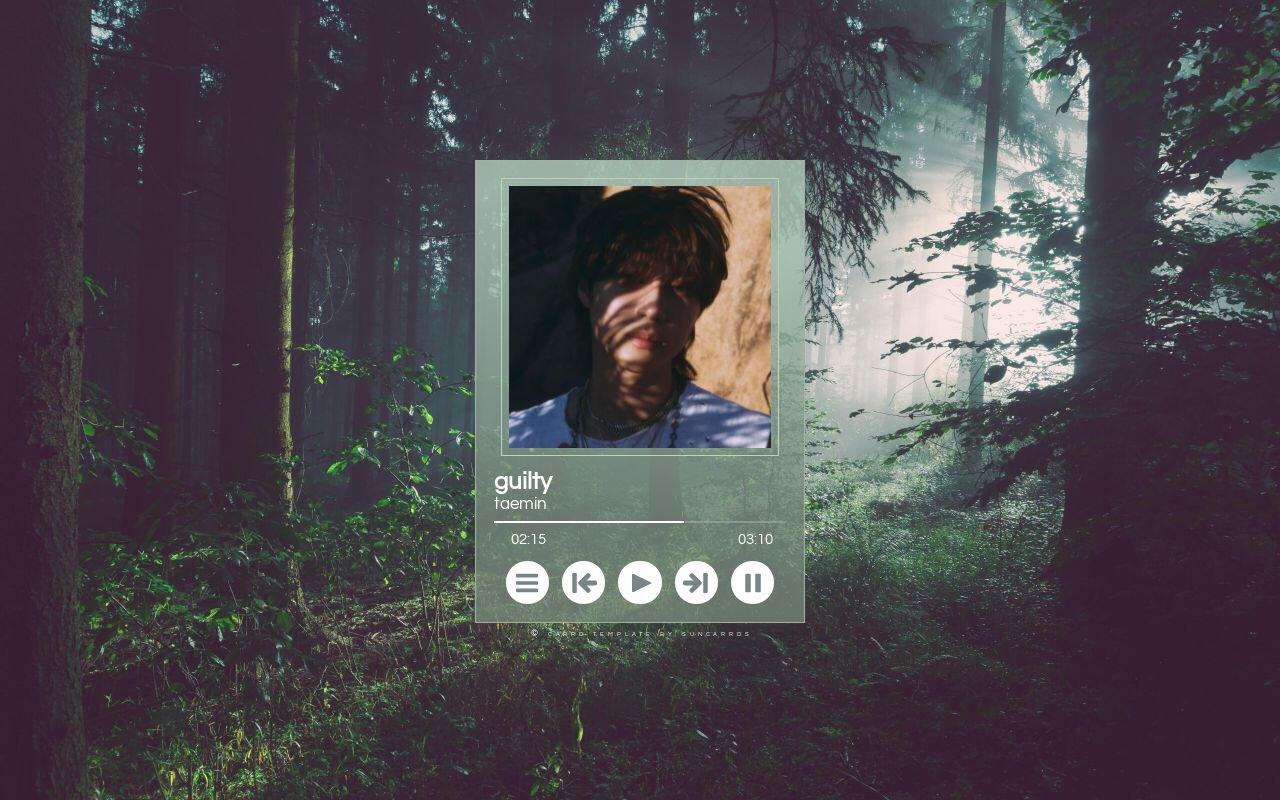
023. guilty. by Suncarrds $0+
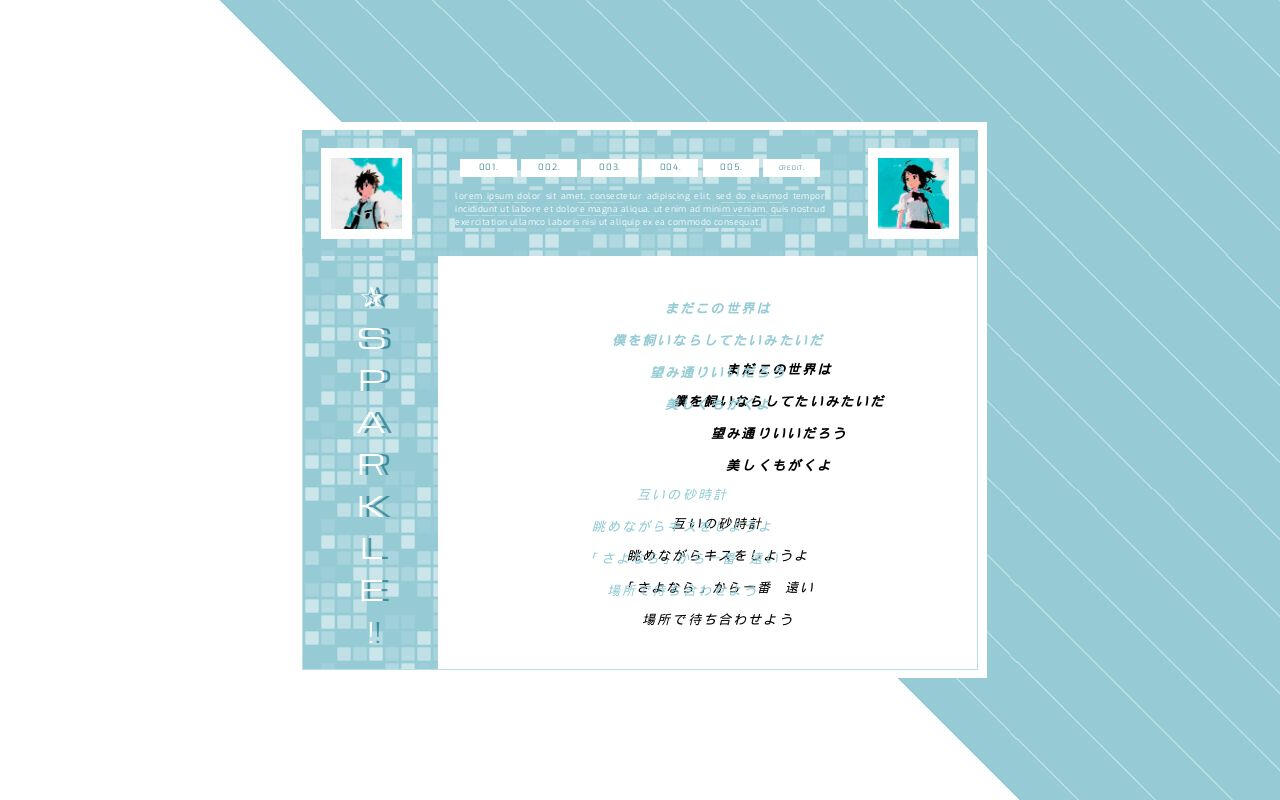
Sparkle by Suncarrds $0+
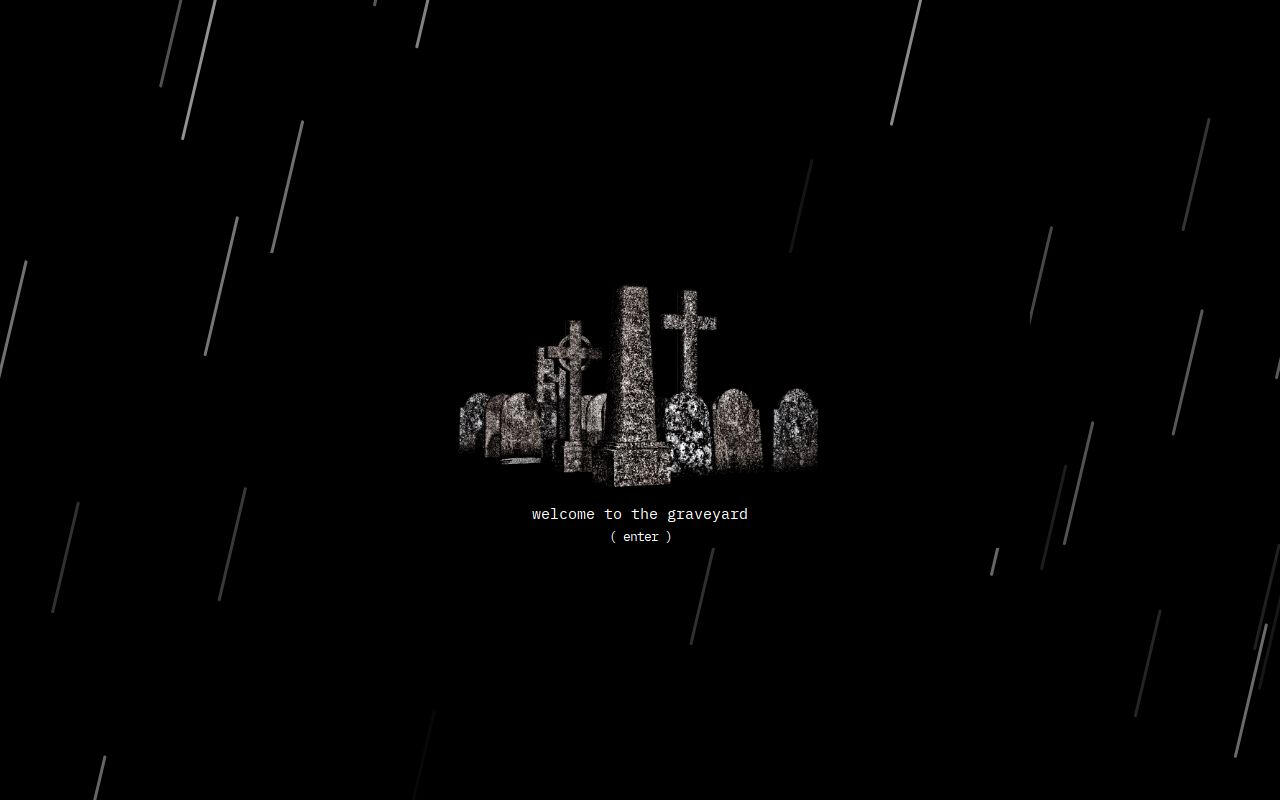
Multi-muse by 𝑺𖤐𝚆ᵀᴿᴬᴾ $0+
Simple Carrd Templates
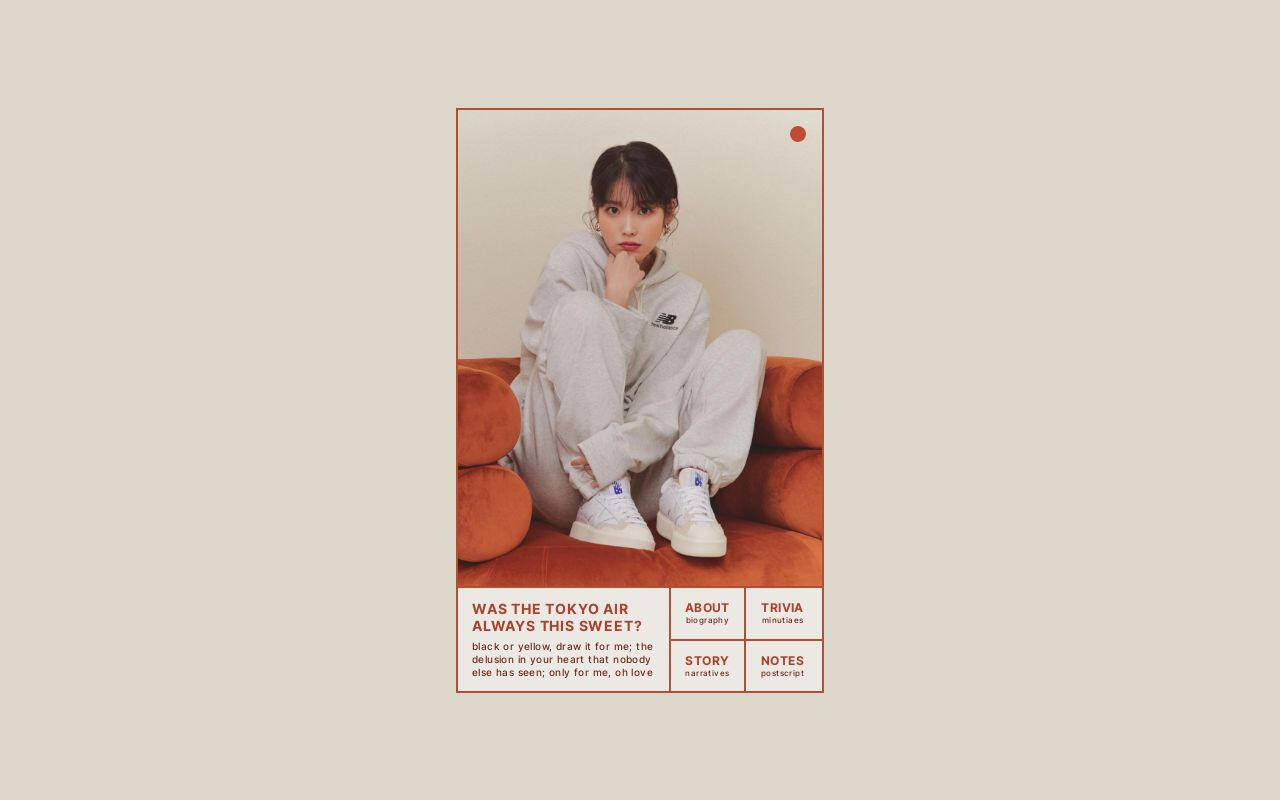
Raindrop by Zite Design $5
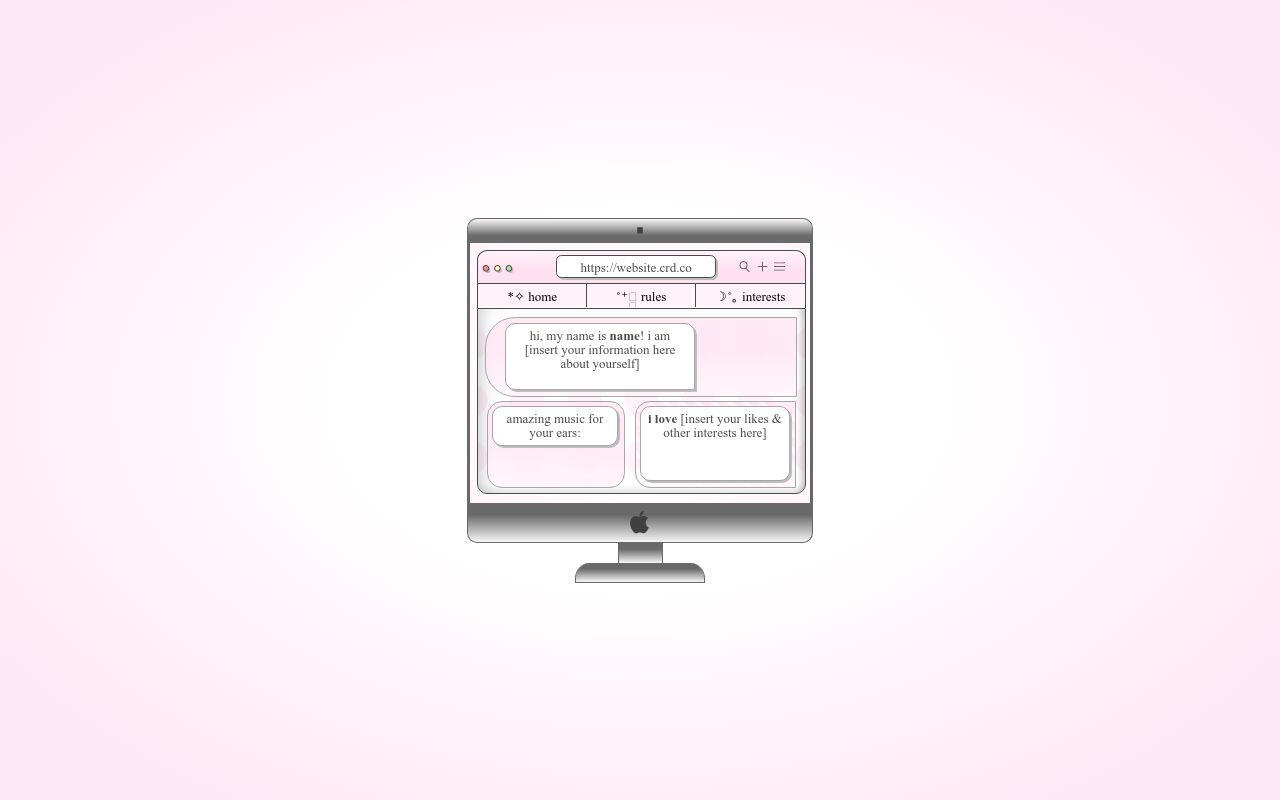
Highlight by Yucrds $12
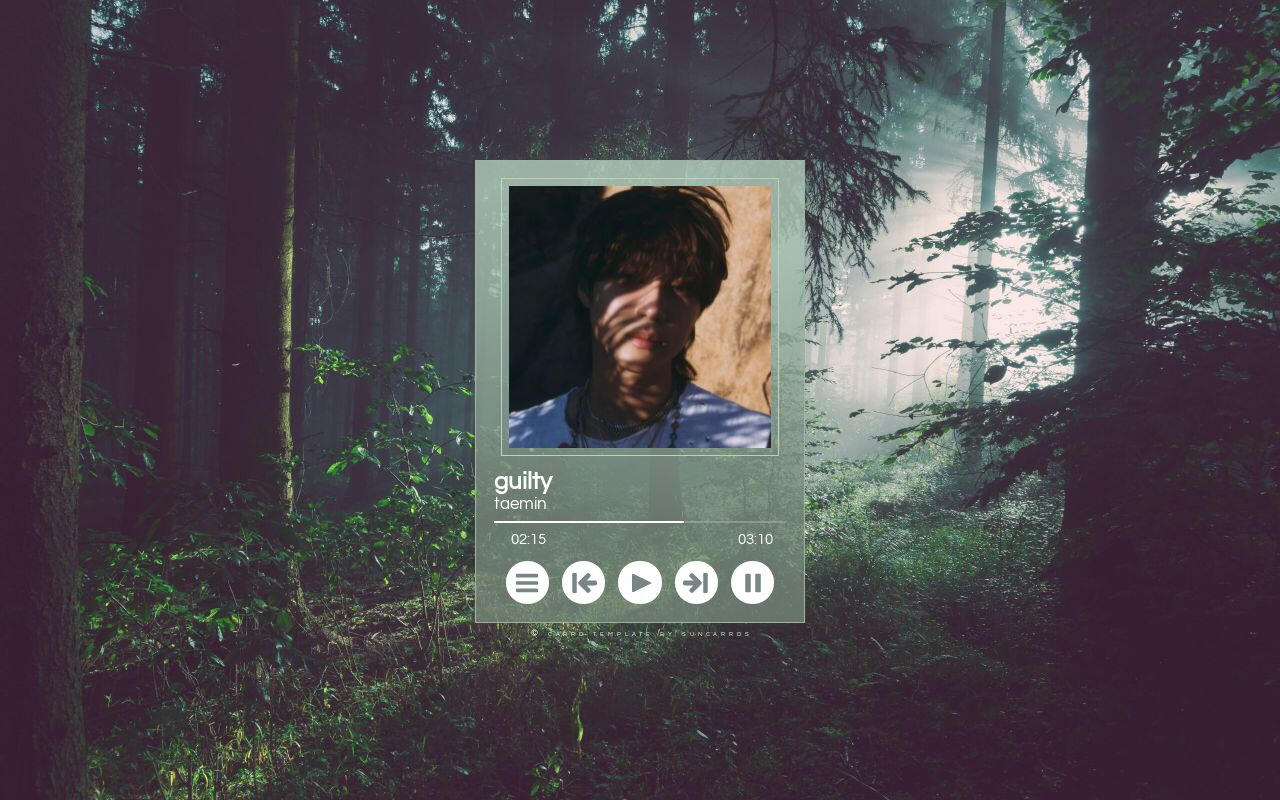
023. guilty. by Suncarrds $0+
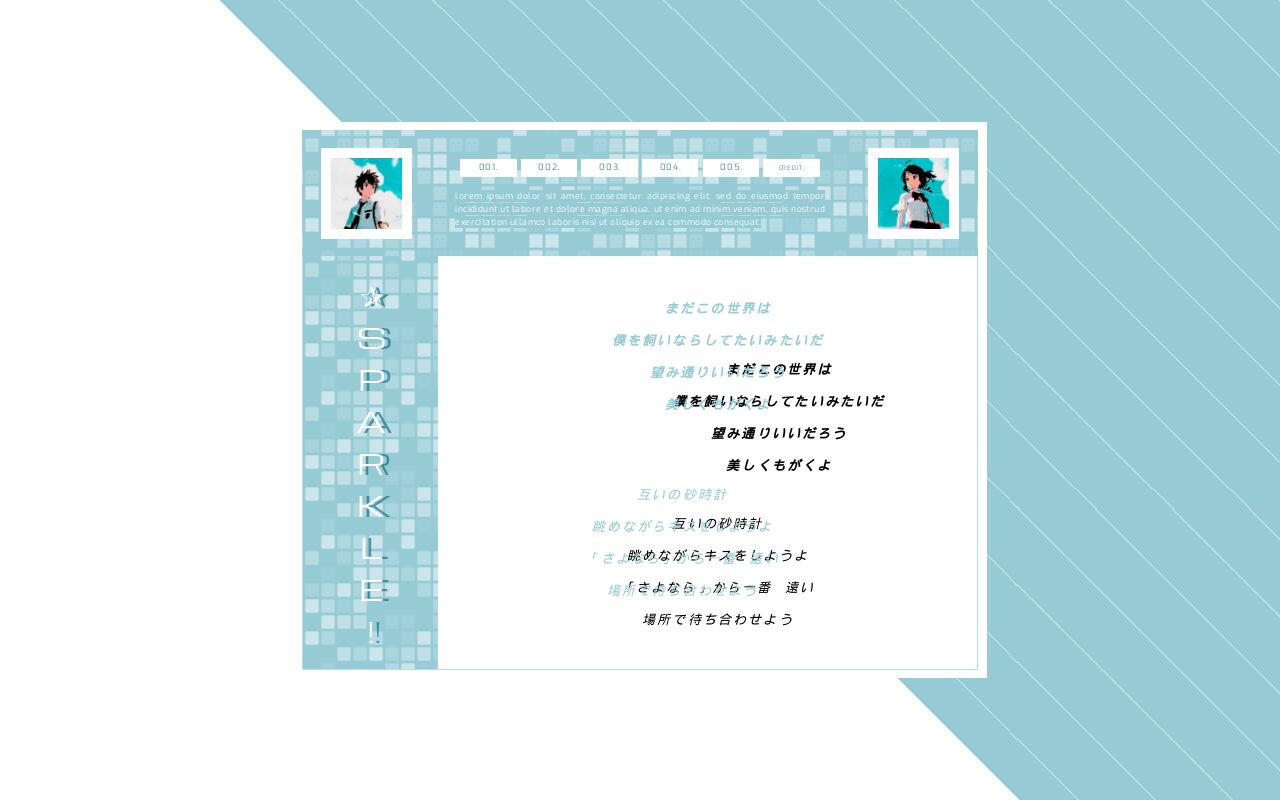
Sparkle by Suncarrds $0+
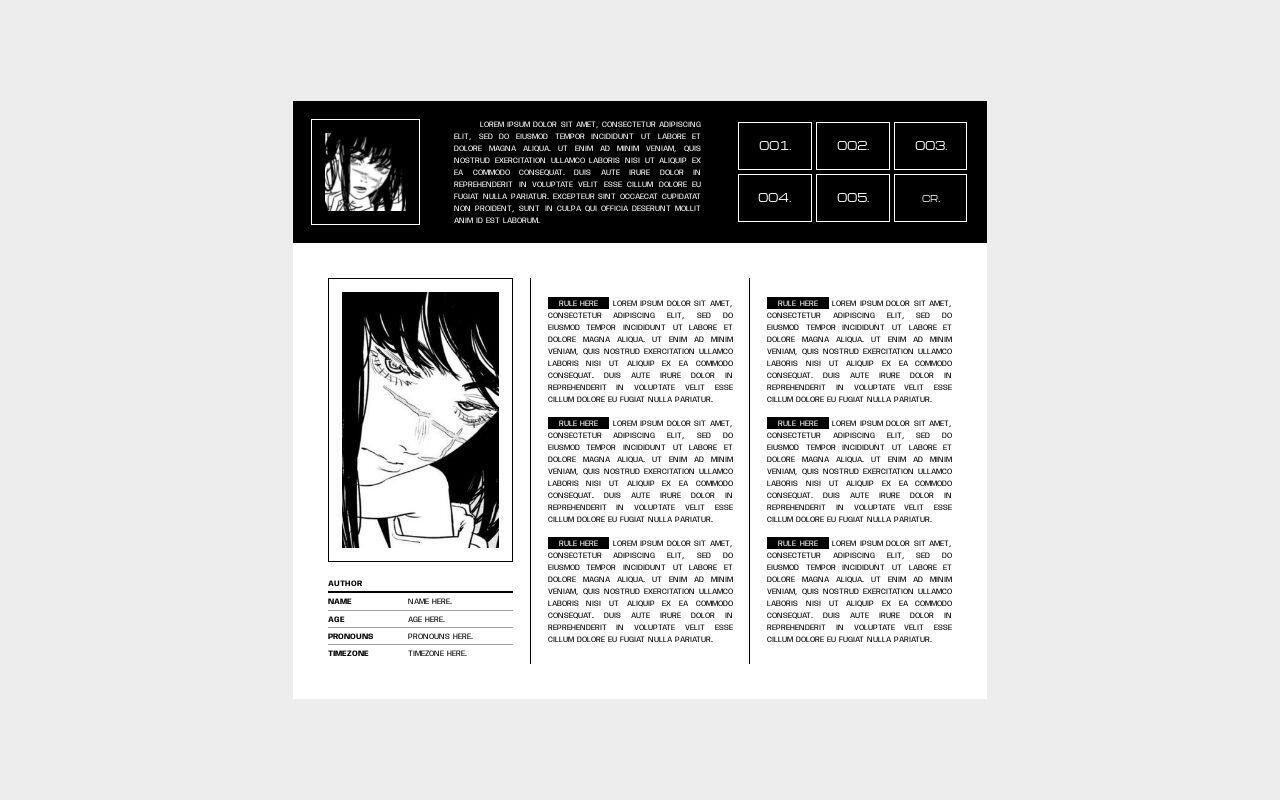
007. fiend. by Suncarrds $0+
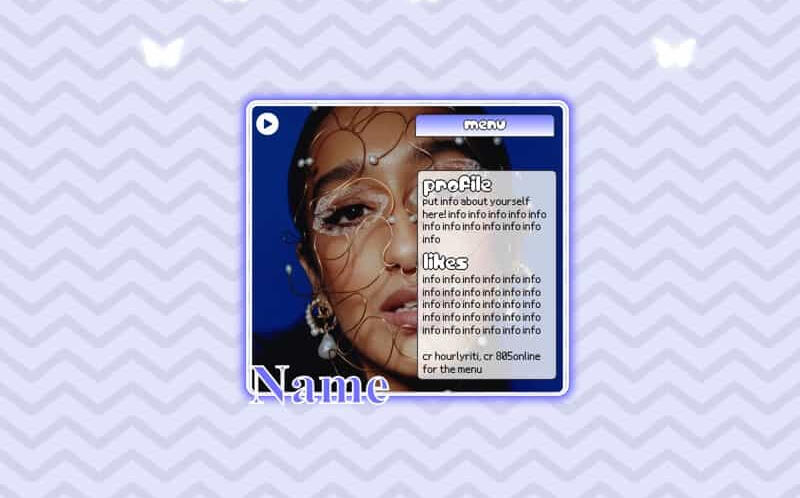
Cosmo by Yucrds $4
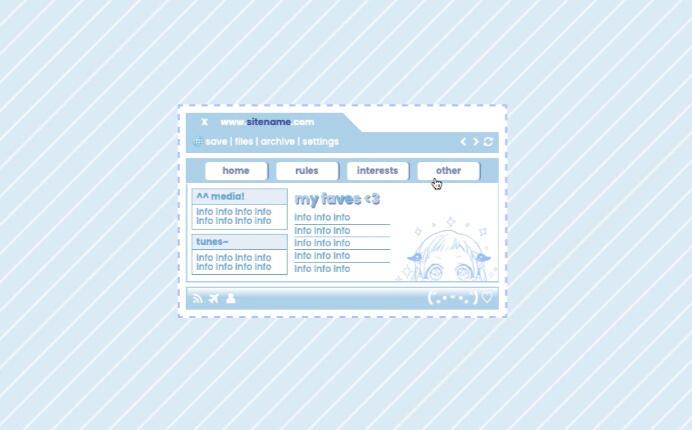
Template by Kaitlyn $0+
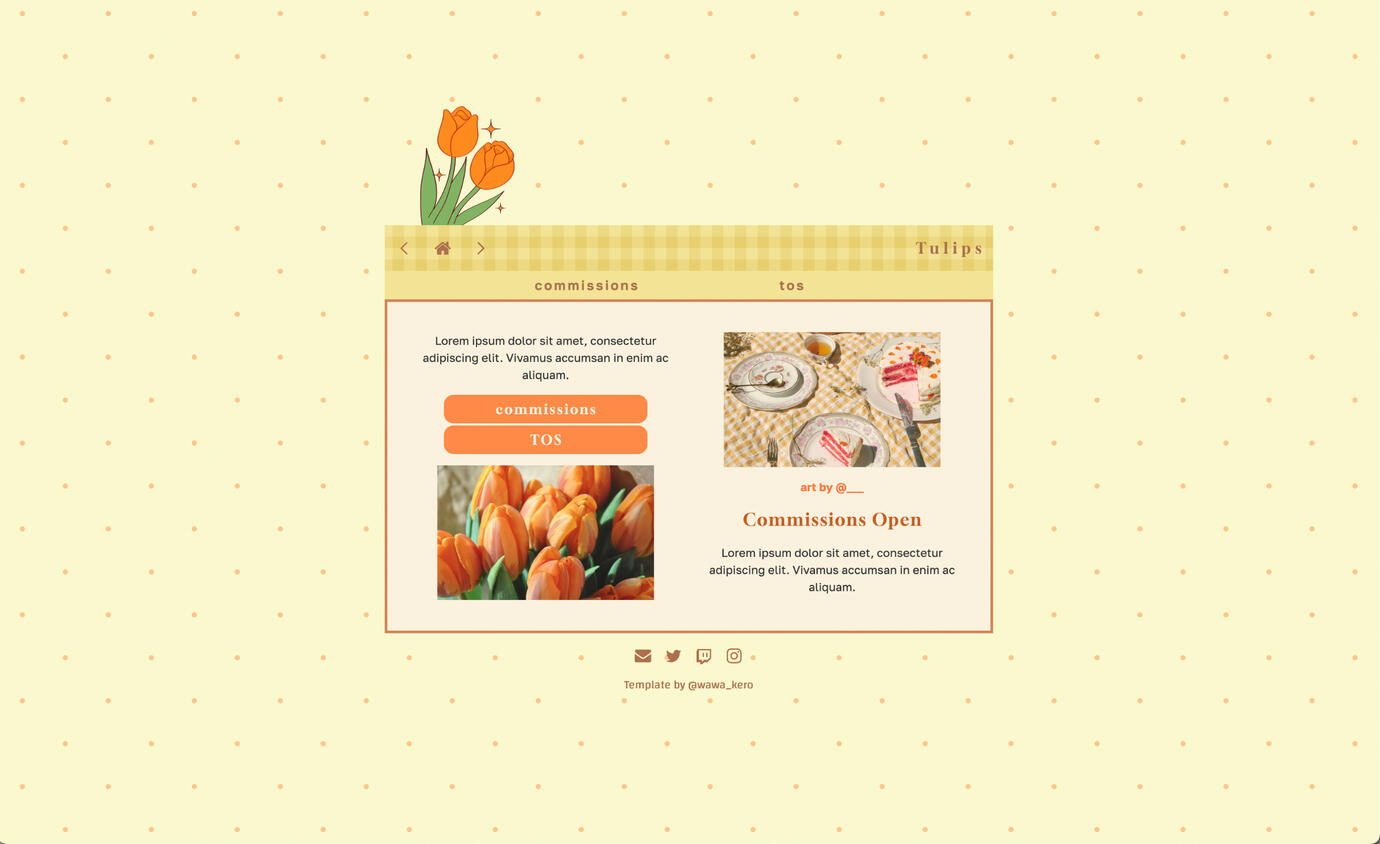
Cottagecore by Wawa Kero $0+

fairytale by poohsources $0+
Cool Carrd Templates
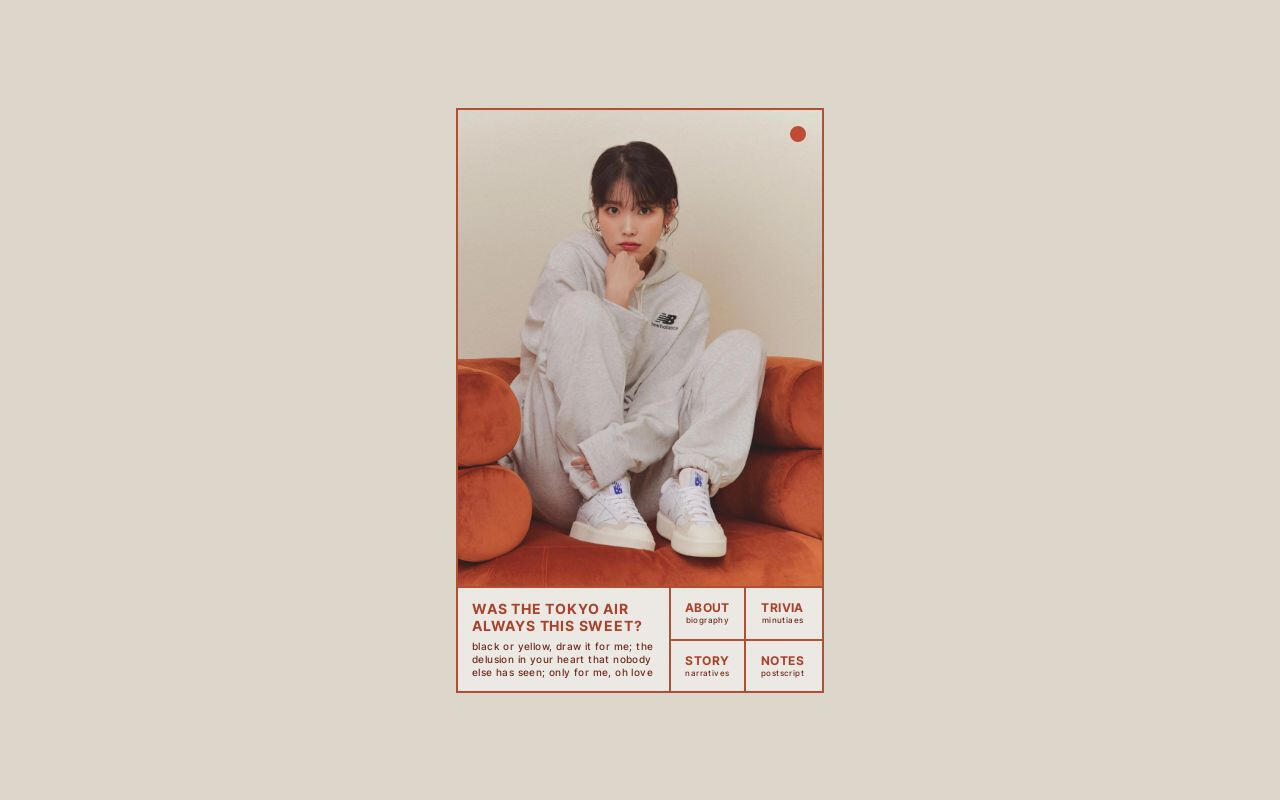
Raindrop by Zite Design $5
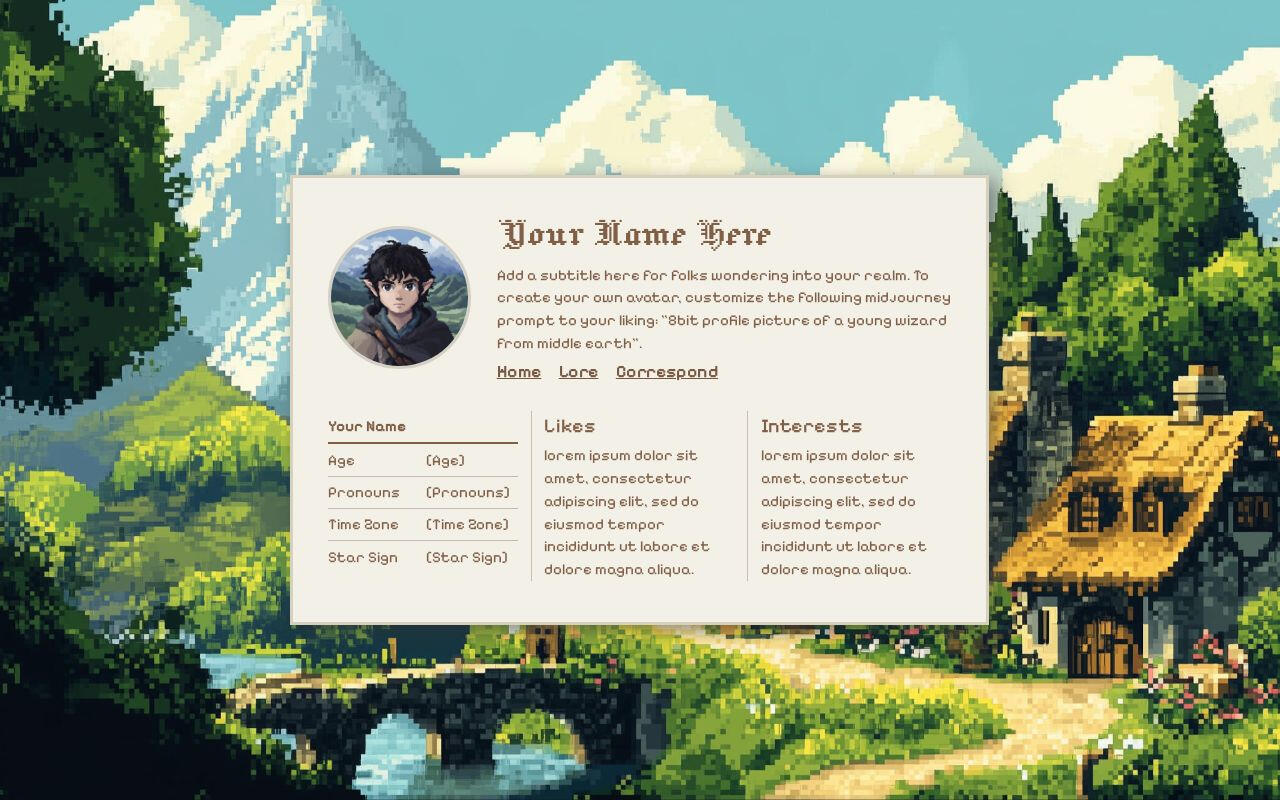
Buckland by Ben $0+
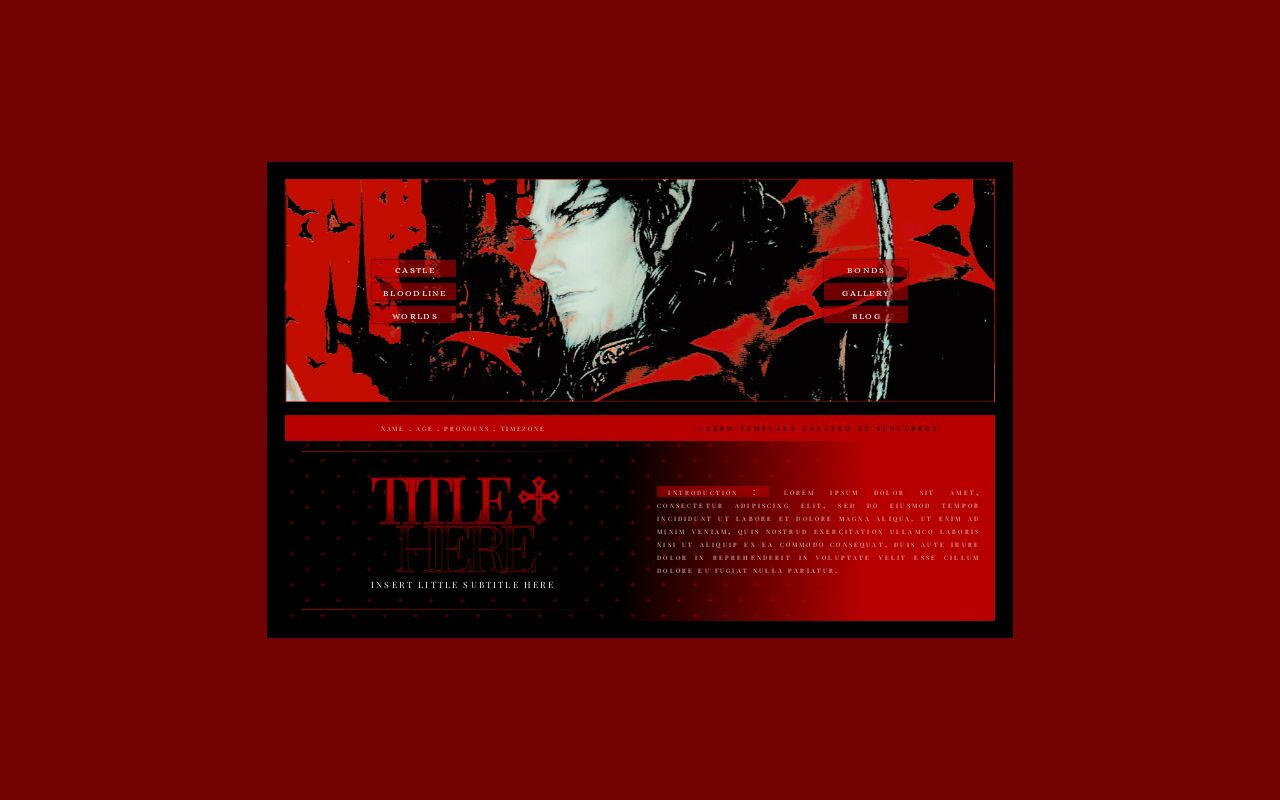
Dracula by Suncarrds $5
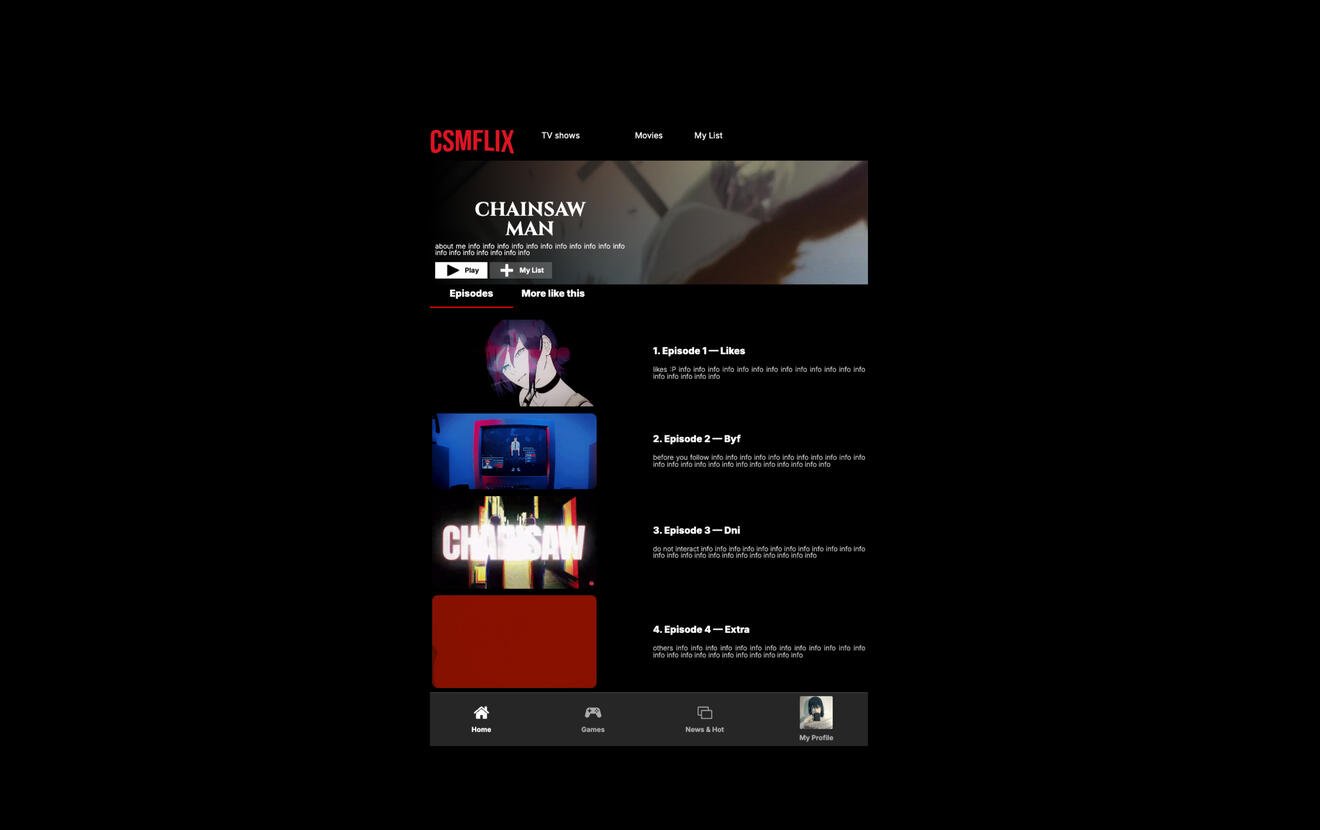
Csmflix by anes $0+
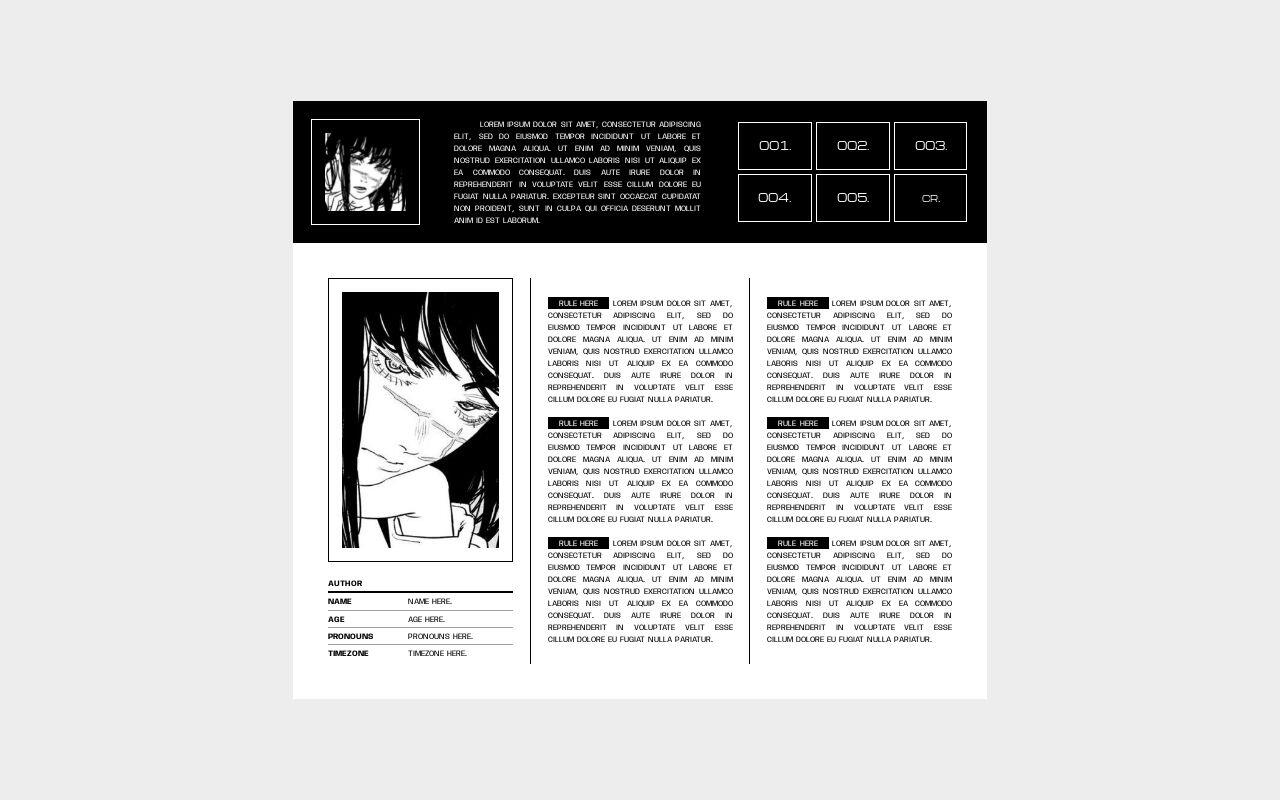
007. fiend. by Suncarrds $0+
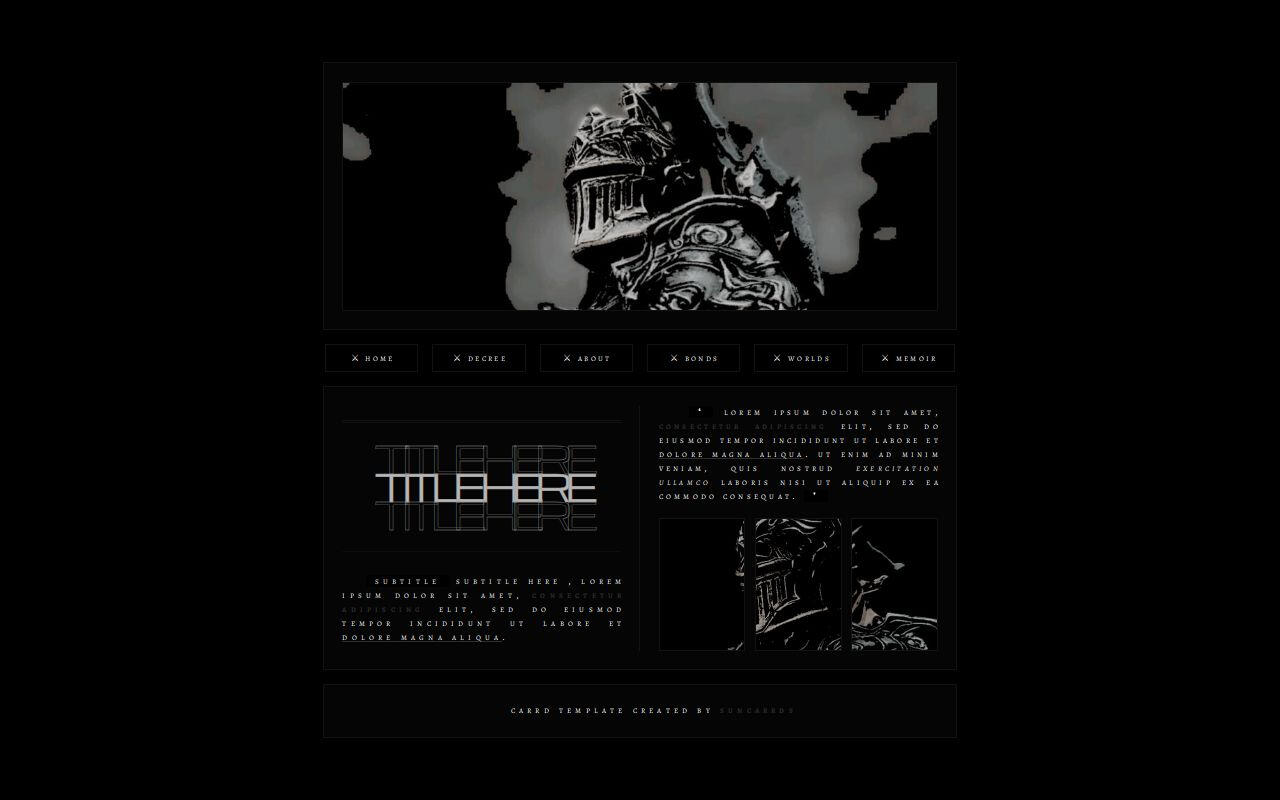
032. merc. by Suncarrds $8
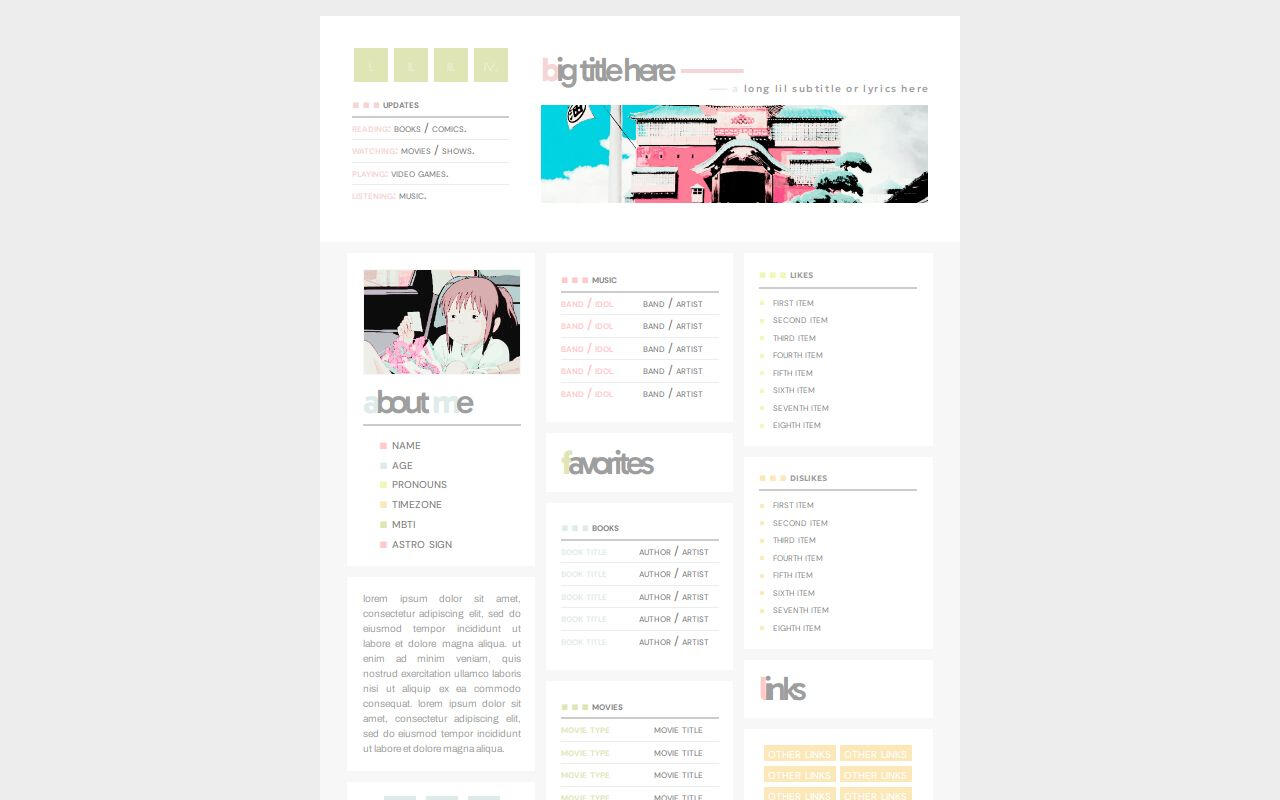
summer day. by Suncarrds $0+
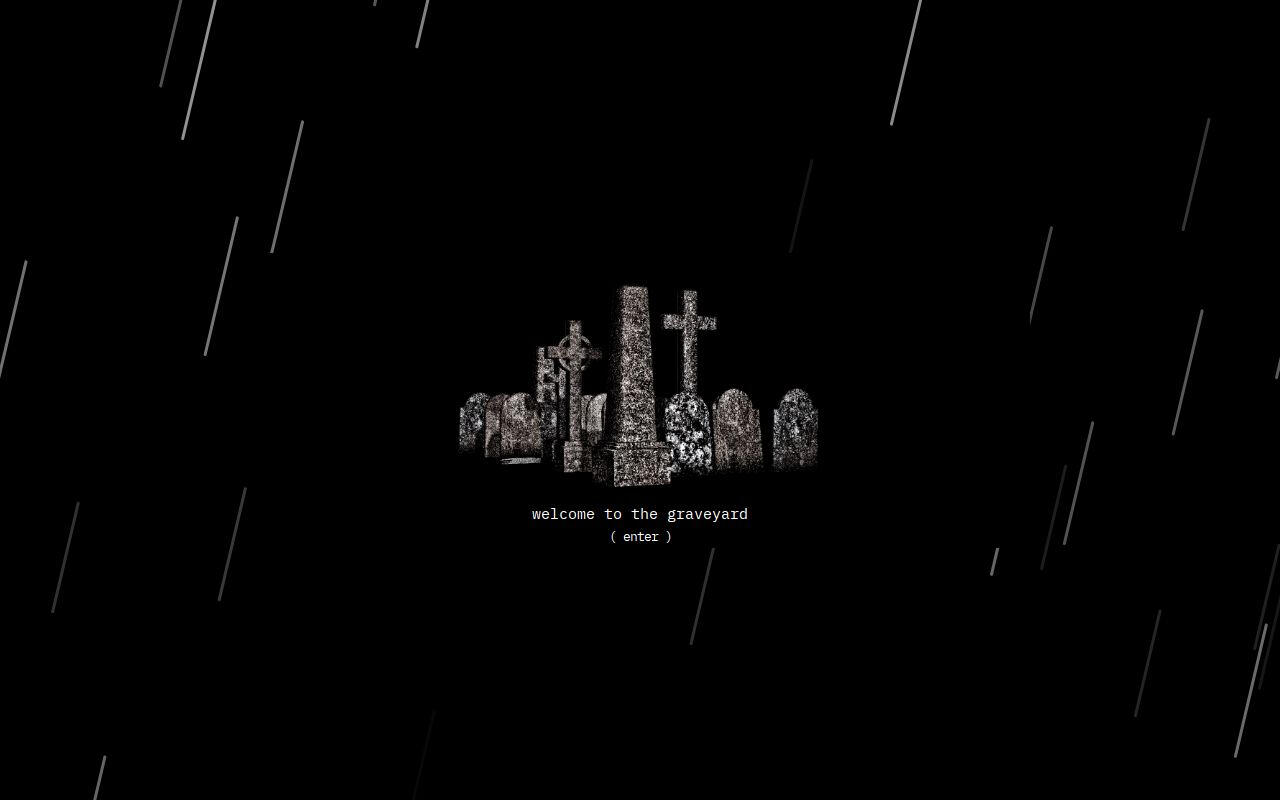
Multi-muse by 𝑺𖤐𝚆ᵀᴿᴬᴾ $0+
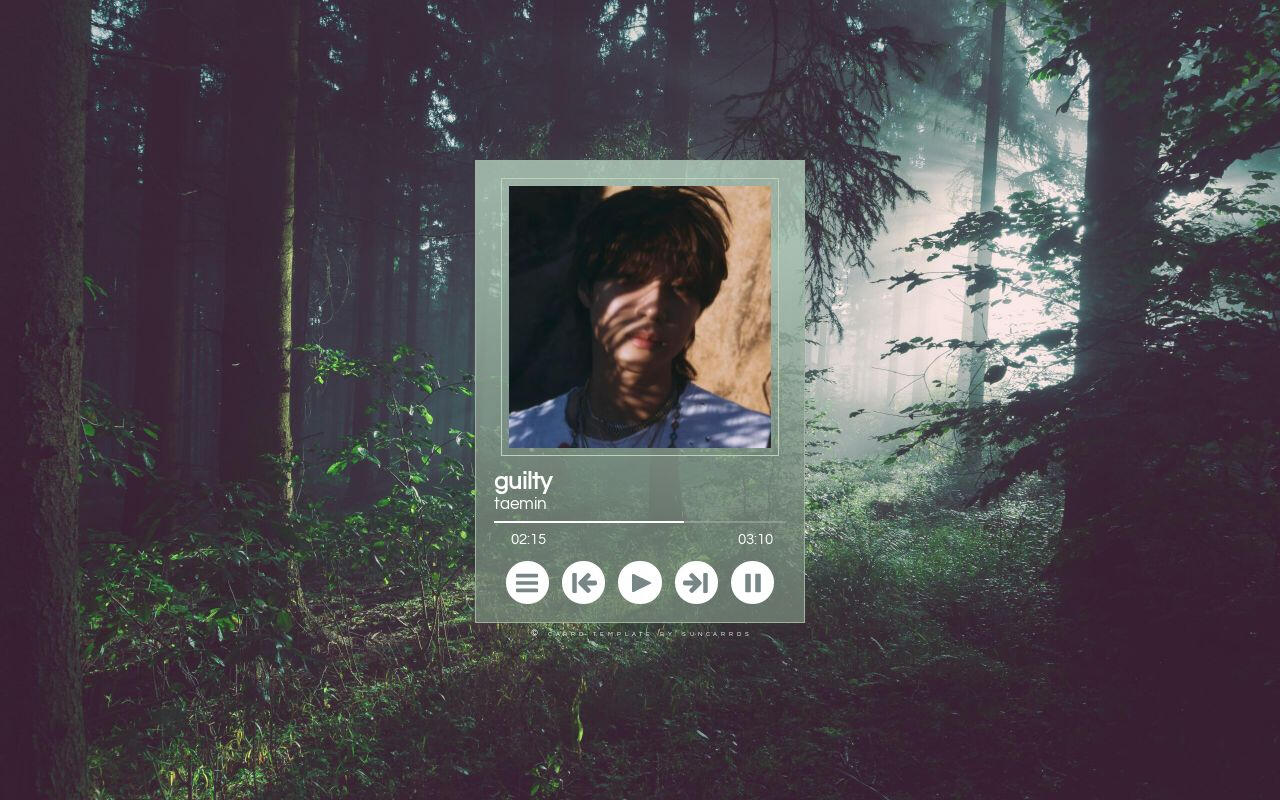
023. guilty. by Suncarrds $0+
How to make a Carrd template
This tutorial is for you no matter your skill level.
By Ben Sterne | November 12, 2024
When I first got into making websites, I had no prior knowledge or experience on how to make a website. When I found Carrd, I was so excited because it is such a simple and intuitive website builder. In this tutorial, I will be explaining as simply as possible the kinds of websites you can make with Carrd. By the end, you will understand Carrd and be able to customize websites in many ways!If you can make the Carrd below, you can make a Carrd of your own, turn into a template and share it with the world!
Carrd is a great tool for making simple websites.
Before we begin to understand how to use Carrd to make a website, it is important to explain the kinds of websites that can be created with Carrd. Carrd is great for simple one-page websites, websites with just a few pages. Carrd is not built to handle a ton of complexity.What Carrd is not good for
Carrd is not good for blogging without a separate tool to manage all the content. Carrd is also not good for ecommerce websites where people purchase things if you are selling more than 5 items I would say. Carrd also has visual limitations. If you are trying to recreate a figma design down to the pixel, I assure you compromises will likely need to be made. If you are open to flexing your design to the constraints of Carrd it can look beautiful, like this website.What Carrd is good for
Carrd is great for cute, aesthetic personal websites. It is great for marketing landing pages to collect emails (it is probably the best tool on the internet for that). It is great for portfolio websites. It is great for website experiments. It is also great for simple directories (like this website).If you have questions about this, I am happy to discuss if you want to shoot me a message on Twitter. With all that understood, let's learn all that Carrd has to offer and build our first Carrd together!
Step 1: Download this tutorial's template.
The easiest way to get familiar with Carrd is to look at a pre-made Carrd website. To help explain the many features of Carrd, I created a free Carrd template for you to download to go along with this tutorial. Step one is to download the free template to the right and open it up alongside this tutorial.When clicking this download button, you will first need to create a free Carrd account if you have not yet. To get the template, you will then need to click "Add to Library". You may need to verify your email. Once that is all complete, you will have added the template to your account and can click "Use".
Step 2: Get familiar with Carrd UI.
If you are a new user to Carrd, you will liklely get this screen explaining how the controls of Carrd work.Let's go through these quickly. And know that you can click "Instructions" under the menu on the top bar to view this whenever needed."Click on an element to bring up its properties" and "Drag and drop elements to arrange them"
This is one of the most important things to understand about Carrd. It is an interactive drag and drop tool. Want to change how a website looks with Carrd? Just click on the element you want to change.
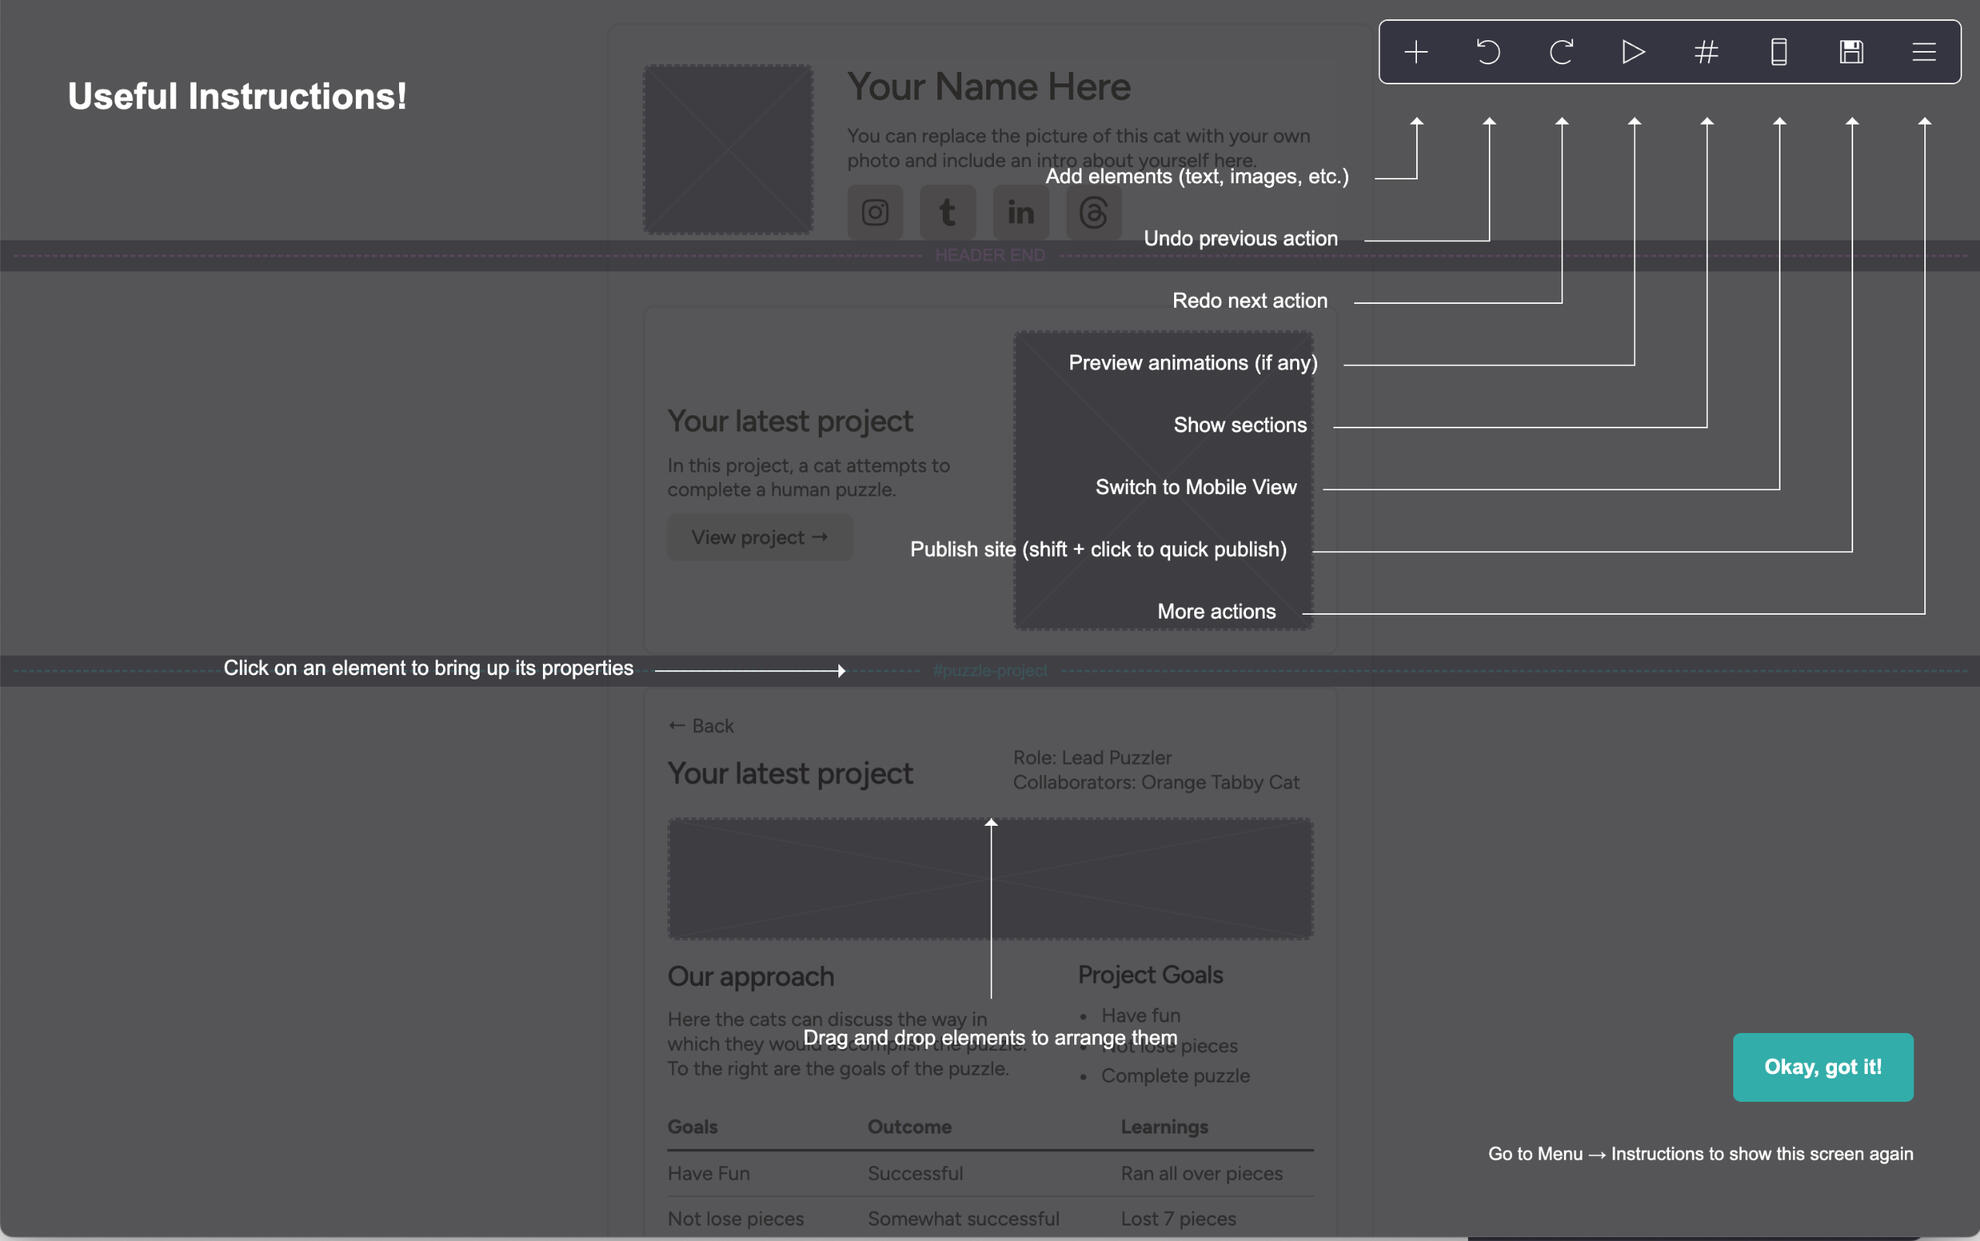
"Add elements (text, images, etc.)"
This plus button on the top bar is where you can add any Carrd element to your website. You will use this a lot.Undo and Redo
Next on the top bar is undo and redo. These actions do not work through keyboard shortcuts and so the buttons can be very helpful.Preview Animation
Carrd gives you lots of abilities to animate things and so this button lets you preview thoseShow Sections
This lets you view sections in your carrd website individually which can be very helpful for designing sections without seeing all the other elements on the page.Switch to Mobile View
Carrd gives you the ability to customize the mobile look of your website so this lets you toggle to see the site as it would look on a phone and customize properties accordingly.Publish site
This button is very important because it is how you save your site progress but more importantly it's how you put your website out into the world!More actions menu
This is dropdown has lots of important buttons for navigation such as going back to your account dashboard.Once you are ready, you can click "Okay, got it!" and we will begin to go through all the parts of a Carrd website.
Step 3: Understand main site structure of Carrds
Carrd is an incredibly simple website builder. The tradeoff is that there are some constraints on the structure of your website that are good to understand.Background
Every Carrd website has a background. Your background will usually just be a color. It can also be a gradient, image, video or slideshow. You can add a pattern and an on load animation to your background but that's it.Page
Your page is on top of your background. Your page contains all of
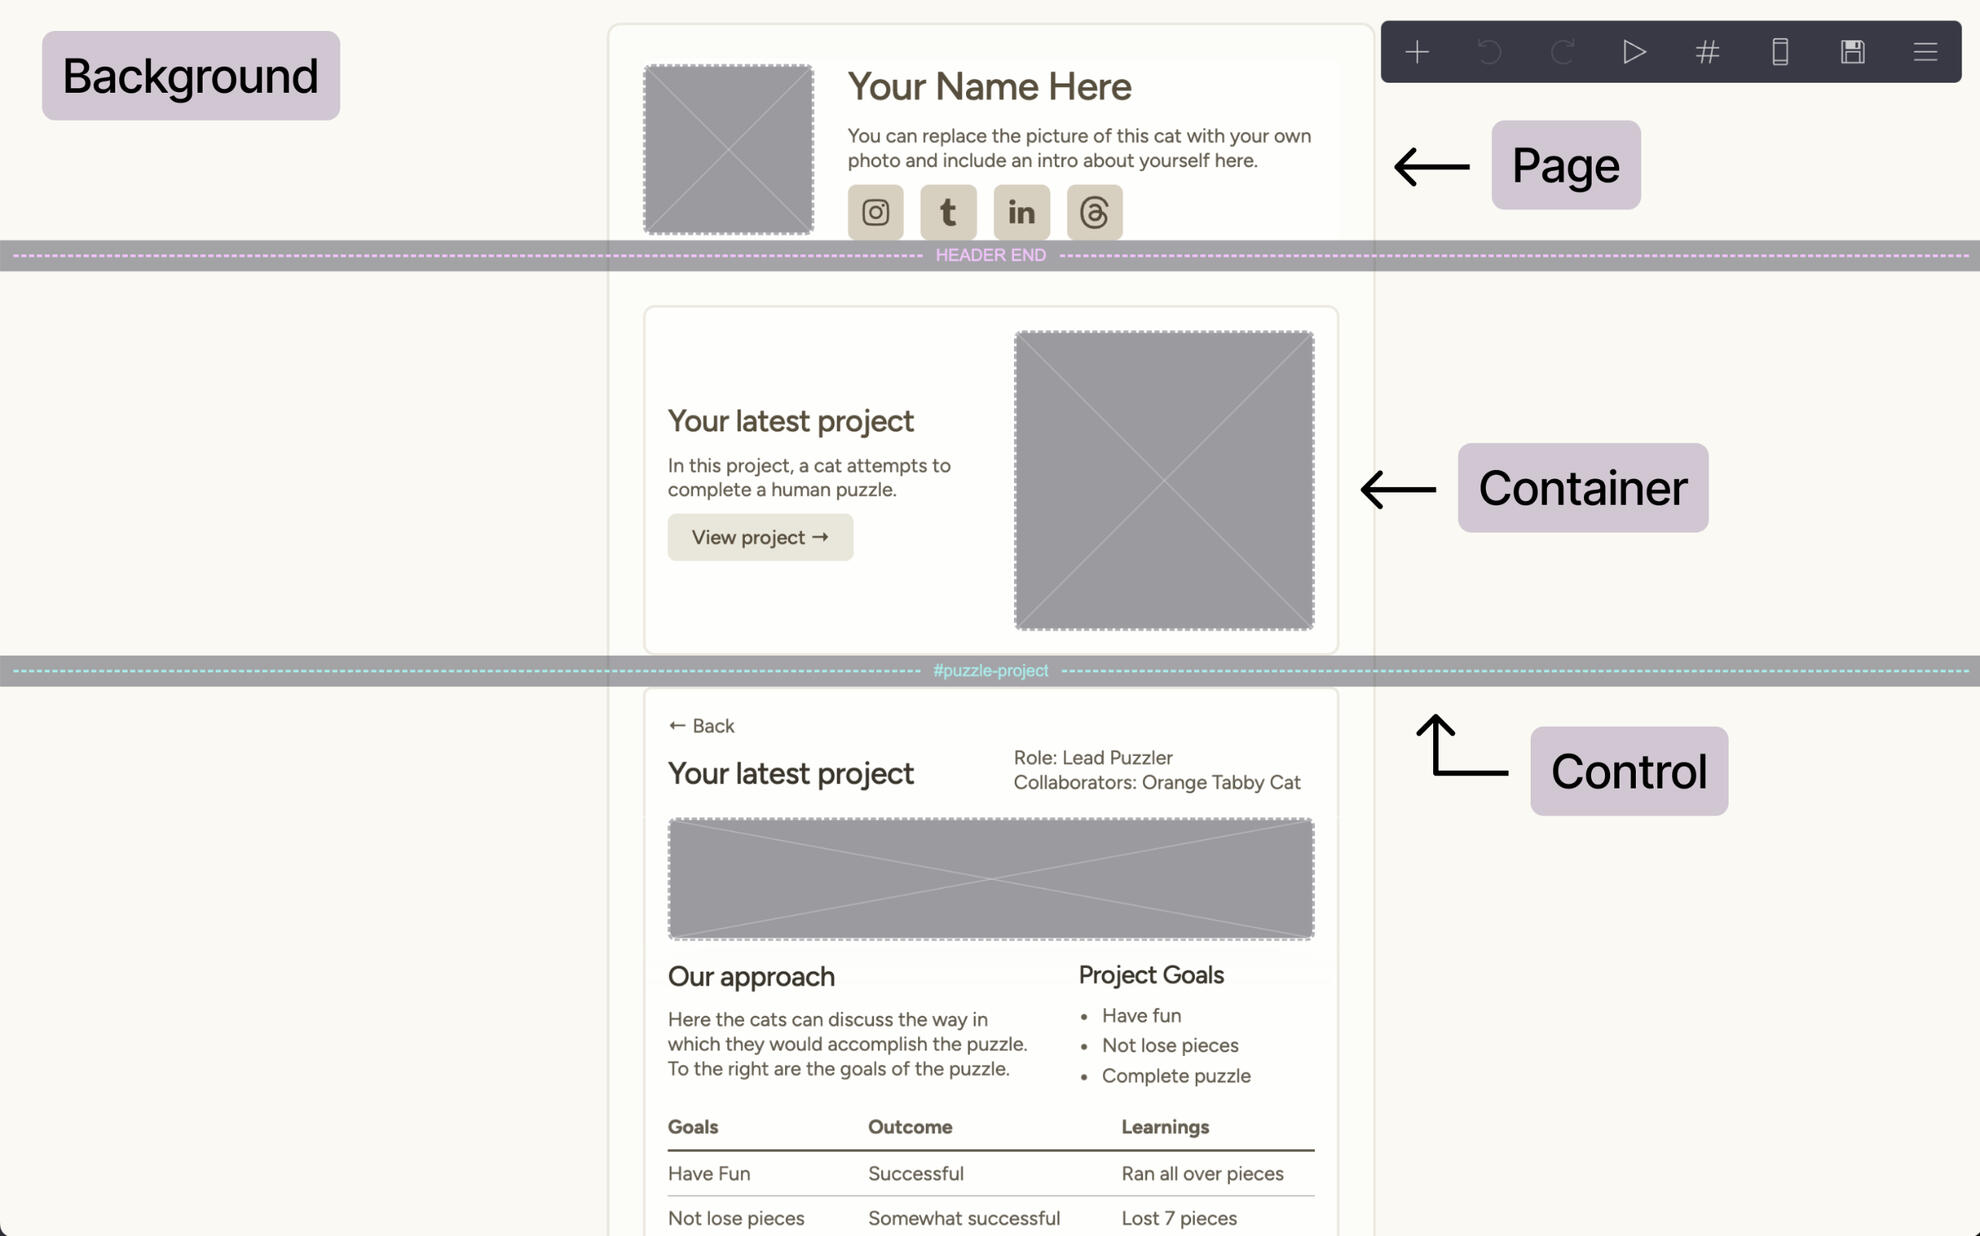
your website's elements. The page is very customizable. You can adjust width and style and position. Your page layer can have nostyling and be an invisible element in your website design. This can allow you to keep styling on other elements for certain visual effects. Quick Exercise: Click on your page element in the template and adjust every property in the appearance tab to see how it changes the page element on the screen.Container
Within your Page, you can put containers. You can place text and images directly onto your page or place them within a container in your page. Containers allow for extra styling, spacing and control of your website design that I always find critical to any website I make in Carrd. Click on the container at the top of the page container the text "Your Name Here". These elements may look directly on the page but they are in fact in a container. They must be in a container for the elements to sit in two different columns.Alternatively, take a look at the container around "Your latest project". This is another container with 2 columns but is styled with a border with rounded corners. By adding different types of containers around your content, you can sometimes better organize information but also create more visually compelling websites in Carrd. Quick Exercise: Click on the container with the text "Your Name Here" and look at the container tab and the appearance tab. Explore how you can change containers from two columns to more columns to one column (called default). See how you can adjust style properties of the container within the page.Control
Last but not least is the control element. This is a unique element that sections out your website. The teal control in the image above is called a section break marks where a new page will start. Everything below that line is a new page for viewers of the website.These are a few controls to know about though. The pink control towards the top of the image above is called a Header Marker. Everything above that line will be on all pages. If you add a footer marker, everything below that line will be on every page as well.The last type of control is a scroll point. A scroll point is a line that allows you to send users to the middle of a page. This means you can link people to go to the scroll point but all the content below the line will still be on the same page.
Step 4: Get to know all the Carrd elements.
Once you understand the structural elements above, it is time to do the fun part: making stuff!To the right, you will see all the different elements that can go into a Carrd website. If you are on a free plan, this list of elements may look a bit different. There are tons of different elements and lots can be said about them but the most fun and impactful way to get to know all these elements is to use them.Exercise One
First, take 15-30 minutes to take the website template you got and add in your own images, text and links to the page. You can put any random information you would like but that will help familiarize yourself with the different elements. The template includes most of the main elements I use so should give you a good foundation.Exercise Two
Next, it is time to get creative! Anywhere on the template, add a new container.
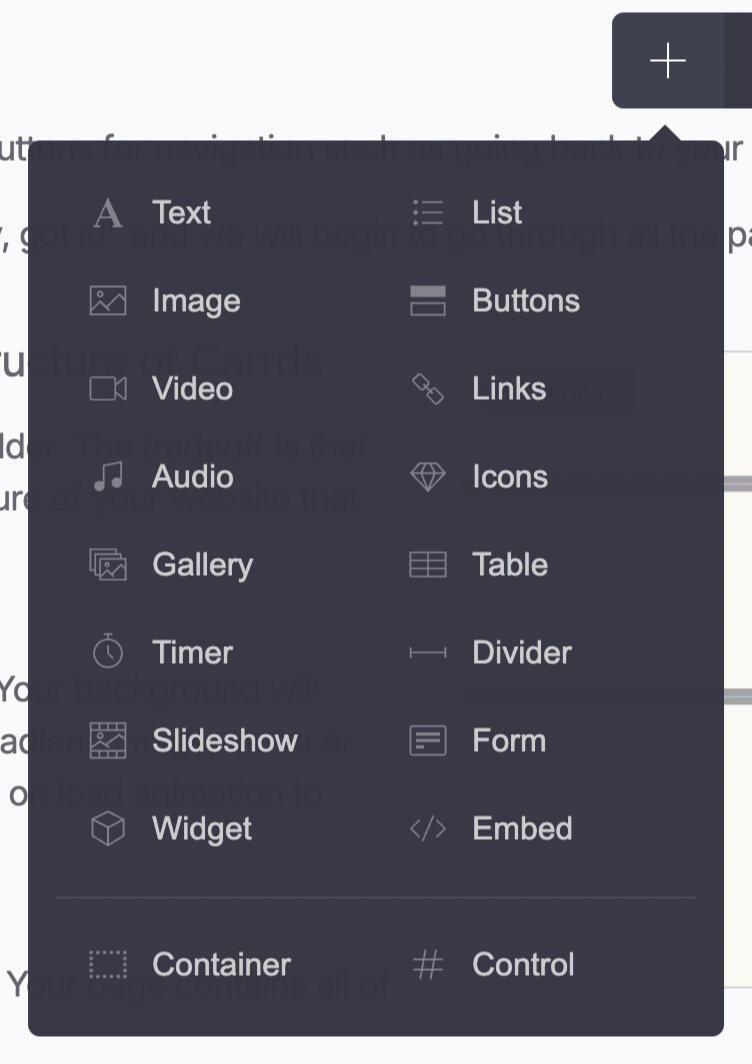
Tip: if no element on the page is selected, the container will go to the bottom of the page. If an element on the site is selected, the container will go below that element in the next place it can.Completely style the container in a new way with different properties like a different background and layout. Add in some elements and style those in a unique way as well. Try to use at least 3 different elements. Once complete, publish your website, see how it looks live, and adjust more if needed.Bonus Exercise
Carrd has a lot of rich animation features. They are not needed for many websites but if you want, set up some animations for the container or elements to add a wow factor.
Final Step: Explore mobile styling
If you toggle over to the mobile view for this template, in the top bar of Carrd you will get to see how the site looks on a mobile phone.For all Carrd elements, mobile styling is defaulted to "auto", a simple configuration that tries to guess how each element should look on mobile (such as stacked column containers). That said, if the mobile view looks off, it can all be configured specially for mobile at the bottom of the appearance tab of every element.Final Exercise
For this final Carrd exercise, lets adjust how the site looks on mobile.
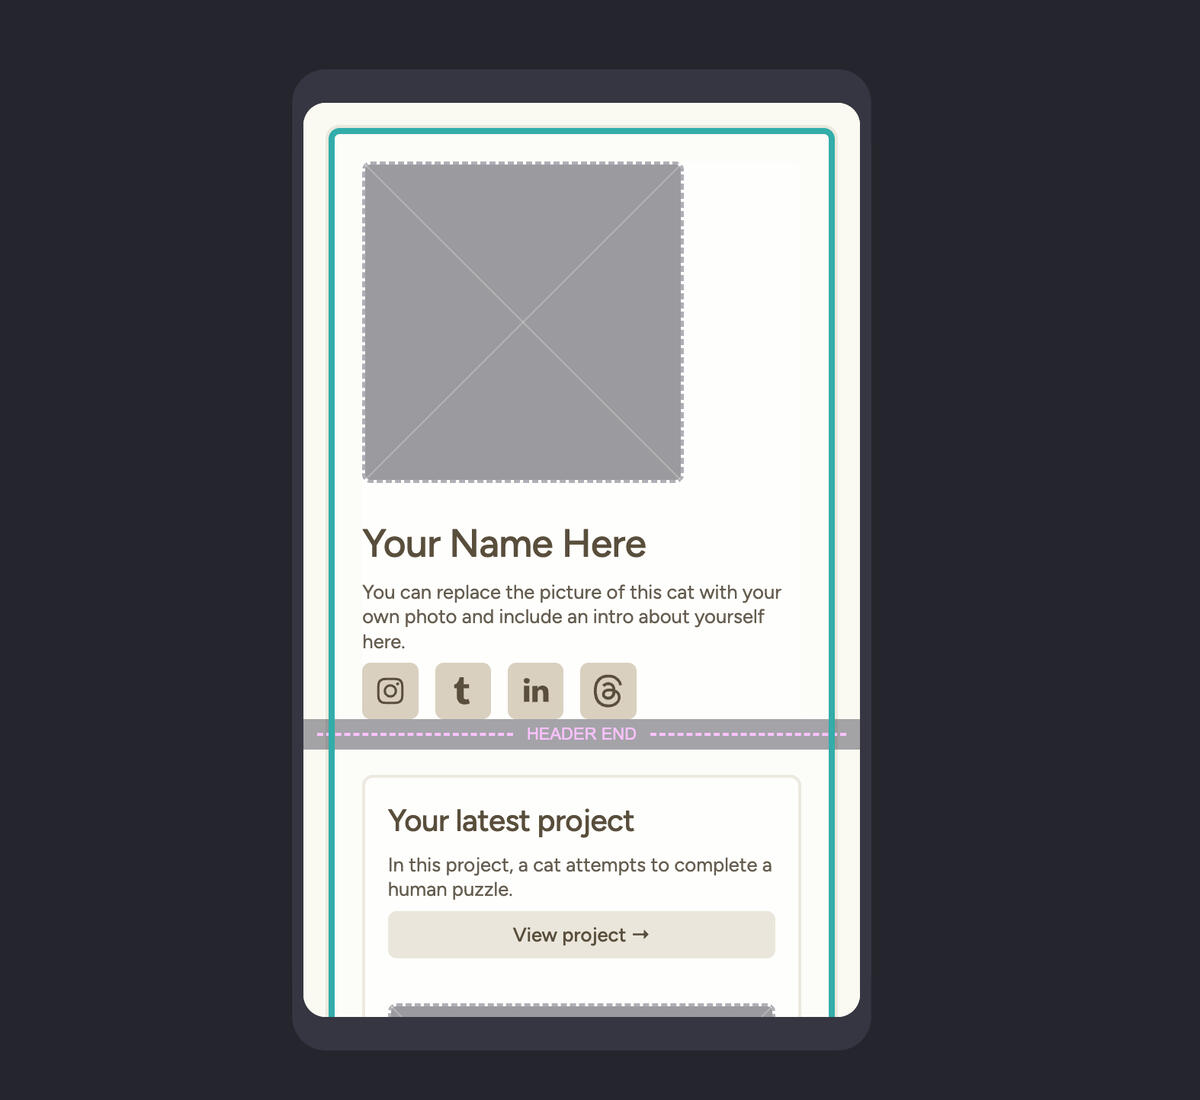
For this template, I intentionally did not style any of the site for mobile. This way you can explore mobile styling on your own. Go through the website in the mobile view and go to the mobile section at the bottom of the appearance tab for the containers, images and text. Set the mobile appearance to manual and change the properties so they look better. Tip: be use not to accidentally change how the desktop view looks (I have made this mistake many times).
Congrats! You are ready to make websites with Carrd!
With the information and exercises above understood and complete, you are ready to make Carrds! There is more to go in depth on but the point of this tutorial is to give you just enough help to get going. You will learn the most actively building websites in Carrd. Have fun!Have questions or requests for more tutorials? Let me know via Twitter and I will try to make it happen!
Request a Carrd Template
Didn't find the kind of template you are looking for? Let me know and we will try to design it for you!
Sponsor us
Want to advertise on our page?
Price to sponsor for 30 days: $99We can offer an ad space on the 2nd row of the home page. Your ad can be customizable to your service. Ad requests will be responded to in 1-3 days.Ad space for the month is first come, first serve.
